Basic DVD Operation

 Ready Checklist
All connections are made. (pp. 12 ~ 15)
DECK is plugged in.
If DECK is connected to an audio amplifier, turn the stereo system’s power on.
1 Press POWER* on the remote or DECK.
2 Press DVD to select DVD mode.
•If a disc is already inserted, go to step 4. (Depending on the disc, playback may start automatically.)
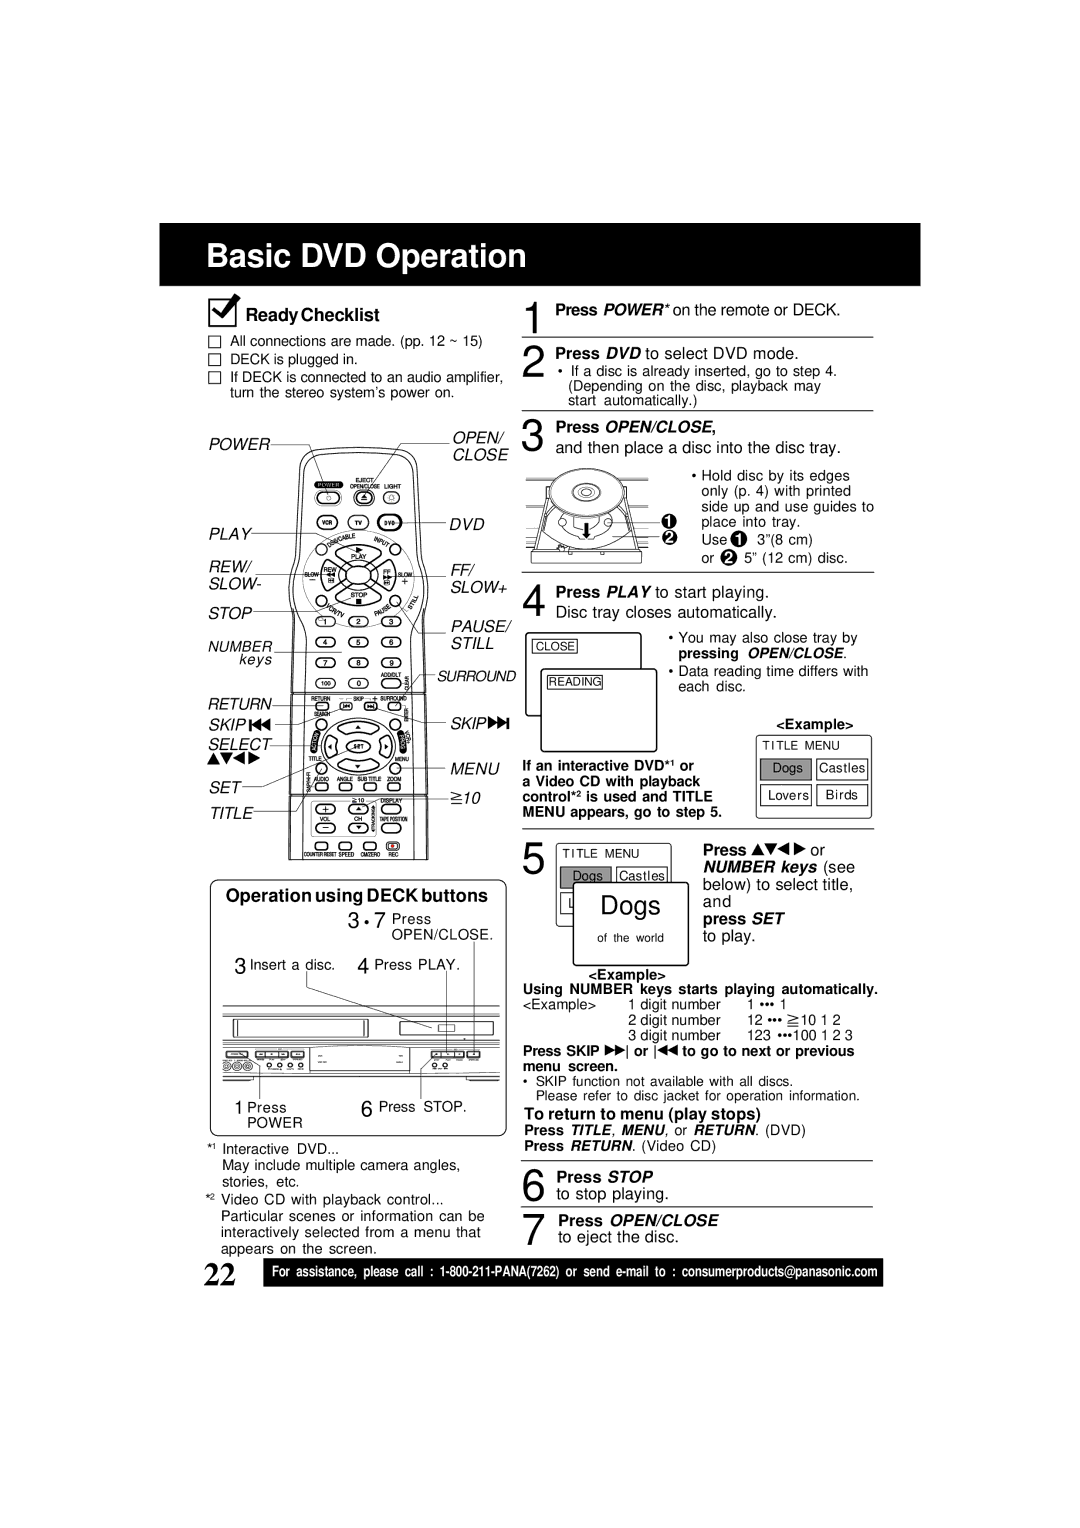
POWER
OPEN/CLOSE 3
PLAY
REW/ SLOW-
STOP
NUMBER keys
RETURN
 DVD
DVD
FF/
SLOW+
PAUSE/
STILL


 SURROUND
• Hold disc by its edges only (p. 4) with printed side up and use guides to
1 place into tray.
2Use 1 3”(8 cm)
or 2 5” (12 cm) disc.
4 Press PLAY to start playing. Disc tray closes automatically.
CLOSE | • You may also close tray by | |
pressing OPEN/CLOSE. | ||
|
READING | • Data reading time differs with |
each disc. |
SKIP ![]() SELECT
SELECT
SET
TITLE
SKIP |
|
|
| <Example> | |||
|
|
|
| T I TLE MENU | |||
MENU | If an interactive DVD*1 or |
|
|
|
|
| |
| Dogs |
| Castles |
| |||
|
| a Video CD with playback |
|
|
|
|
|
|
|
|
|
|
|
| |
10 |
| control*2 is used and TITLE | Lovers |
| Birds |
| |
|
| MENU appears, go to step 5. |
|
|
|
| |
|
|
|
|
|
|
|
|
Operation using DECK buttons
3 • 7 Press
OPEN/CLOSE.
3 Insert a disc. 4 Press PLAY.
1 Press | 6 Press STOP. |
POWER |
|
*1 Interactive DVD...
May include multiple camera angles, stories, etc.
*2 Video CD with playback control...
Particular scenes or information can be interactively selected from a menu that appears on the screen.
5 | T I TLE MENU | Press | or | |
|
| NUMBER keys (see | ||
Dogs | Castles | |||
|
|
| below) to select title, | |
|
|
| ||
| Lover | Birds | and |
|
|
| Dogs | press SET |
|
|
|
|
| |
| of the world | to play. |
| |
<Example>
Using NUMBER keys starts playing automatically.
<Example> | 1 digit number | 1 ••• | 1 |
| |
| 2 digit number | 12 ••• | 10 1 2 |
| |
| 3 digit number | 123 ••• 100 1 2 | 3 | ||
Press SKIP | or | to go to next or previous | |||
menu screen. |
|
|
|
|
|
•SKIP function not available with all discs.
Please refer to disc jacket for operation information.
To return to menu (play stops)
Press TITLE, MENU, or RETURN. (DVD) Press RETURN. (Video CD)
6 Press STOP
to stop playing.
7 Press OPEN/CLOSE
to eject the disc.
22 | For assistance, please call : |
|