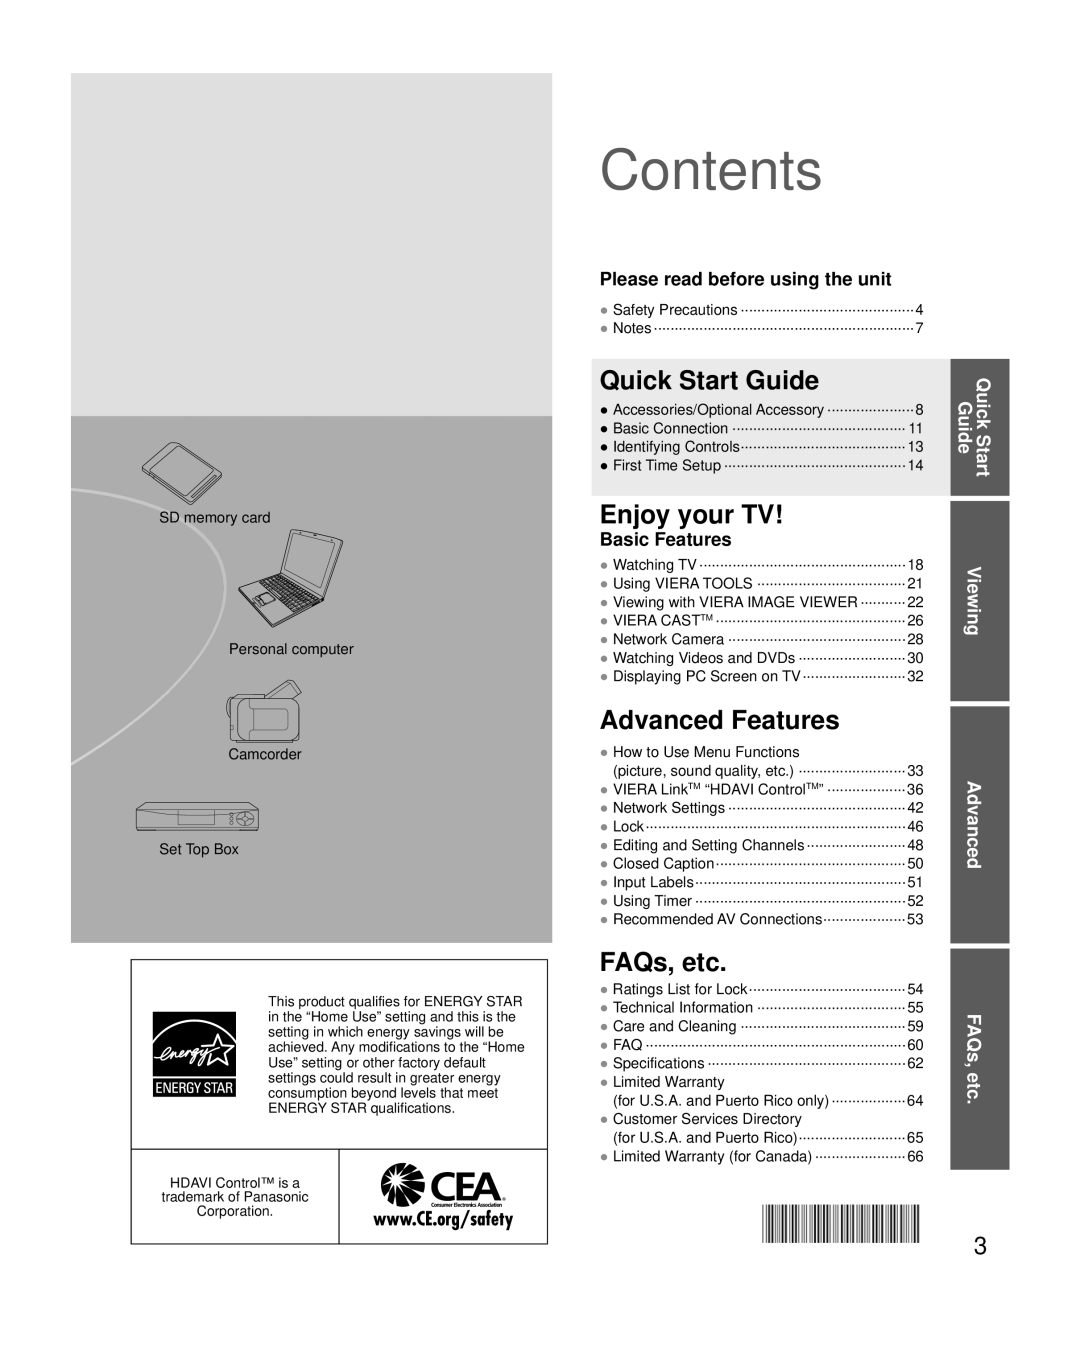
Guía de inicio rápido
Operating Instructions
Manual de instrucciones
Quick Start Guide
VIERA Link is a trademark
Dolby and the double-D symbol are
Experience an amazing level of multimedia excitement
Enjoy rich multimedia
Enjoy your TV
Advanced Features
FAQs, etc
Quick Start Guide
WARNING/CAUTION
Safety Precautions
Important Safety Instructions
Set up
To prevent fire or electric shock
AC Power Supply Cord
Handling the power supply cord
When Moving the Plasma TV
TUNE INTO SAFETY
Safety Precautions Continued
Typical still images
Set up
FCC STATEMENT
Do not display a still picture for a long time
Check you have all the items shown
Accessories/Optional Accessory
Accessories
Installing the remote’s batteries
Bottom view
Assembling the pedestal
Set-up
Attaching the pedestal to TV
Attaching the pedestal to TV continued
Reference of connection
Accessories/Optional Accessory Continued
Antenna terminal
Basic Connection Antenna + TV Accessories/Optional Accessory
Basic Connection
Example
To connect the antenna terminal
To use HDMI terminals
Basic Connection Continued
High-Definition
Standard-Definition
Controls AV cable connections
Identifying Controls
TV controls/indicators
Remote control
Select your viewing mode Be sure to select “Home use”
First Time Setup
Turn the TV On with the POWER button
Configure your viewing mode
Select the connected Antenna in terminal
Complete the Auto program setup
ANT/ Cable setup
Operation of the EXIT button during “First time setup”
Complete “Network settings”
First Time Setup Continued
Select the setting mode
Manual setting
Display “Wireless network” Select the connection method
Manual setting
Auto setting
Wireless network First time setup in
with SAP
Watching TV
Switches the Closed caption mode On or Off
Listen
Operate USB keyboard
Key chart
Change aspect ratio Call up
Watching TV
Use the Favorite Feature
Watching TV Continued
Favorite Feature
Set the Favorite Feature
Press to exit from
Using VIERA TOOLS
Using VIERA TOOLS Watching TV
Viewing
Available contents and features
Viewing with VIERA IMAGE VIEWER
Media player
Basic features for Media player
Viewing with VIERA IMAGE
View or Play
Set “Image viewer settings” Select “Play image viewer now”
Select the contents
Accessing Pause Prev. Next
Media player Continued
Switch
If the movie has multiple audio signals
Slideshow settings
Photo settings
Display “Photo settings” Select the item
Adjust the Picture and Audio
Operate VIERA CAST
VIERA CASTTM
Other settings
Adjust the Picture and Audio
VIERA CASTTM
B Advanced wired connection
C Advanced wireless connection
D Advanced wireless connection
With all connected equipment turned on
Network Camera
Basic operation for Network camera
Preparations
Follow direction - in “Network settings” p.42
Network camera setting operation
“Set this camera as default camera?” “Yes” to set to the default use
Available only when reconnecting “Connect to Camera?
To return to TV
Press Game to switch to the game screen
You can select the external equipment to access
Input Select
Press to exit from
VIERA LinkTM Setting
Watching Videos and DVDs
Viewing
Picture
Displaying PC Screen on TV
Adjustments/Configurations options
adjustments
Select the item
How to Use Menu Functions
Adjust or select
Select the menu
Pro settings
How to Use Menu Functions
Timer
Reset to defaults
Power on link
Adjustments/Configurations alternatives
ANT/Cable setup
Network settings
HDMI cable
VIERA LinkTM “HDAVI ControlTM”
VIERA LinkTM Connections
Connecting this unit to the DVD recorder DIGA, Home
Connecting this unit to a DVD
Setting of this unit after connection
Automatic Input Switching Power on link Power off link
Select “VIERA Link settings”
Select “VIERA Link”
Select “On”
Transmittable data
Continued
VIERA LinkTM “HDAVI ControlTM”
Advanced
Direct TV Recording for “HDAVI Control 3 or later”
VIERA Link control only with the TV’s remote control
VIERA LinkTM “HDAVI ControlTM”
Speaker control
Available TV remote control buttons
Volume up / down Mute
Select the equipment you want to access
Using VIERA TOOLS p
Network settings
Network Settings
Wireless
This is a setting for connecting to a broadband environment
Press “Wireless network”
Press “Wireless network”, displayed screen
Follow the directions on screen to complete the setting
Displayed Connection status with an Access point
Network cameras list Software update
Network Settings
IP setting DNS settings
VIERA CAST setting
Select “IP setting mode” and set to
continued
Network Settings
IP setting
Channel lock Game lock
Lock
Program lock VIERA CAST lock Change password
Unlocks all the Lock settings of “Channel”, “Game”
To select the channel or the rating of the program to lock
To change the password
Lock
Advanced
To reset the settings of the Setup menu
Editing and Setting Channels
Signal meter
Check signal strength
If no problem is found, consult your local dealer
To cancel the Edit
Cable setup”
If the signal is weak, check the antenna
To reset the settings
Closed Caption
To make more in-depth display settings in digital programs
Select “Digital setting” and press OK Select the item and set
Advanced
Input Labels
Input Labels Closed Caption
Display labels of connected devices
5 timers can be set
Using Timer
To set “Sleep” Off Timer
To set “Timer 1-5” On/Off Timer
Recommended AV Connections
Timer
Advanced
CANADIAN ENGLISH RATINGS C. E. L. R
Ratings List for Lock
U.S. MOVIE RATINGS MPAA
U.S. TV PROGRAMS RATINGS U. S. TV
Aspect Ratio FORMAT
Technical Information
FAQs, etc
Closed Caption CC
SD Card/USB flash memory warning messages
Technical Information Continued
Data format for SD Card /USB flash memory browsing
Cautions in handling SD Card
VIERA LinkTM “HDAVI ControlTM”
Pro settings
FAQs, etc
Technical Information
43 side bars
Technical Information Continued
DIGITAL AUDIO OUT terminals
H size
FAQs, etc
Care and Cleaning
Care and Cleaning Technical Information
Input signal that can be displayed
Recording does not start immediately
White spots or shadow images noise
The remote control does not work
Interference or frozen digital channels
“VIERA” logo moves on the screen
Sound is unusual
Specifications
TC-P42G25
TC-P46G25
TC-P50G25
TC-P54G25
Mass
On-Site or Carry-In Service
Limited Warranty for U.S.A. and Puerto Rico only
Panasonic Plasma Television Limited Warranty
Limited Warranty Coverage
FAQs, etc
Customer Services Directory for U.S.A. and Puerto Rico
Customer Services Directory United States and Puerto Rico
Accessory Purchases United States and Puerto Rico
In-home service
Limited Warranty for Canada
PANASONIC PRODUCT - LIMITED WARRANTY
WARRANTY SERVICE
FAQs, etc
Limited Warranty for Canada
Page
Page
Page
Page
Page
Page
Page
Page
Panasonic Canada Inc
Customer’s Record
Anotación del cliente
Panasonic Consumer Electronics Company