1.Space
Prepare a space larger than ø160 mm.
2.Bracket Fixing Screws
To fix the bracket, procure four M4 screws suitable for the surface and structure of the wall/ceiling.
3.Attachment Fixing Screws
Four screws are supplied as standard accessories.
4.Cable route
•When routing cables through the wall/ceiling, drill a hole as shown in the figure.
•When routing cables sideway, open the sideway cable exit unscrewing the lid by use of a hexagon wrench. Screw the detached lid to the cable access hole on the bottom of the bracket.
5.Waterproof Process
When necessary, apply waterproof process to the camera and relevant portions.
■Mounting the Camera
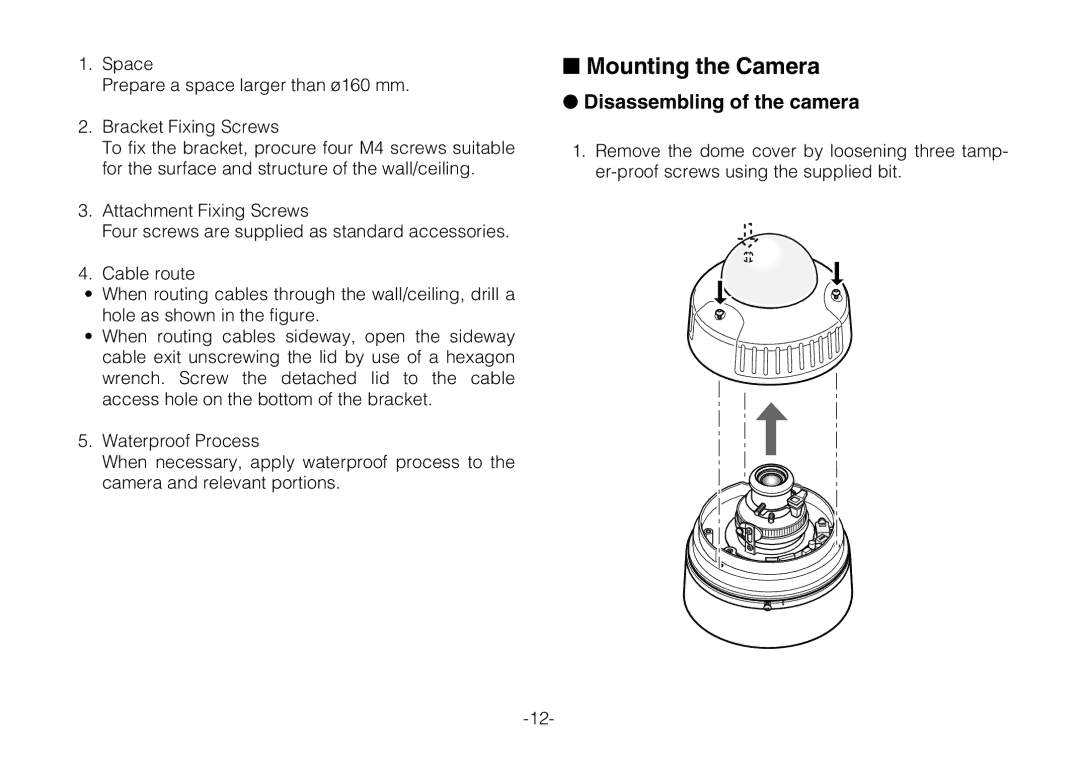
●Disassembling of the camera
1.Remove the dome cover by loosening three tamp-