S e t t i n g t h e P r i n t P o s i t i o n
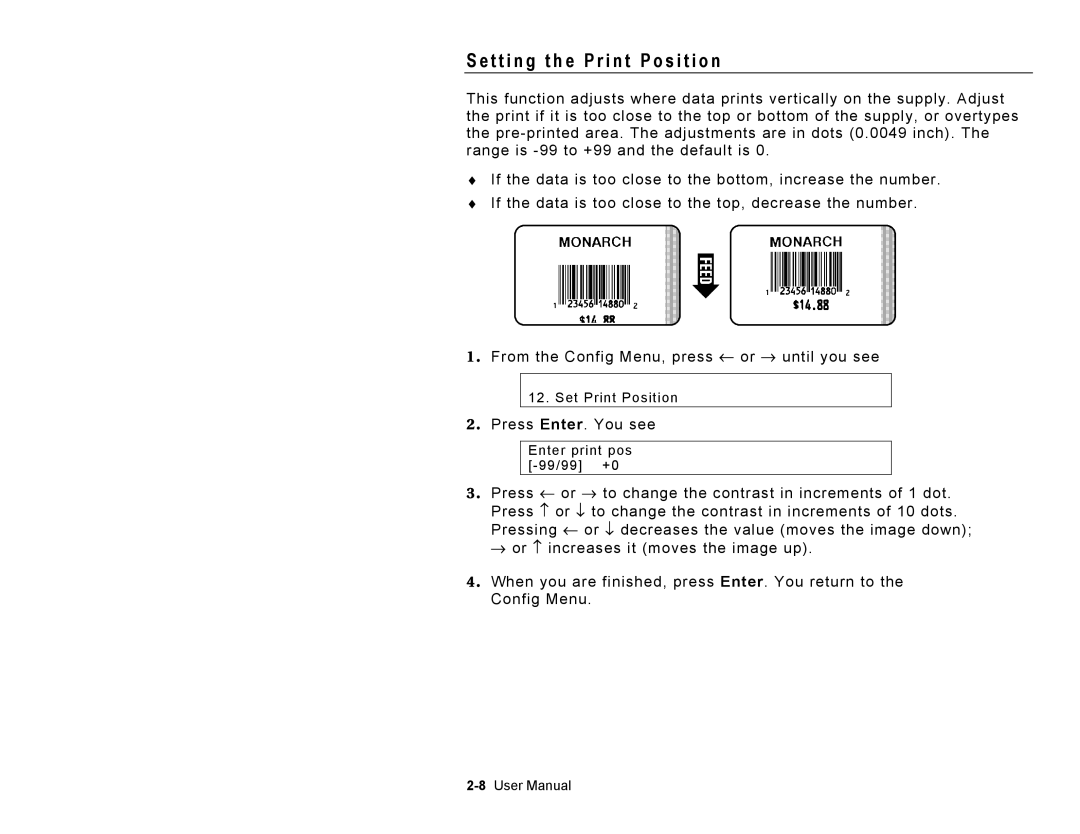
This function adjusts where data prints vertically on the supply. Adjust the print if it is too close to the top or bottom of the supply, or overtypes the
♦If the data is too close to the bottom, increase the number.
♦If the data is too close to the top, decrease the number.
1 . From the Config Menu, press ← or → until you see
12.Set Print Position
2 . Press Enter. You see
Enter print pos
3 . Press ← or → to change the contrast in increments of 1 dot. Press ↑ or ↓ to change the contrast in increments of 10 dots. Pressing ← or ↓ decreases the value (moves the image down);
→or ↑ increases it (moves the image up).
4 . When you are finished, press Enter. You return to the Config Menu.