S e t t i n g t h e P r i n t M o d e
There are two print modes: continuous (no peel) and
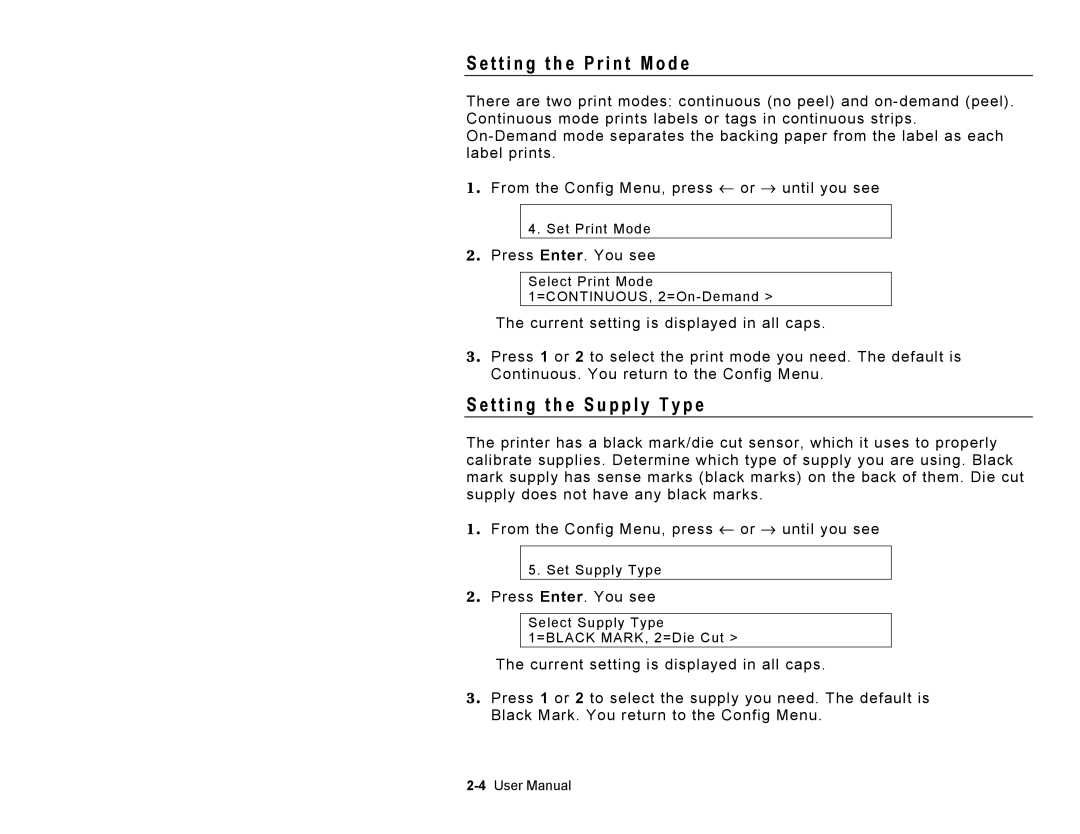
1 . From the Config Menu, press ← or → until you see
4.Set Print Mode
2 . Press Enter. You see
Select Print Mode 1=CONTINUOUS,
The current setting is displayed in all caps.
3 . Press 1 or 2 to select the print mode you need. The default is Continuous. You return to the Config Menu.
S e t t i n g t h e S u p p l y T y p e
The printer has a black mark/die cut sensor, which it uses to properly calibrate supplies. Determine which type of supply you are using. Black mark supply has sense marks (black marks) on the back of them. Die cut supply does not have any black marks.
1 . From the Config Menu, press ← or → until you see
5.Set Supply Type
2 . Press Enter. You see
Select Supply Type
1=BLACK MARK, 2=Die Cut >
The current setting is displayed in all caps.
3 . Press 1 or 2 to select the supply you need. The default is Black Mark. You return to the Config Menu.