4.Click Properties. The following dialog box appears.
Figure 14. Viewstation Local Area Connection Properties Dialog Box
5.Make sure the ÒShow icon in taskbar when connectedÓ checkbox is selected.
6.
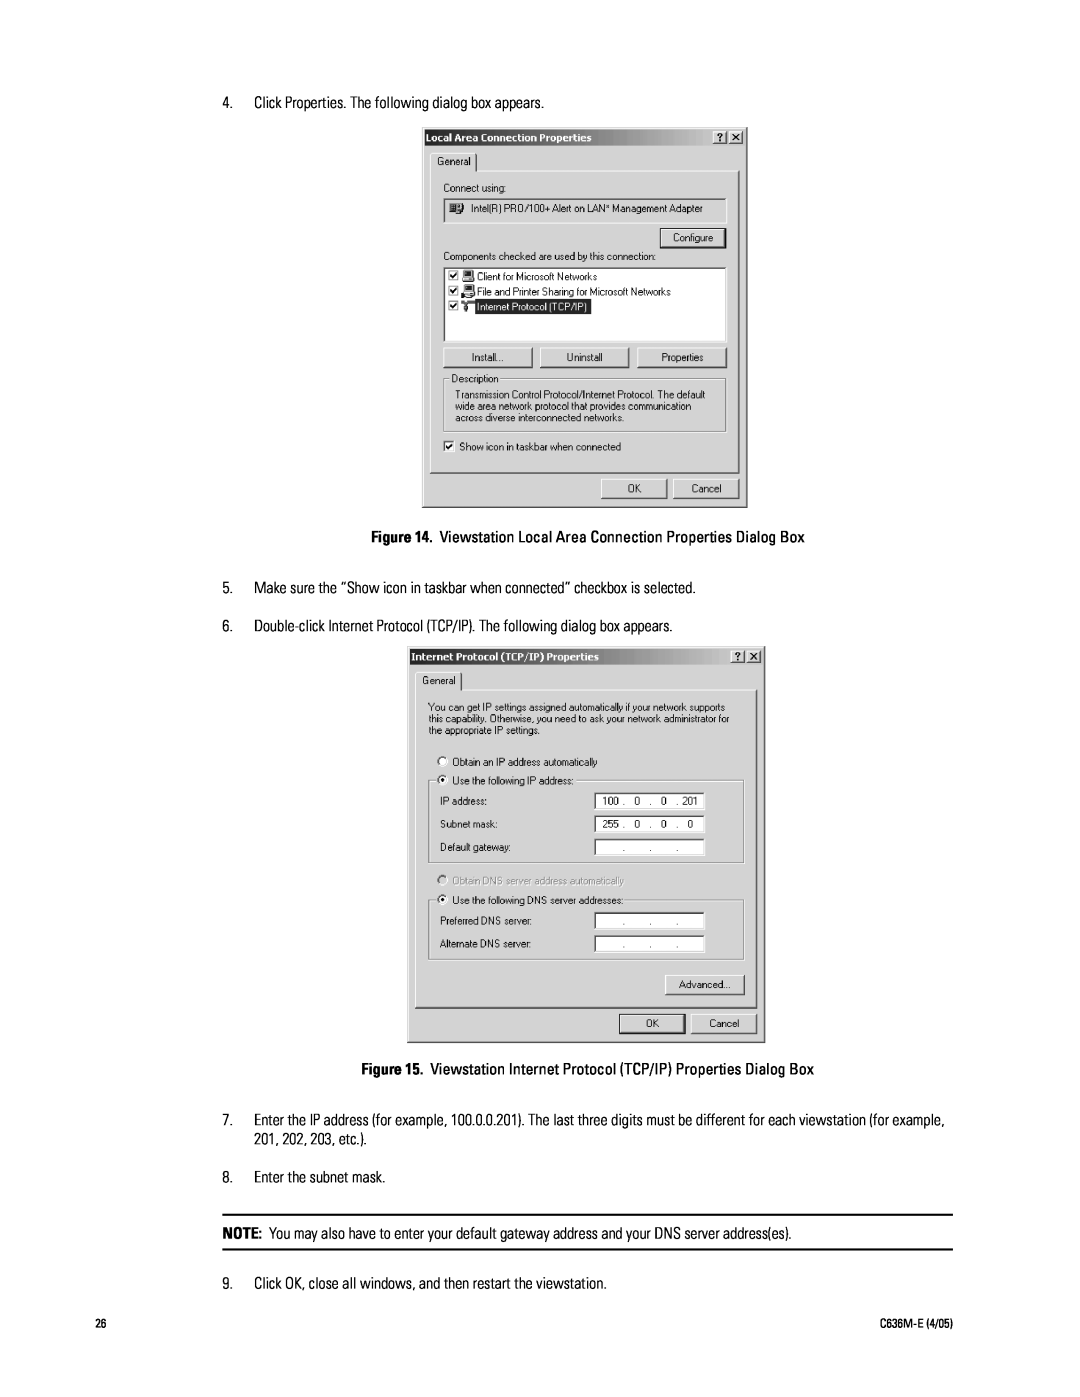
Figure 15. Viewstation Internet Protocol (TCP/IP) Properties Dialog Box
7.Enter the IP address (for example, 100.0.0.201). The last three digits must be different for each viewstation (for example, 201, 202, 203, etc.).
8.Enter the subnet mask.
NOTE: You may also have to enter your default gateway address and your DNS server address(es).
9.Click OK, close all windows, and then restart the viewstation.
26 |