OPERATION
The storage unit has been preconfigured to operate using RAID Level 5 or RAID Level 5+1 technology. Pelco recommends RAID Level 5+1. In Level 5+1, a hot spare drive is included. If a hard drive is removed or fails, the redundant data, on the remaining drives, relocates automatically to the hot spare and begins the reconstruction process without user intervention. In Level 5, all data and parity blocks are divided between the hard drives in such a way that if any hard drive is removed or fails, the data on the missing hard drive can be reconstructed using the data on the remaining hard drives.
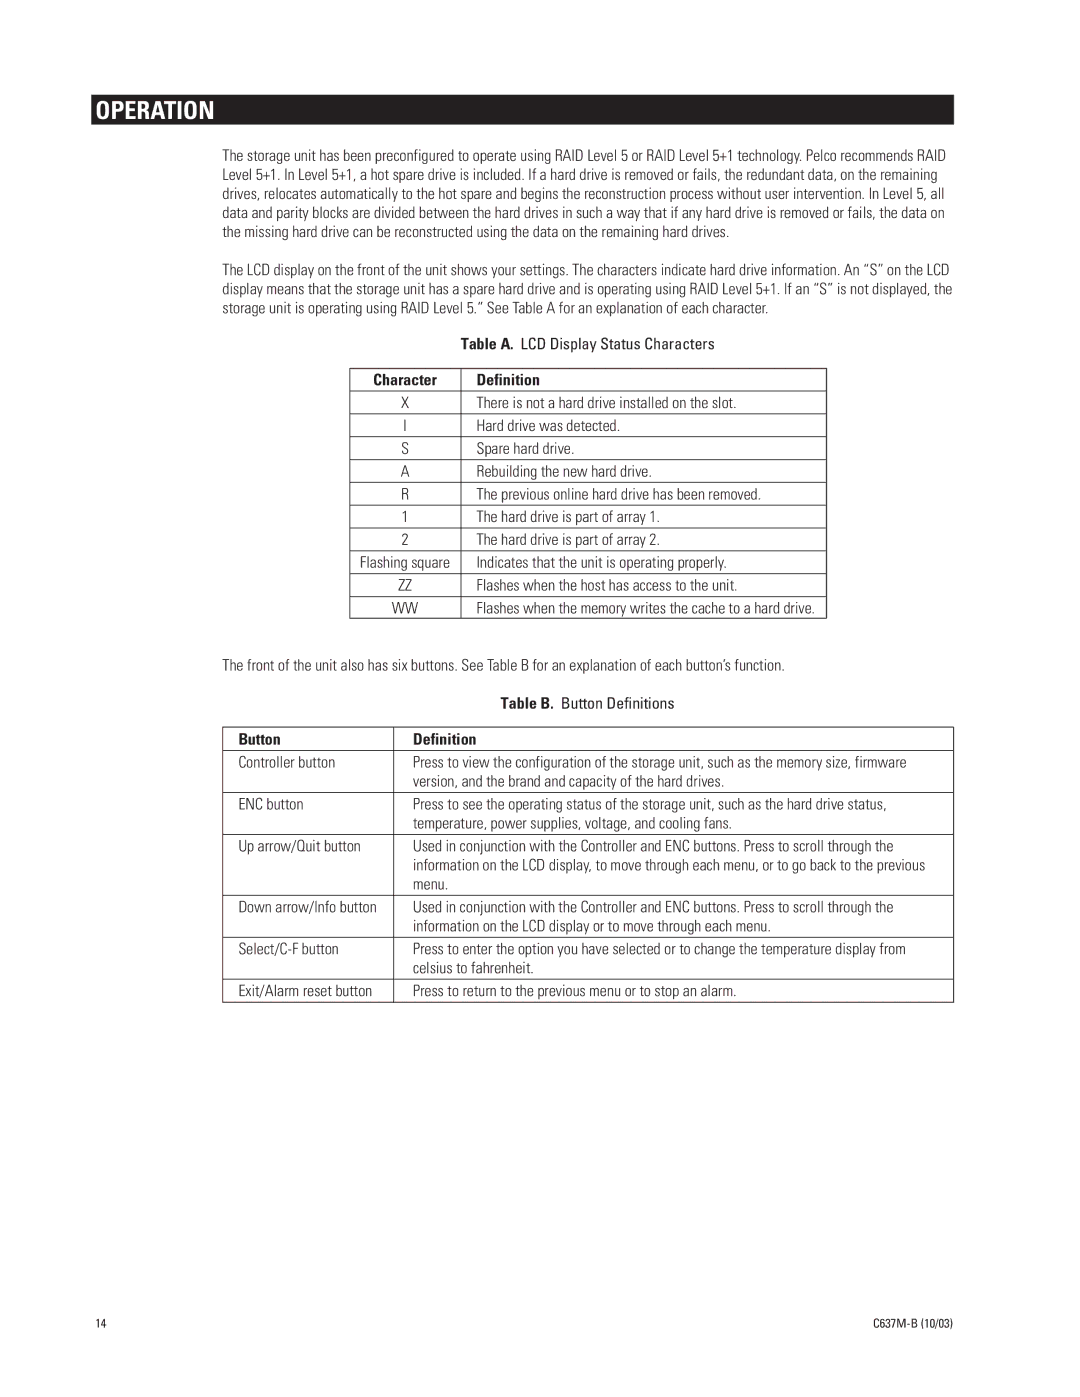
The LCD display on the front of the unit shows your settings. The characters indicate hard drive information. An ÒSÓ on the LCD display means that the storage unit has a spare hard drive and is operating using RAID Level 5+1. If an ÒSÓ is not displayed, the storage unit is operating using RAID Level 5.Ó See Table A for an explanation of each character.
| Table A. LCD Display Status Characters |
|
|
Character | Definition |
X | There is not a hard drive installed on the slot. |
I | Hard drive was detected. |
S | Spare hard drive. |
A | Rebuilding the new hard drive. |
R | The previous online hard drive has been removed. |
1 | The hard drive is part of array 1. |
2 | The hard drive is part of array 2. |
Flashing square | Indicates that the unit is operating properly. |
ZZ | Flashes when the host has access to the unit. |
WW | Flashes when the memory writes the cache to a hard drive. |
The front of the unit also has six buttons. See Table B for an explanation of each buttonÕs function.
| Table B. Button Definitions |
|
|
Button | Definition |
Controller button | Press to view the configuration of the storage unit, such as the memory size, firmware |
| version, and the brand and capacity of the hard drives. |
ENC button | Press to see the operating status of the storage unit, such as the hard drive status, |
| temperature, power supplies, voltage, and cooling fans. |
Up arrow/Quit button | Used in conjunction with the Controller and ENC buttons. Press to scroll through the |
| information on the LCD display, to move through each menu, or to go back to the previous |
| menu. |
Down arrow/Info button | Used in conjunction with the Controller and ENC buttons. Press to scroll through the |
| information on the LCD display or to move through each menu. |
Press to enter the option you have selected or to change the temperature display from | |
| celsius to fahrenheit. |
Exit/Alarm reset button | Press to return to the previous menu or to stop an alarm. |
14 |
