NET5308T-EXP specifications
The Pelco NET5308T-EXP is an advanced network video encoder designed for high-performance video surveillance applications. This versatile device is notable for its ability to transform analog video feeds into digital signals, allowing for seamless integration with modern IP-based systems. This makes it an essential component for facilities looking to upgrade their security setups while retaining existing cameras.One of the key features of the NET5308T-EXP is its capacity to handle up to eight analog video channels. This multi-channel capability allows users to manage multiple cameras through a single device, simplifying the installation and reducing the overall cost of upgrading surveillance systems. Each channel can process video in high-definition, ensuring that captured footage maintains clarity and detail, which is crucial for effective monitoring and incident investigation.
The NET5308T-EXP employs advanced H.264 video compression technology, which optimizes bandwidth usage without compromising video quality. This codec allows for the transmission of high-resolution video streams while minimizing data storage requirements. With the growing need for efficient data management in surveillance systems, this feature becomes invaluable, particularly in environments where bandwidth is limited.
Another significant aspect of the NET5308T-EXP is its support for Power over Ethernet (PoE). This technological integration enables the device to receive power and transmit data over a single Ethernet cable, greatly simplifying installation. It eliminates the need for multiple power sources and power adapters, allowing for cleaner setups and reducing cable clutter.
Moreover, the encoder includes advanced motion detection capabilities, which can trigger alerts based on movement within the camera’s field of view. These features can be essential for ensuring that security personnel are notified of potential security breaches in real time. Additionally, the device supports various networking protocols, enhancing its compatibility with a wide range of video management systems.
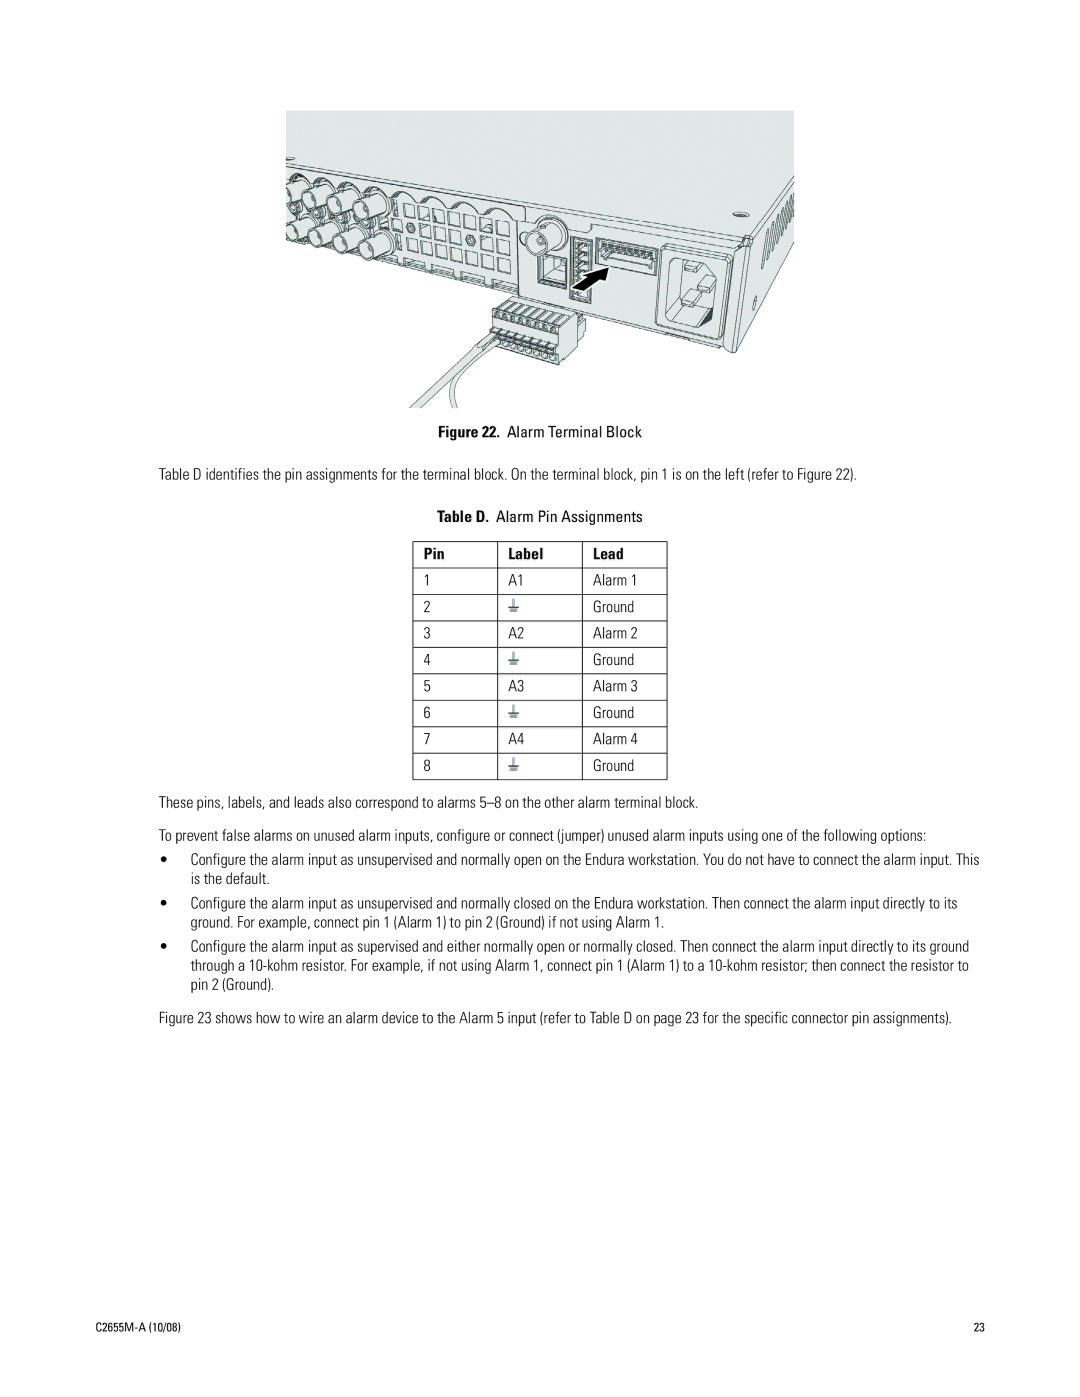
The NET5308T-EXP is designed for reliability and durability in various operating conditions. Its robust construction allows it to function in a range of environments, making it suitable for indoor and outdoor applications alike. With features such as video loss detection and alarm inputs, the device further assures its status as a top-tier solution for comprehensive security needs.
Overall, the Pelco NET5308T-EXP is an exceptional choice for organizations looking to modernize their surveillance technology without the need to overhaul existing infrastructure. With its multi-channel support, advanced compression technology, PoE capabilities, and intelligent alert systems, it represents a significant advancement in video surveillance technology, providing users with high-quality performance and flexibility.

