Perle Systems S-1110-XT manual Installation, Auto-MDIX Jumper Settings

Models: S-1110-XT

1 16
Download 16 pages 4.52 Kb
Page 3
Image 3

Installation

The default DIP switch settings (all switches in the UP position) will work for most installations.

These are the steps required to configure the Perle S-1110-XT Ethernet media converter:

1.Insert SFP Module (SFP Model only).

2.Set the Auto-MDIX jumper setting (optional).

3.Set the DIP switch settings (if required).

4.Set the Powering Option Jumpers (if required).

5.Install and connect the fiber cable(s).

6.Install and connect the copper cable(s).

7.Power up the media converter.

Auto-MDIX Jumper Settings

Note: The factory settings for
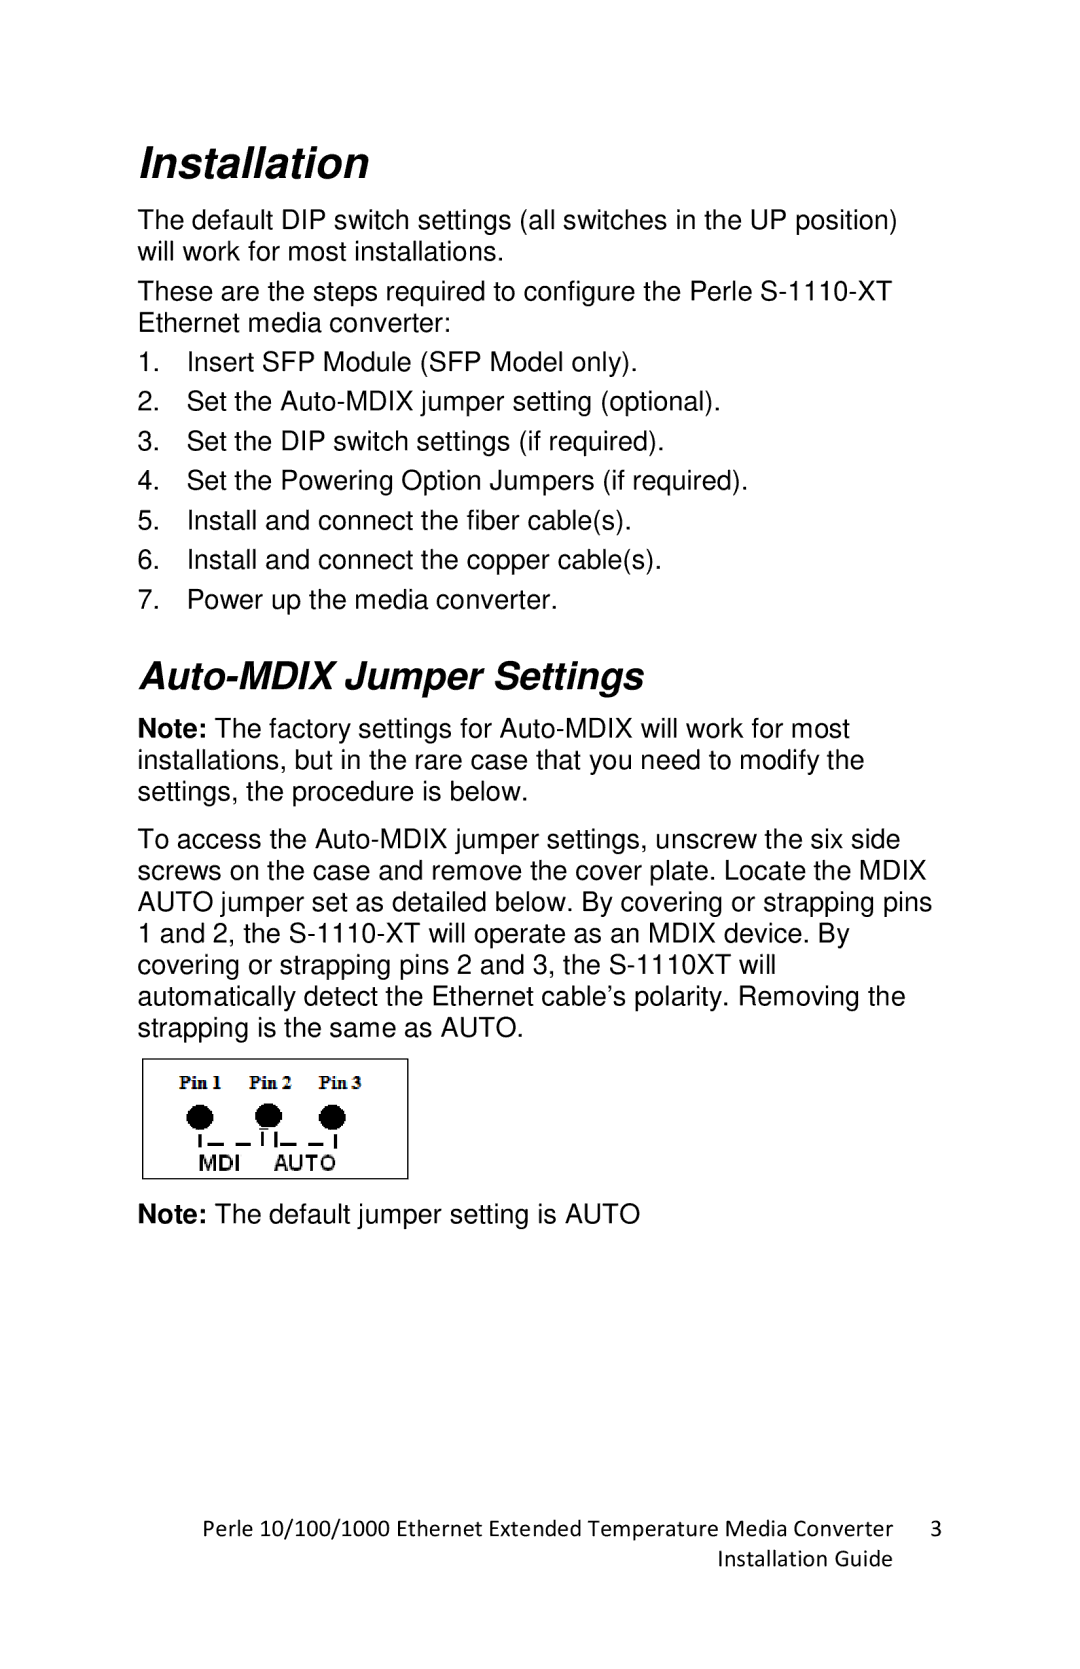
 Auto-MDIX will work for most installations, but in the rare case that you need to modify the settings, the procedure is below.

To access the Auto-MDIX jumper settings, unscrew the six side screws on the case and remove the cover plate. Locate the MDIX AUTO jumper set as detailed below. By covering or strapping pins 1 and 2, the S-1110-XT will operate as an MDIX device. By covering or strapping pins 2 and 3, the S-1110XT will automatically detect the Ethernet cable’s polarity. Removing the strapping is the same as AUTO.

Note: The default jumper setting is AUTO

Perle 10/100/1000 Ethernet Extended Temperature Media Converter

3

Installation Guide


Page 3
Image 3
Perle Systems S-1110-XT manual Installation, Auto-MDIX Jumper Settings