T6460/550/552EZ(EN)_EST.qx3 04.1.28 4:15 PM Page 4
Specifications
Voltage:
Power consumption (Standby): less than 5W
Rewind time: less than 260 seconds (cassette
Number of video heads: 2
Recording/playback time:
3 hours (SP) (cassette
6 hours (LP) (cassette
14PV135 14PV235
Power consumption: 52W
Dimensions in cm (HxWxD): 40.1x37.9x38.0
Weight without packing in kg: 10.5
21PV385
Power consumption: 65W
Dimensions in cm (HxWxD): 51.2x51.0x49.5
Weight without packing in kg: 20.6
Supplied accessories
•Operating instructions
•Remote control and 2 batteries
1. Connecting the TV-Video Combi
Preparing the remote control for operation
The remote control and its batteries are packed separately in the original
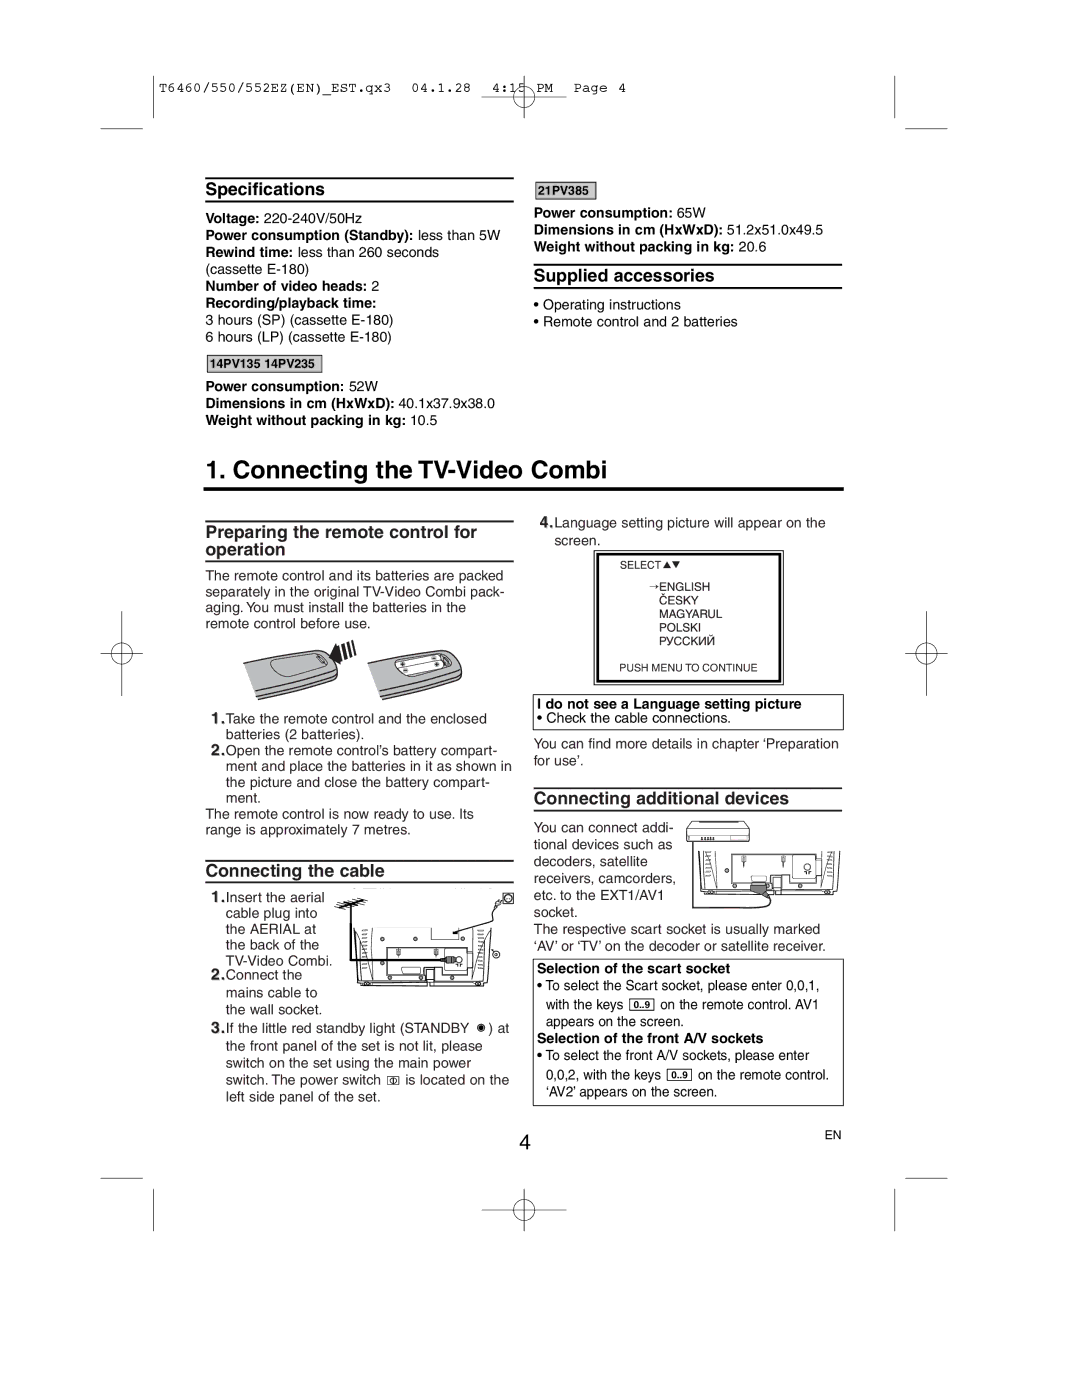
1.Take the remote control and the enclosed batteries (2 batteries).
2.Open the remote control’s battery compart- ment and place the batteries in it as shown in the picture and close the battery compart- ment.
The remote control is now ready to use. Its range is approximately 7 metres.
Connecting the cable
1.Insert the aerial cable plug into
the AERIAL at the back of the
2.Connect the mains cable to the wall socket.
3.If the little red standby light (STANDBY ![]() ) at the front panel of the set is not lit, please switch on the set using the main power switch. The power switch
) at the front panel of the set is not lit, please switch on the set using the main power switch. The power switch ![]()
![]()
![]() is located on the left side panel of the set.
is located on the left side panel of the set.
4.Language setting picture will appear on the screen.
PUSH MENU TO CONTINUE
I do not see a Language setting picture
• Check the cable connections.
You can find more details in chapter ‘Preparation for use’.
Connecting additional devices
You can connect addi- tional devices such as
decoders, satellite receivers, camcorders, etc. to the EXT1/AV1 socket.
The respective scart socket is usually marked ‘AV’ or ‘TV’ on the decoder or satellite receiver.
Selection of the scart socket
• To select the Scart socket, please enter 0,0,1, with the keys 0..9 on the remote control. AV1 appears on the screen.
Selection of the front A/V sockets
•To select the front A/V sockets, please enter 0,0,2, with the keys 0..9 on the remote control. ‘AV2’ appears on the screen.
4 | EN |
|