6 Use more of your TV
Changing picture and sound settings
You must set [Home] in [Location] (refer to page 21). Otherwise, personalized picture and sound settings will not be memorized after the unit goes to standby mode.
Changing picture settings
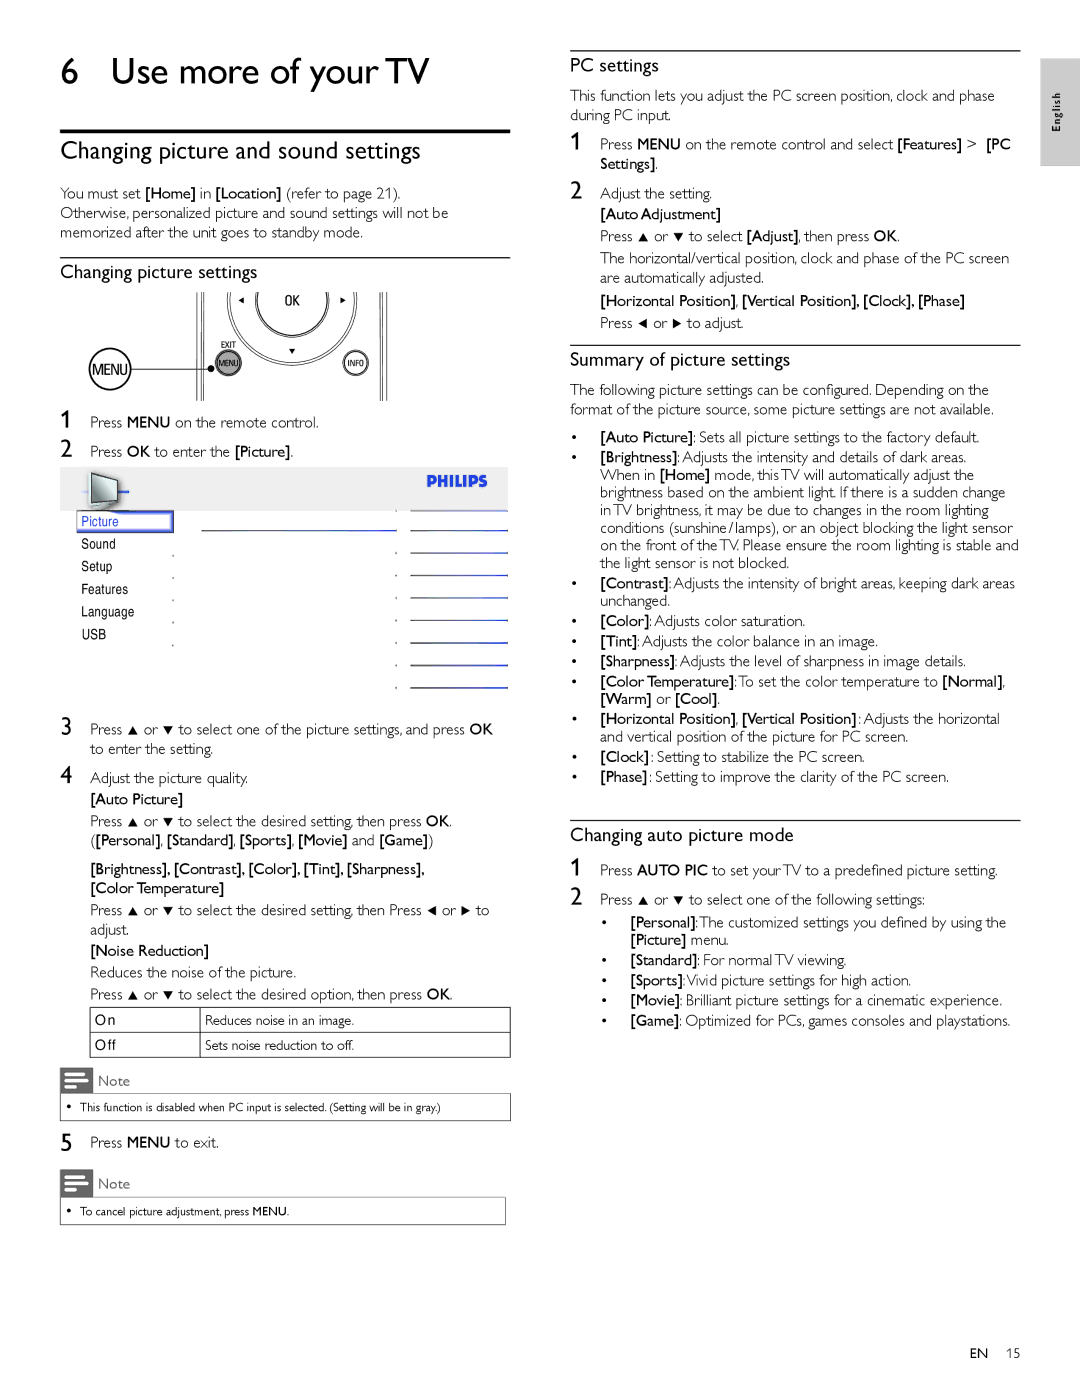
1 Press MENU on the remote control.
2 Press OK to enter the [Picture].
|
|
|
|
|
|
|
|
|
|
|
|
|
|
|
|
|
|
|
|
|
|
|
|
|
|
|
|
|
|
|
|
|
|
|
|
| Picture |
|
|
| Settings assistant | Personal | |||||
| Sound | Auto Picture | |||||||||
| Setup | Brightness | 30 | ||||||||
| Features | Contrast | 60 | ||||||||
| Language | Color | 36 | ||||||||
| USB | Tint | 0 | ||||||||
|
|
|
|
|
|
|
| Sharpness | 0 | ||
|
|
|
|
|
|
|
| Color Temperature | Normal | ||
|
|
|
|
|
|
|
| Noise Reduction | On | ||
3 Press Î or ï to select one of the picture settings, and press OK to enter the setting.
4 Adjust the picture quality. [Auto Picture]
Press Î or ï to select the desired setting, then press OK. ([Personal], [Standard], [Sports], [Movie] and [Game])
[Brightness], [Contrast], [Color], [Tint], [Sharpness], [Color Temperature]
Press Î or ï to select the desired setting, then Press Í or Æ to adjust.
[Noise Reduction]
Reduces the noise of the picture.
Press Î or ï to select the desired option, then press OK.
On | Reduces noise in an image. |
|
|
Off | Sets noise reduction to off. |
|
|
![]()
![]()
![]() Note
Note
•This function is disabled when PC input is selected. (Setting will be in gray.)
5 Press MENU to exit.
Note
• To cancel picture adjustment, press MENU.
PC settings
This function lets you adjust the PC screen position, clock and phase during PC input.
1 Press MENU on the remote control and select [Features] > [PC Settings].
2 Adjust the setting. [Auto Adjustment]
Press Î or ï to select [Adjust], then press OK.
The horizontal/vertical position, clock and phase of the PC screen are automatically adjusted.
[Horizontal Position], [Vertical Position], [Clock], [Phase] Press Í or Æ to adjust.
Summary of picture settings
The following picture settings can be configured. Depending on the format of the picture source, some picture settings are not available.
•[Auto Picture]: Sets all picture settings to the factory default.
•[Brightness]: Adjusts the intensity and details of dark areas. When in [Home] mode, this TV will automatically adjust the brightness based on the ambient light. If there is a sudden change in TV brightness, it may be due to changes in the room lighting conditions (sunshine / lamps), or an object blocking the light sensor on the front of the TV. Please ensure the room lighting is stable and the light sensor is not blocked.
•[Contrast]: Adjusts the intensity of bright areas, keeping dark areas unchanged.
•[Color]: Adjusts color saturation.
•[Tint]: Adjusts the color balance in an image.
•[Sharpness]: Adjusts the level of sharpness in image details.
•[Color Temperature]:To set the color temperature to [Normal], [Warm] or [Cool].
•[Horizontal Position], [Vertical Position] : Adjusts the horizontal and vertical position of the picture for PC screen.
•[Clock] : Setting to stabilize the PC screen.
•[Phase] : Setting to improve the clarity of the PC screen.
Changing auto picture mode
1 Press AUTO PIC to set your TV to a predefined picture setting.
2 Press Î or ï to select one of the following settings:
•[Personal]:The customized settings you defined by using the [Picture] menu.
•[Standard]: For normal TV viewing.
•[Sports]:Vivid picture settings for high action.
•[Movie]: Brilliant picture settings for a cinematic experience.
•[Game]: Optimized for PCs, games consoles and playstations.
English
EN 15