Setting status
You can check the status of network settings.
1 Press MENU on the remote control and then use Î/ ï/Í/ Æ to select [Setup] > [Installation] > [Network] > [Setting status].
•Network setting list will be displayed.
•MAC address of this unit will be displayed in the list.
2 Press MENU to exit.
Disclaimer
Displays the network service disclaimer.
1 Press MENU on the remote control and then use Î/ ï/Í/ Æ to select [Setup] > [Installation] > [Network] > [Disclaimer].
2 Press MENU to exit.
Netflix connection
Displays the cancellation setting of Netflix or ESN information.
1 Press MENU on the remote control and then use Î/ ï/Í/ Æ to select [Setup] > [Installation] > [Network] > [Netflix].
Setting items |
| Description | |
Deactivation | Yes | Deactivate the connection to Netflix. | |
No | Activate the connection to Netflix. | ||
| |||
ESN |
| Displays the ESN (Electronic Serial Number) | |
| to get any services from Netflix. | ||
|
|
2 Press MENU to exit.
VUDU connection
Displays the deactivation setting for VUDU.
1 Press MENU on the remote control and then use Î/ ï/Í/ Æ to select [Setup] > [Installation] > [Network] > [Vudu].
Setting items |
| Description | |
Deactivation | Yes | Deactivate the connection to VUDU. | |
No | Activate the connection to VUDU. | ||
|
2 Press MENU to exit.
View photos and play music on a USB storage device
![]() Caution
Caution
•This unit accepts USB flash memory only. Other storage devices such as external HDD by USB bus power will not work.
•Philips is not responsible if the USB storage device is not supported nor is it responsible for damage or loss of data from the device.
Your TV is fitted with a USB connection that enables you to view photos or listen to music stored on a USB storage device.
Supported formats | |
MP3 | File name exceeding 256 characters |
JPEG | Progressive JPEG files |
FAT / | File names containing a dot character |
devices |
|
It is recommended that files to be played back in this unit are recorded under the following specifications:
<MP3> |
|
• Sampling frequency | : 32 kHz or 44.1 kHz or 48 kHz |
• Constant bit rate | : 32 kbps - 320 kbps |
<JPEG> |
|
• Upper limit | : 16 Mpixel |
![]() Note
Note
•A maximum of 1,023 folders or files can be recognized.
•Philips can not be held responsible if your USB storage device is not supported, nor will Philips accept any liability for damage or loss of stored data.
•The USB storage device is not supplied with the TV.
Connect a USB storage device
1 Turn on the TV.
2 Connect the USB storage device to the USB port on the side of your TV.
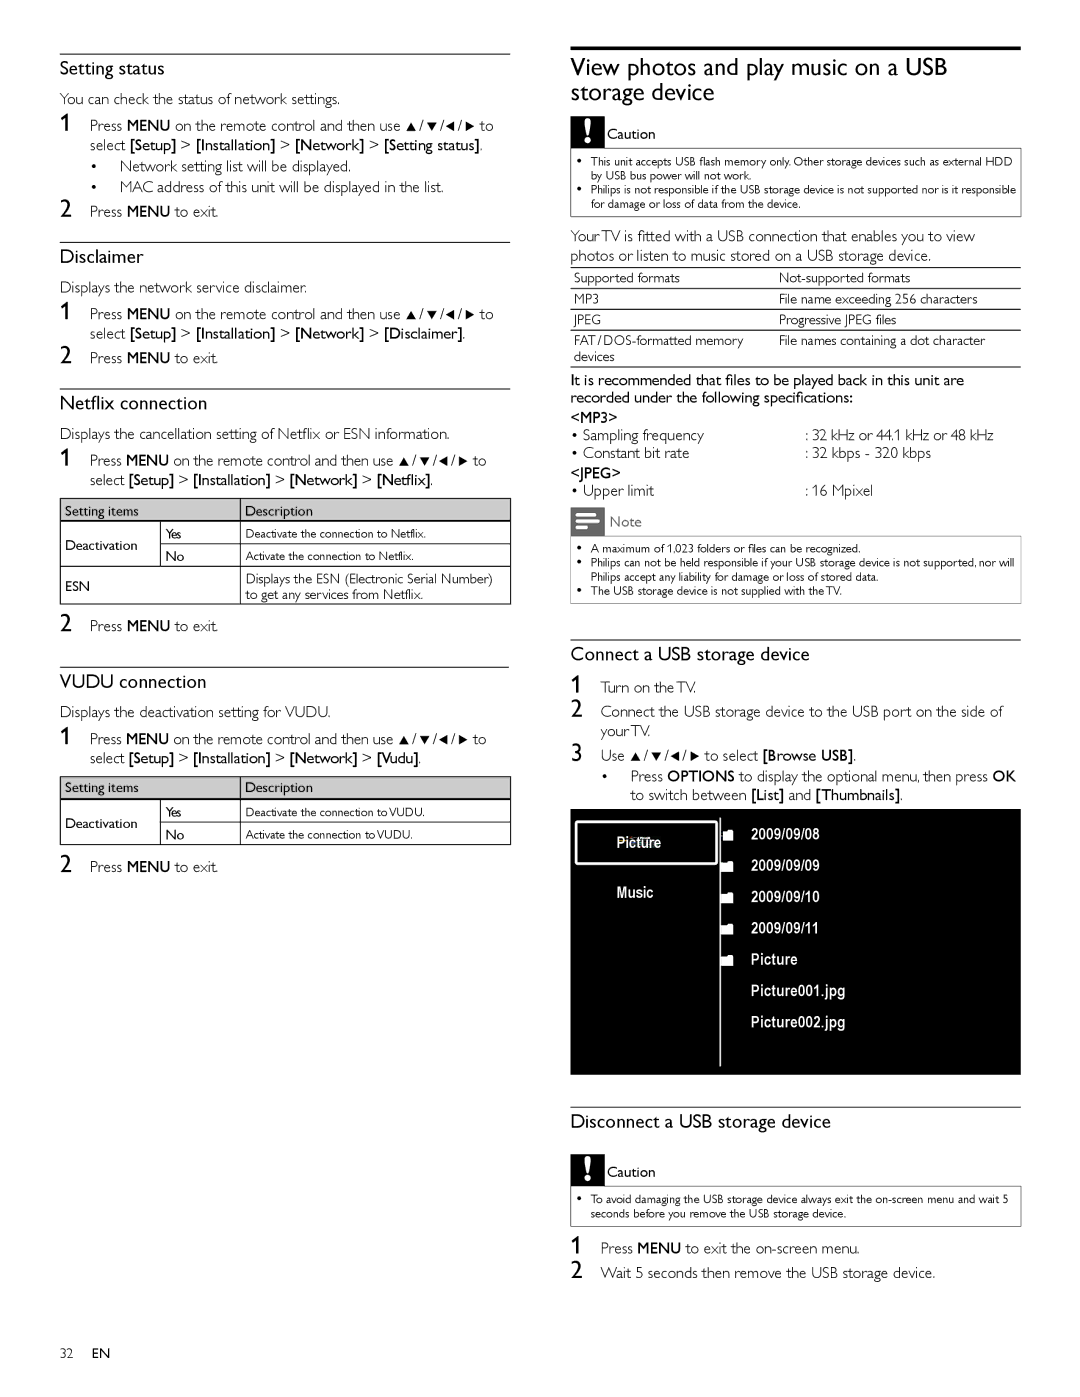
3 Use Î/ ï/Í/ Æ to select [Browse USB].
•Press OPTIONS to display the optional menu, then press OK to switch between [List] and [Thumbnails].
Picture | 2009/09/08 |
| |
| 2009/09/09 |
Music2009/09/10
2009/09/11
Picture
Picture001.jpg
Picture002.jpg
Disconnect a USB storage device
![]() Caution
Caution
•To avoid damaging the USB storage device always exit the
1 Press MENU to exit the
2 Wait 5 seconds then remove the USB storage device.
32EN