Select menu display language
![]() Note
Note
•If this product is connected to a HDMI CEC compliant TV, skip this setting. It switches automatically to the same OSD menu language as per your TV setting (if the language set on TV is supported by this product).
1 In the Home menu, select [Settings] and press OK.
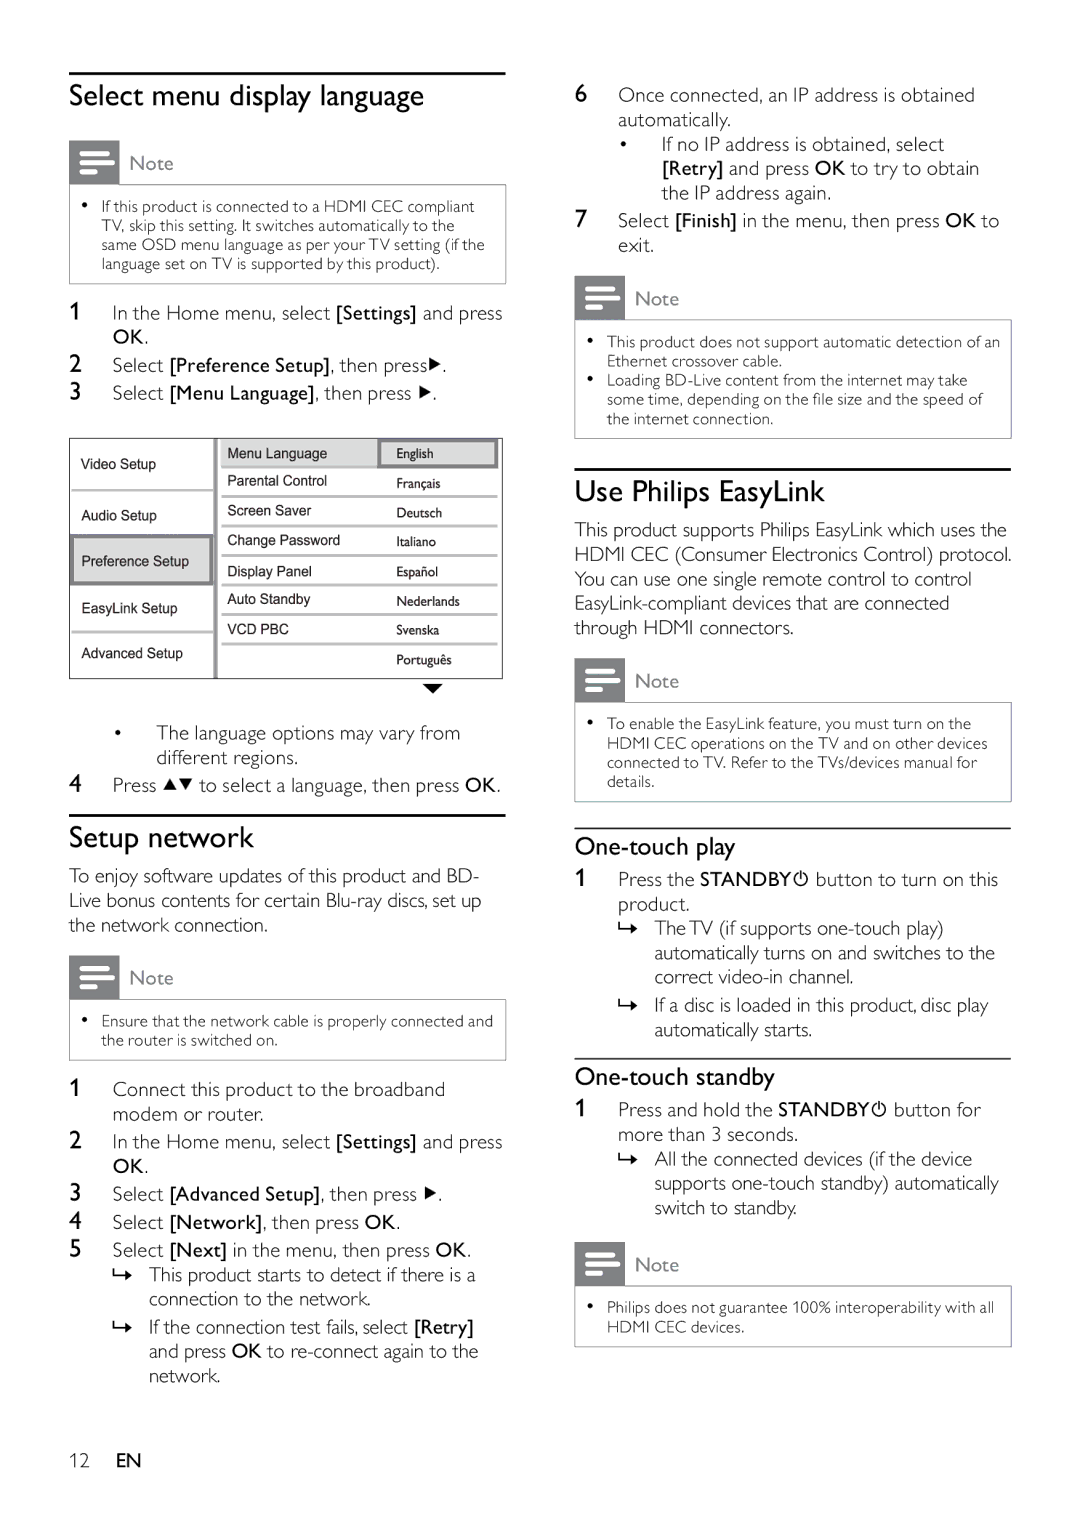
2 | Select [Preference Setup], then press . |
3 | Select [Menu Language], then press . |
•The language options may vary from different regions.
4Press ![]()
![]() to select a language, then press OK.
to select a language, then press OK.
Setup network
To enjoy software updates of this product and BD- Live bonus contents for certain
![]() Note
Note
•Ensure that the network cable is properly connected and the router is switched on.
1 Connect this product to the broadband modem or router.
2In the Home menu, select [Settings] and press OK.
3Select [Advanced Setup], then press ![]() .
.
4Select [Network], then press OK.
5Select [Next] in the menu, then press OK.
»This product starts to detect if there is a connection to the network.
»If the connection test fails, select [Retry] and press OK to
6Once connected, an IP address is obtained automatically.
•If no IP address is obtained, select [Retry] and press OK to try to obtain the IP address again.
7Select [Finish] in the menu, then press OK to exit.
![]() Note
Note
•This product does not support automatic detection of an Ethernet crossover cable.
•Loading
Use Philips EasyLink
This product supports Philips EasyLink which uses the HDMI CEC (Consumer Electronics Control) protocol. You can use one single remote control to control
![]() Note
Note
•To enable the EasyLink feature, you must turn on the HDMI CEC operations on the TV and on other devices connected to TV. Refer to the TVs/devices manual for details.
One-touch play
1Press the STANDBY![]() button to turn on this product.
button to turn on this product.
»The TV (if supports
»If a disc is loaded in this product, disc play automatically starts.
One-touch standby
1Press and hold the STANDBY![]() button for more than 3 seconds.
button for more than 3 seconds.
»All the connected devices (if the device supports
![]() Note
Note
•Philips does not guarantee 100% interoperability with all HDMI CEC devices.
12EN