Recording television programmes
25
OPEN/CLOSE | DRIVE | REC |
SELECT |
| |
CH |
| k1.3 |
| DV IN | S VIDEO IN VIDEO IN L/MONO |
| ||||
|
|
| AV3 |
|
| 1 ∫ | |
e.g., [Australia]and]N.Z.] | DVD | 3 | |||||
ÍTÍV
DRIVE | CH | VOLUME |
1 | SELECT | AV |
|
|
| |
|
|
|
| |||
Numbered | 1 | 2 | 3 | CH | 3 | |
4 | 5 | 6 | ||||
buttons |
| |||||
7 | 8 | 9 | INPUT SELECT |
| ||
|
| |||||
|
| 0 |
| |||
| SKIP |
| SLOW/SEARCH |
| ||
;
∫STOP PAUSE PLAY/x1.3
TIME SLIPMANUAL SKIP
|
|
|
|
| ROG/CHE | CK |
|
| |
|
|
|
|
| P |
|
|
| |
|
| T | O | R |
|
|
| F |
|
|
|
|
|
|
|
| |||
|
|
|
|
|
|
| U |
| |
| A |
|
|
|
|
| N |
| |
| IG |
|
|
|
|
|
| C |
|
| V |
|
|
|
|
|
| T |
|
| A |
|
|
|
|
|
| I |
|
| N |
|
|
|
|
|
| O |
|
| T |
|
|
| ENTER |
|
| ||
| E |
|
|
|
| S |
| ||
| C |
|
|
|
|
|
| N |
|
| R |
|
|
|
|
|
|
|
|
3,4,2,1 | I |
|
|
|
|
|
|
|
|
| D |
|
|
|
|
|
|
| |
ENTER | SUB MENU |
|
|
| RETURN |
| |||
S |
|
|
|
|
|
|
|
| |
|
|
|
|
|
|
|
|
| |
| AUDIO |
| CREATE |
|
| ||||
AUDIO | DISPLAY CHAPTER STATUS |
| |||||||
A |
|
| B |
| C |
| 4 | ||
5 | REC | REC MODE | F Rec | DELETE | |||||
See also “Important notes for recording” (➡ 8).
≥[RAM] It is not possible to record continuously from one side of a double sided disc to the other. You will need to eject the disc and
turn it over.
≥[+RW] You can create Top Menu using “Create Top Menu” (➡ 55). Recording or editing on the disc may delete the menu. In that case, create the menu again.
[HDD]
≥You can record up to 500 titles on HDD. (When continuously recording for long durations, titles are automatically divided every 8 hours.)
[RAM]
≥You can record up to 99 titles on one disc.
[+R] [+RW]
≥You can record up to 49 titles on one disc.
[SD]
≥It is not possible to record onto a card.
Preparation
≥Turn on the television and select the appropriate video input to suit the connections to this unit.
≥Turn on this unit.
1 Press [DRIVE SELECT] to select the HDD or DVD drive.
The HDD or DVD indicator lights up on the unit’s display.
2 If you selected the DVD drive
Press [< OPEN/CLOSE] on the main unit to open the tray and insert a disc.
≥Press the button again to close the tray.
≥When using 8 cm
Insert | ∫ Cartridge disc |
3 Press [W X CH] to select the channel.
To select with the numbered buttons:
e.g., 5: [5]
15:
4 Press [REC MODE] to select the recording mode (XP, SP, LP or EP).
Remaining time on the disc
≥To record sound using LPCM (XP mode only):
Set the “Audio Mode for XP Recording” to “LPCM” in the Setup menu (➡ 60).
5 Press [¥ REC] to start recording.


 REC
REC
Recording will take place on open space on the HDD or on disc. Data will not be overwritten.
≥You cannot change the channel or recording mode during recording. You can change the channel or recording mode while paused; however, the recording will then be as a separate title.
≥You can record while the unit is in standby for timer recording, but once the time for the timer recording to begin is reached, any recording taking place will stop and the timer recording will begin.
≥[HDD] [RAM] You can change the audio being received by pressing [AUDIO] during recording. (Does not affect the recording of audio.)
∫To pause recording
Press [;].
Press again to restart recording.
You can also press [¥ REC] to restart. (Title is not split into separate titles.)
∫To stop recording
Press [∫].
≥From the start to the end of the recording is called one title.
finishes.
In order to play
RQT8361
20
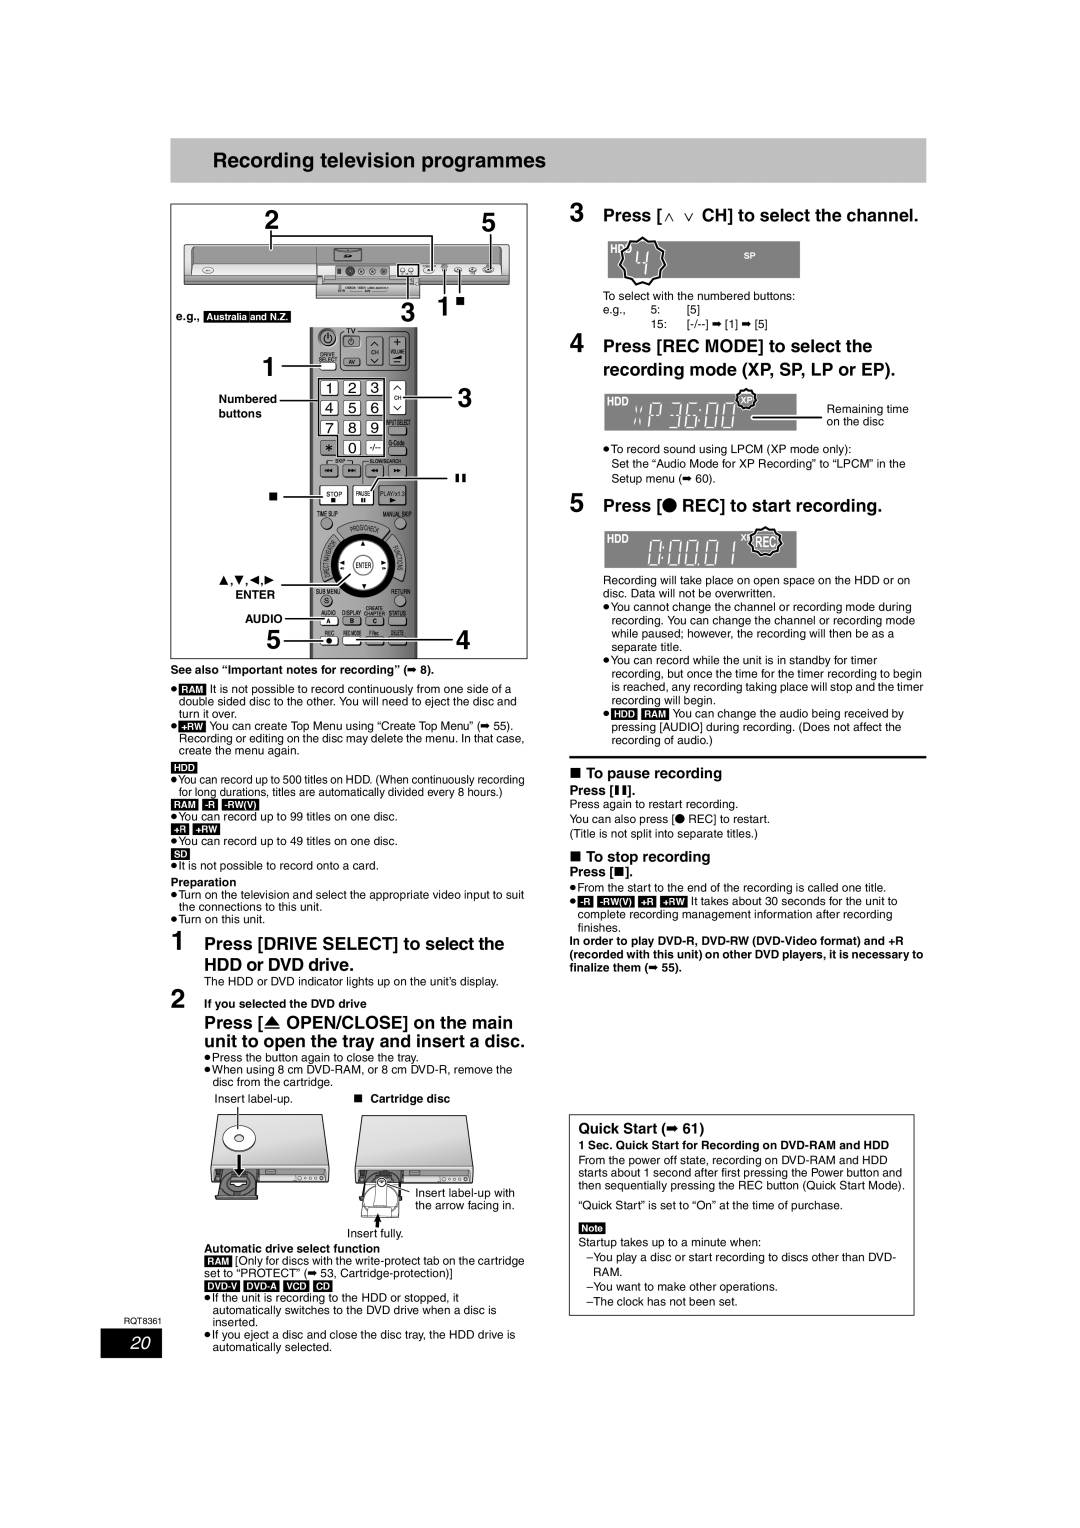
![]()
![]() Insert
Insert ![]() the arrow facing in.
the arrow facing in.
Insert fully.
Automatic drive select function
[RAM] [Only for discs with the
[DVD-V] [DVD-A] [VCD] [CD]
≥If the unit is recording to the HDD or stopped, it automatically switches to the DVD drive when a disc is inserted.
≥If you eject a disc and close the disc tray, the HDD drive is automatically selected.
Quick Start (➡ 61)
1 Sec. Quick Start for Recording on DVD-RAM and HDD
From the power off state, recording on
“Quick Start” is set to “On” at the time of purchase.
[Note]
Startup takes up to a minute when: