Copying a finalized
[DVD-V] > [HDD]
You can copy the content of finalized
While playing a disc, the content being played is copied to the HDD according to the set time.
≥If you perform search,
≥Operations and on screen displays during copy are also recorded.
≥Almost all
≥The following cannot be copied:
Preparation
≥Insert the finalized disc (➡ 28).
After performing steps
6 Set “Copy Time”.
≥If you are not going to change the setting (➡ step 7).
∫Setting the unit to copy according to the set time
1Press [3, 4] to select “Copy Time” and press [1].
2Press [3, 4] to select “Time Setting” and press [ENTER]. ≥Setting the unit to copy all the content on the disc
3 Press [3, 4] to select “Off” and press [ENTER].
4 Press [2] to confirm.
Copy will continue until there is not enough available recording space on the HDD.
≥Setting the copying time
3Press [3, 4] to select “On” and press [ENTER].
4Press [3, 4] to select “Copy Time” and press [ENTER].
Copy
Cancel All
|
|
|
|
|
|
|
|
|
|
1 Copy Direction |
|
|
|
|
|
|
| ||
| DVD > HDD |
|
|
|
|
|
|
| |
|
|
|
|
| 2 | Hour | 00 | Min. |
|
2 Copy Mode |
|
| |||||||
|
|
|
|
|
|
|
| ||
|
|
|
|
| Set the time a few minutes | ||||
3 Copy Time |
| longer. | |||||||
|
|
|
|
|
|
|
|
|
|
|
|
|
| Press ENTER to change settings. | |||||
| Start Copying |
|
| ||||||
![]() ENTER
ENTER
![]() RETURN
RETURN
5Press [2, 1] to select “Hour” and “Min.” and press [3, 4]
to set the recording time.
6Press [ENTER].
7Press [2] to confirm.
Copying to the HDD continues for the set time even after the content being played finishes.
≥Set a few minutes longer than the source title, in order to include the operation time before play begins.
≥You can also set the recording time with the numbered buttons.
7 Press [3, 4] to select “Start
Copying” and press [ENTER].
Press [2, 1] to select “Yes” and press [ENTER] to start copying.
The disc top menu is displayed.
≥Disc play automatically begins from title 1 when “Title 1” is selected from the
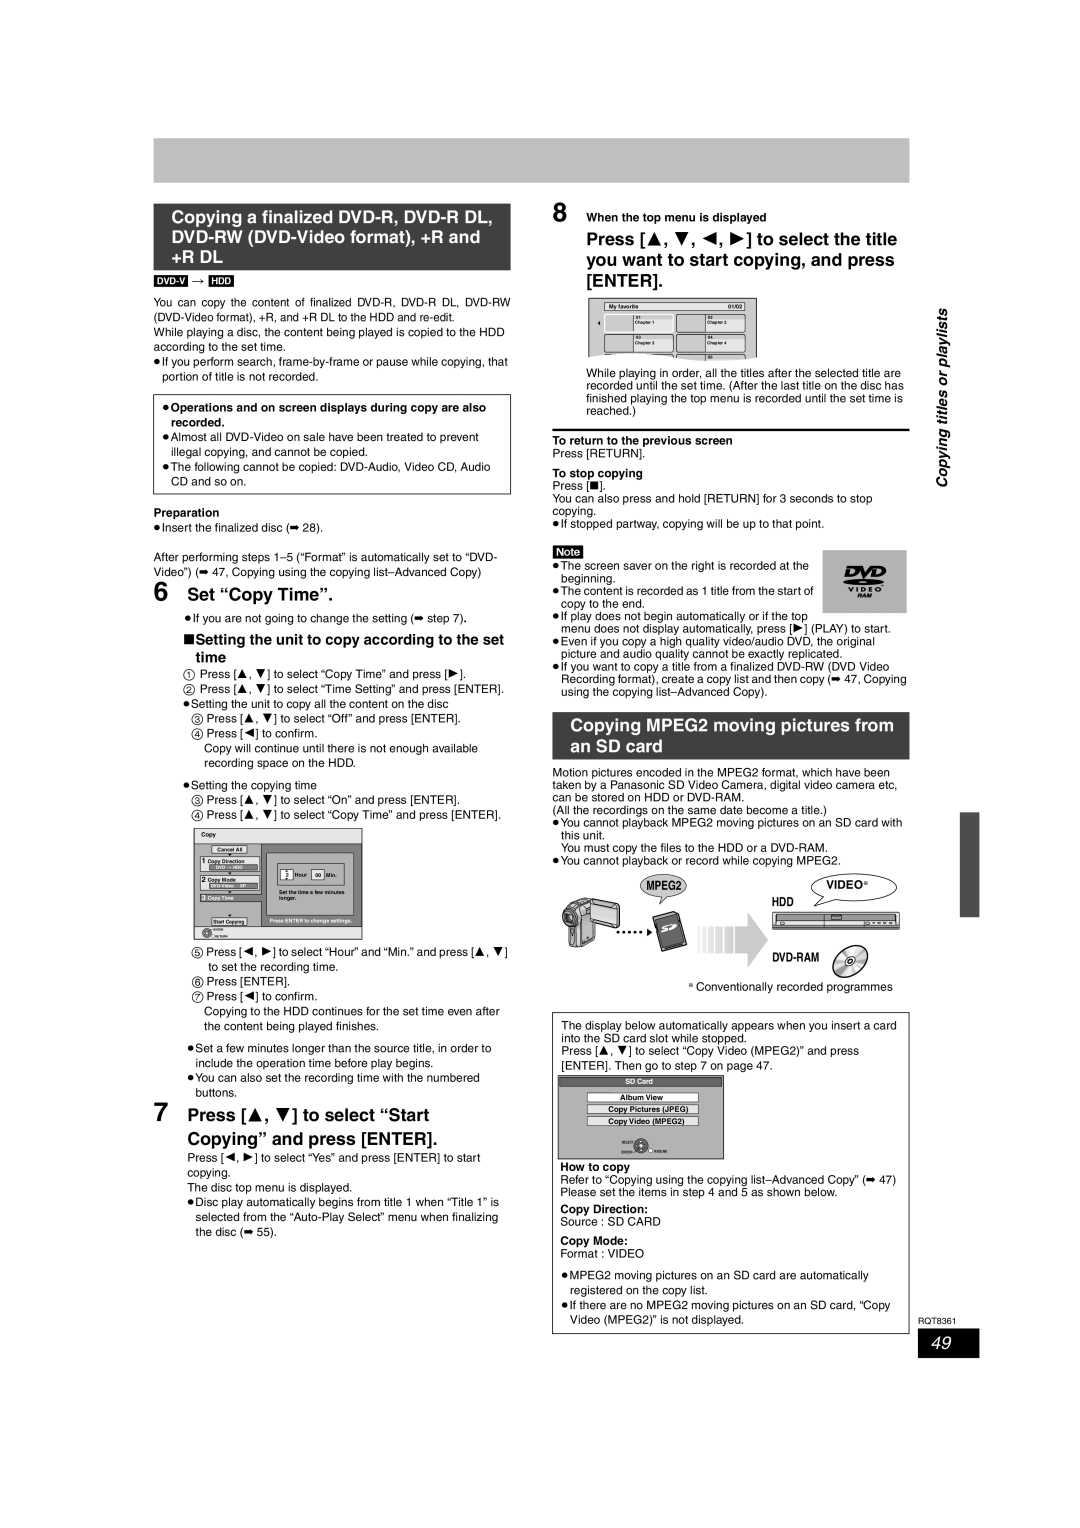
8 When the top menu is displayed
Press [3, 4, 2, 1] to select the title you want to start copying, and press [ENTER].
My favorite | 01/02 | playlists | |
01 | 02 | ||
Chapter 1 | Chapter 2 |
| |
03 | 04 |
| |
Chapter 3 | Chapter 4 |
| |
05 | 06 |
| |
While playing in order, all the titles after the selected title are | or | ||
recorded until the set time. (After the last title on the disc has | |||
titles | |||
finished playing the top menu is recorded until the set time is | |||
reached.) |
| Copying | |
To return to the previous screen | |||
| |||
Press [RETURN]. |
|
| |
To stop copying |
|
| |
Press [∫]. |
|
| |
You can also press and hold [RETURN] for 3 seconds to stop |
| ||
copying. |
|
| |
≥If stopped partway, copying will be up to that point. |
| ||
[Note]
≥The screen saver on the right is recorded at the beginning.
≥The content is recorded as 1 title from the start of copy to the end.
≥If play does not begin automatically or if the top
menu does not display automatically, press [1] (PLAY) to start. ≥Even if you copy a high quality video/audio DVD, the original
picture and audio quality cannot be exactly replicated.
≥If you want to copy a title from a finalized
Copying MPEG2 moving pictures from an SD card
Motion pictures encoded in the MPEG2 format, which have been taken by a Panasonic SD Video Camera, digital video camera etc, can be stored on HDD or
(All the recordings on the same date become a title.)
≥You cannot playback MPEG2 moving pictures on an SD card with this unit.
You must copy the files to the HDD or a
MPEG2VIDEO§
HDD
DVD-RAM
§Conventionally recorded programmes
The display below automatically appears when you insert a card into the SD card slot while stopped.
Press [3, 4] to select “Copy Video (MPEG2)” and press [ENTER]. Then go to step 7 on page 47.
SD Card
Album View
Copy Pictures (JPEG)
Copy Video (MPEG2)
SELECT
ENTER![]()
![]() RETURN
RETURN
How to copy
Refer to “Copying using the copying
Copy Direction:
Source : SD CARD
Copy Mode:
Format : VIDEO
≥MPEG2 moving pictures on an SD card are automatically registered on the copy list.
≥If there are no MPEG2 moving pictures on an SD card, “Copy
Video (MPEG2)” is not displayed. | RQT8361 |
49