1. Press OK.
2. Press ![]() to set the volume.
to set the volume.
3. Press OK to confirm and exit.
[Sound Mode]
Select a preset sound effect to enhance the audio output.
•[3D] - Select a virtual surround sound effect that is produced from the left and right audio channels.
•[Movie Mode] - Select a sound effect for movies.
•[Music Mode] - Select a sound effect for music.
[Speaker Setup]
Optimize the surround output for the connected speakers.
[CD Upsampling]
For better sound quality in stereo mode, convert the music CD to a higher sampling rate.
•[Off] - Turn off
•[88.2kHz] - Convert to twice the original sampling rate.
•[176.4kHz] - Convert to four times the original sampling rate.
[Night Mode]
Make loud sound level softer and soft sound level louder so that you can watch the DVD movies at a low volume, without disturbing others.
•[On] - Enjoy quiet viewing at night.
•[Off] - Enjoy surround sound with a full dynamic range.
![]() Note
Note
•Applicable only to Dolby Digital encoded DVDs.
Video setup
1Press SETUP.
» [General Setup] menu is displayed.
2Press ![]() to select [Video Setup], and then press
to select [Video Setup], and then press ![]() to enter the submenu.
to enter the submenu.
3Select an option, and then press OK.
4Select a setting, and then press OK.
•To return to the previous menu, press ![]() BACK.
BACK.
•To exit the menu, press SETUP.
[TV System]
Change this setting if the video does not appear correctly. By default, this setting matches the most common setting for TVs in your country.
•[PAL] - For a
•[Multi] - For TV that is compatible with both PAL and NTSC.
•[NTSC] - For an
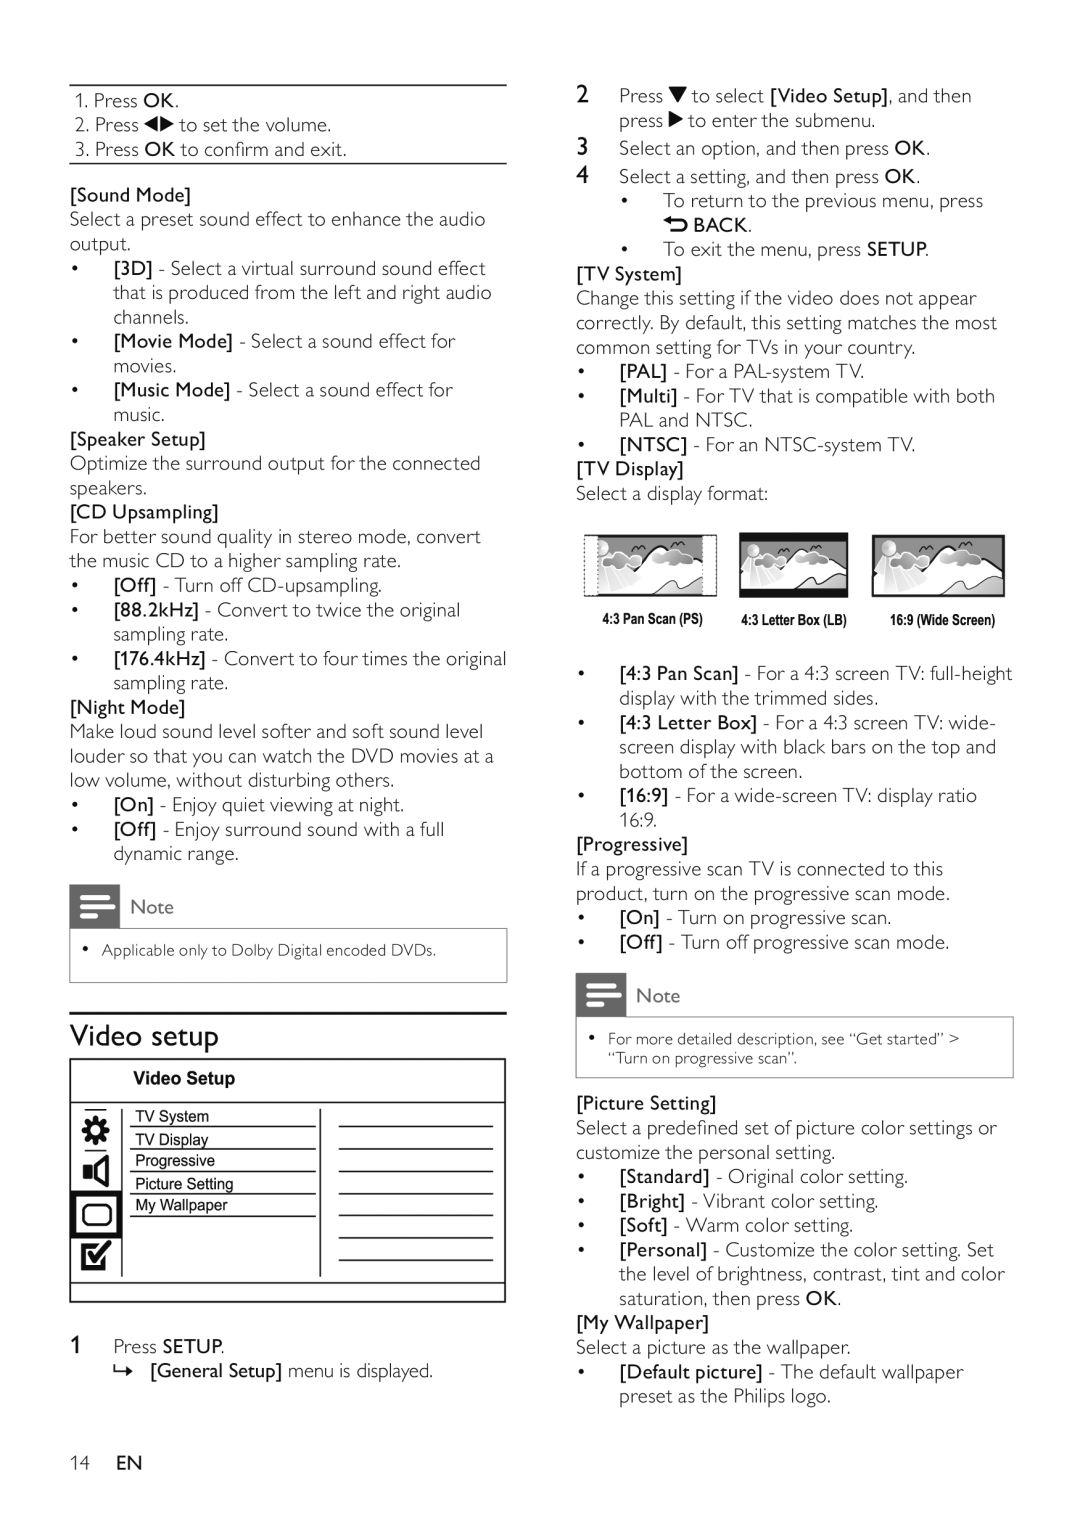
[TV Display]
Select a display format:
•[4:3 Pan Scan] - For a 4:3 screen TV:
•[4:3 Letter Box] - For a 4:3 screen TV: wide- screen display with black bars on the top and bottom of the screen.
•[16:9] - For a
16:9.
[Progressive]
If a progressive scan TV is connected to this product, turn on the progressive scan mode.
•[On] - Turn on progressive scan.
•[Off] - Turn off progressive scan mode.
![]() Note
Note
•For more detailed description, see “Get started” > “Turn on progressive scan”.
[Picture Setting]
Select a predefined set of picture color settings or customize the personal setting.
•[Standard] - Original color setting.
•[Bright] - Vibrant color setting.
•[Soft] - Warm color setting.
•[Personal] - Customize the color setting. Set the level of brightness, contrast, tint and color
saturation, then press OK. [My Wallpaper]
Select a picture as the wallpaper.
•[Default picture] - The default wallpaper preset as the Philips logo.
14EN