Clock/Timer Operations
English
Viewing the clock
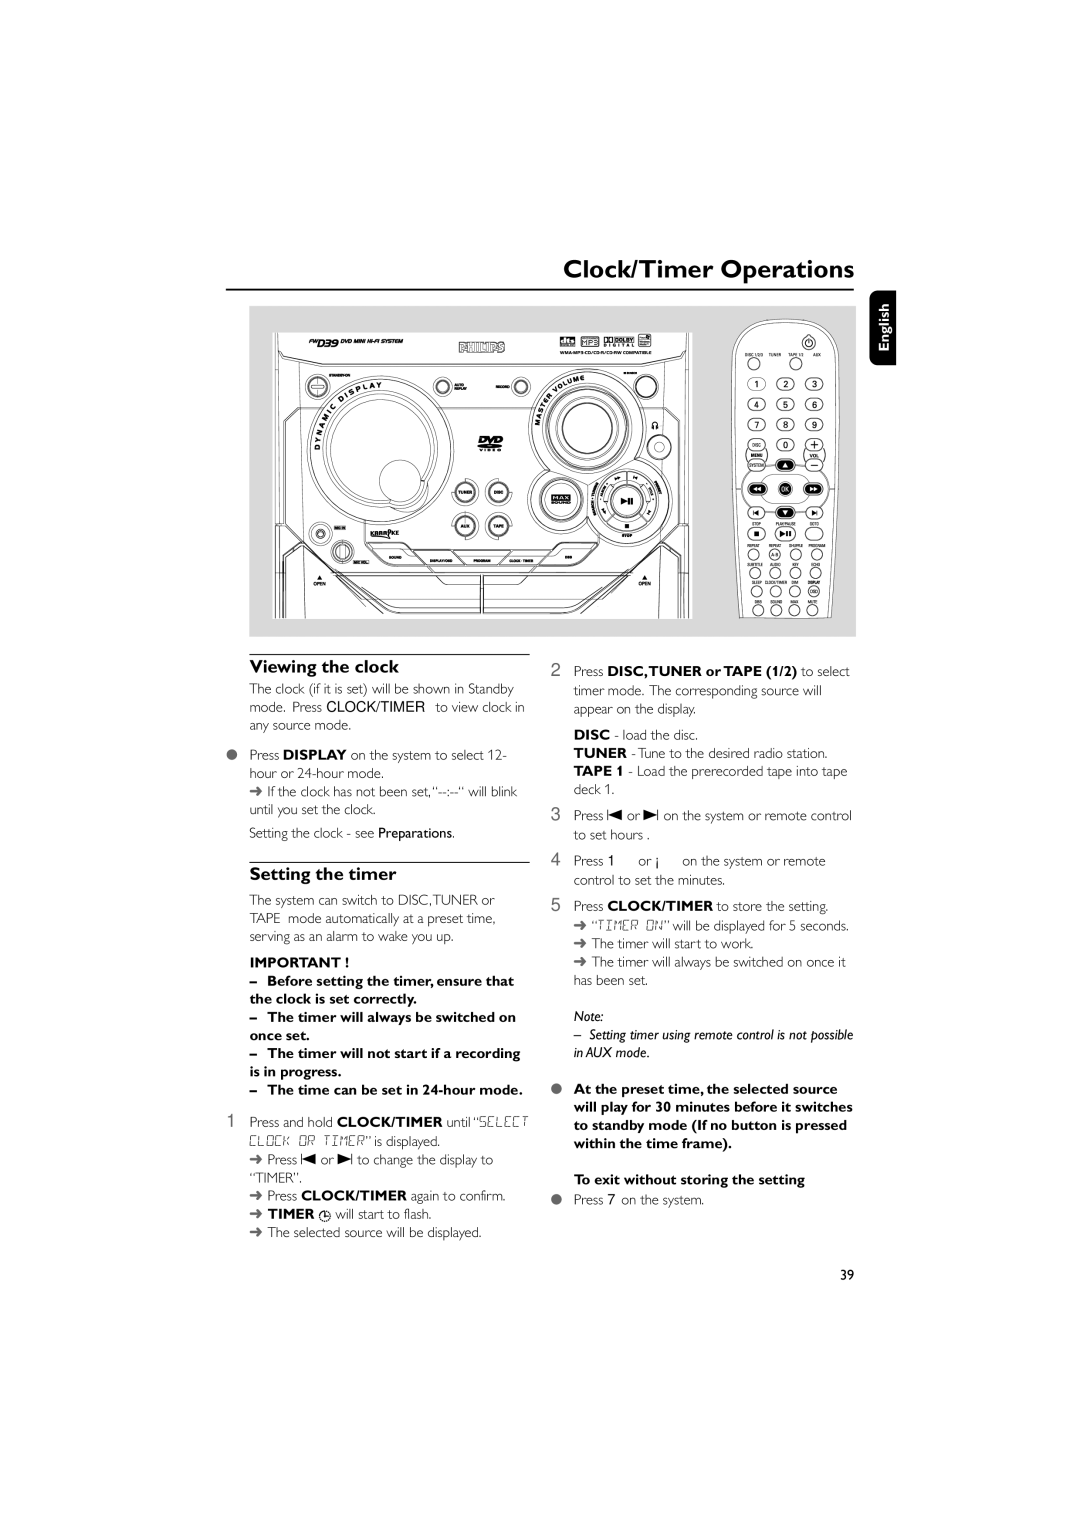
The clock (if it is set) will be shown in Standby mode. Press CLOCK/TIMER to view clock in any source mode.
●Press DISPLAY on the system to select 12- hour or
➜ If the clock has not been
Setting the clock - see Preparations.
Setting the timer
The system can switch to DISC,TUNER or TAPE mode automatically at a preset time, serving as an alarm to wake you up.
IMPORTANT !
–Before setting the timer, ensure that the clock is set correctly.
–The timer will always be switched on once set.
–The timer will not start if a recording is in progress.
–The time can be set in
1 Press and hold CLOCK/TIMER until “SELECT CLOCK OR TIMER” is displayed.
➜ Press O or P to change the display to “TIMER”.
➜ Press CLOCK/TIMER again to confirm. ➜ TIMER ![]() will start to flash.
will start to flash.
➜ The selected source will be displayed.
2Press DISC,TUNER or TAPE (1/2) to select timer mode. The corresponding source will appear on the display.
DISC - load the disc.
TUNER - Tune to the desired radio station. TAPE 1 - Load the prerecorded tape into tape deck 1.
3Press O or P on the system or remote control to set hours .
4Press 1 or ¡ on the system or remote control to set the minutes.
5Press CLOCK/TIMER to store the setting.
➜“TIMER ON” will be displayed for 5 seconds.
➜The timer will start to work.
➜The timer will always be switched on once it has been set.
Note:
– Setting timer using remote control is not possible in AUX mode.
●At the preset time, the selected source will play for 30 minutes before it switches to standby mode (If no button is pressed within the time frame).
To exit without storing the setting
●Press 7 on the system.
39
