Preparations

IMPORTANT!

Make sure to complete the preparation procedures before operating the system.

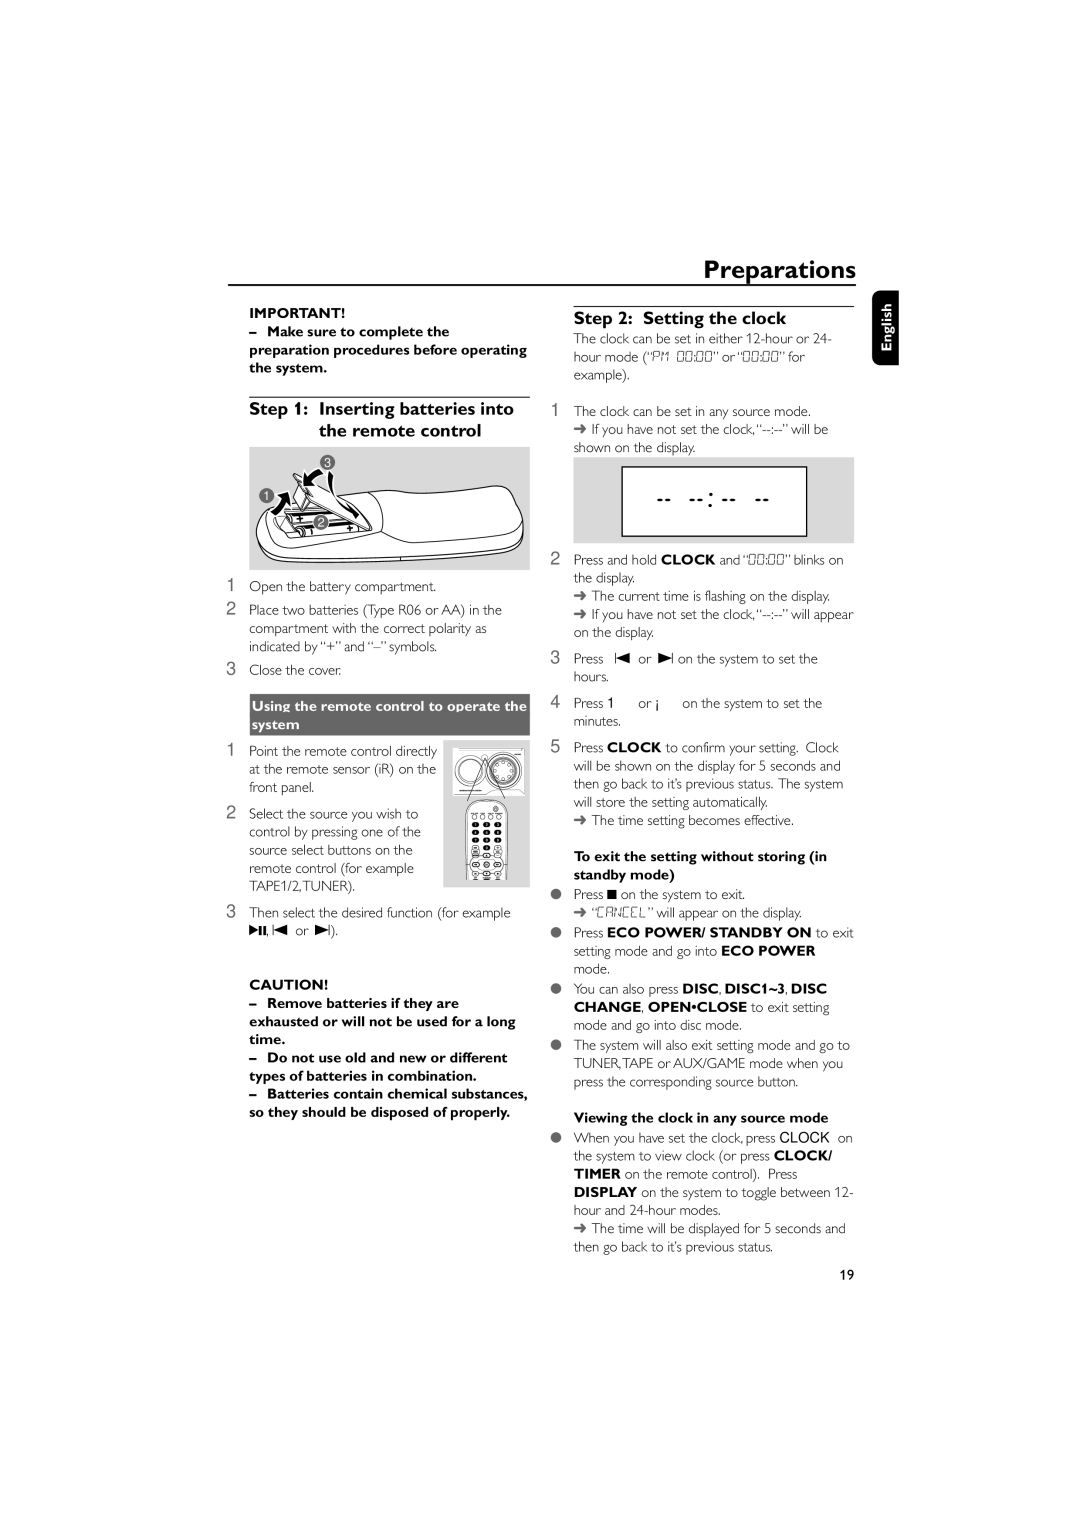
Step 1: Inserting batteries into the remote control

3

1

2

1Open the battery compartment.

2Place two batteries (Type R06 or AA) in the compartment with the correct polarity as indicated by “+” and “–” symbols.

3Close the cover.

Using the remote control to operate the

system

Step 2: Setting the clock

The clock can be set in either 12-hour or 24- hour mode (“PM 00:00” or “00:00” for example).

1The clock can be set in any source mode.

If you have not set the clock, “--:--” will be shown on the display.

2Press and hold CLOCK and “00:00” blinks on the display.

The current time is flashing on the display.

If you have not set the clock, “--:--” will appear on the display.

3Press O or P on the system to set the hours.

4Press 1 or ¡ on the system to set the minutes.

English

1 Point the remote control directly at the remote sensor (iR) on the front panel.

2 Select the source you wish to control by pressing one of the source select buttons on the remote control (for example TAPE1/2,TUNER).

3Then select the desired function (for example 2;, O or P).

CAUTION!

Remove batteries if they are exhausted or will not be used for a long time.

Do not use old and new or different types of batteries in combination.

Batteries contain chemical substances, so they should be disposed of properly.

5Press CLOCK to confirm your setting. Clock will be shown on the display for 5 seconds and then go back to it’s previous status. The system will store the setting automatically.

The time setting becomes effective.

To exit the setting without storing (in standby mode)

Press 9 on the system to exit.

“CANCEL” will appear on the display.

Press ECO POWER/ STANDBY ON to exit setting mode and go into ECO POWER mode.

You can also press DISC, DISC1~3, DISC CHANGE, OPEN•CLOSE to exit setting mode and go into disc mode.

The system will also exit setting mode and go to TUNER,TAPE or AUX/GAME mode when you press the corresponding source button.

Viewing the clock in any source mode

When you have set the clock, press CLOCK on the system to view clock (or press CLOCK/ TIMER on the remote control). Press DISPLAY on the system to toggle between 12- hour and 24-hour modes.

The time will be displayed for 5 seconds and then go back to it’s previous status.

19

Page 19
Image 19
Philips FWD796/21 manual Preparations, Inserting batteries into the remote control, Setting the clock

FWD796/21 specifications

The Philips FWD796/21 is an innovative all-in-one home entertainment system that delivers a powerful audio-visual experience. Designed to elevate your movie nights and music enjoyment, this compact unit boasts several remarkable features and technologies.

At the heart of the FWD796/21 is its impressive sound system, which combines various audio technologies to provide clear and immersive sound. The unit features a total output power of 300 watts RMS, allowing for rich and deep bass, which is perfect for action-packed movies or your favorite music tracks. Additionally, the system is equipped with a subwoofer that enhances low-frequency sounds, ensuring that every beat resonates with impact.

The FWD796/21 offers multiple connectivity options, making it highly versatile. It includes USB ports for easy playback of your favorite digital music files, along with an integrated CD player that supports various disc formats. For those who prefer streaming, the device features Bluetooth connectivity, allowing seamless pairing with smartphones, tablets, or computers. This feature enables users to enjoy their digital music libraries wirelessly, enhancing convenience and versatility.

A standout characteristic of the Philips FWD796/21 is its support for various audio formats. Whether playing MP3, WMA, or AAC files, the system ensures high-quality playback. Additionally, it is compatible with DivX video files, making it an excellent choice for watching movies directly from USB drives or external devices.

The sleek design of the FWD796/21 adds an element of style to any room. Its compact size allows for easy placement in tight spaces, while the contemporary aesthetics complement modern interiors. The intuitive interface and easy-to-read display make navigation simple for users of all ages.

To enhance the viewing experience, the system includes multiple sound modes that allow users to customize their audio settings according to content type. Whether you are watching a movie, listening to music, or playing games, the FWD796/21 can adapt to deliver optimal sound performance.

Overall, the Philips FWD796/21 is a robust home entertainment solution that combines quality sound, advanced connectivity options, and user-friendly features, making it an ideal choice for any entertainment enthusiast.