Find the correct viewing channel
1 Press ![]() to turn on the Home Theater System.
to turn on the Home Theater System.
2 Press DISC to switch to disc mode.
3 Turn on the TV and switch to the correct
•Go to the lowest channel on your TV, then press the Channel Down button until you see the Philips screen.
•Press ![]() SOURCE button repeatedly on the remote control of your TV.
SOURCE button repeatedly on the remote control of your TV.
 Tip
Tip
•The
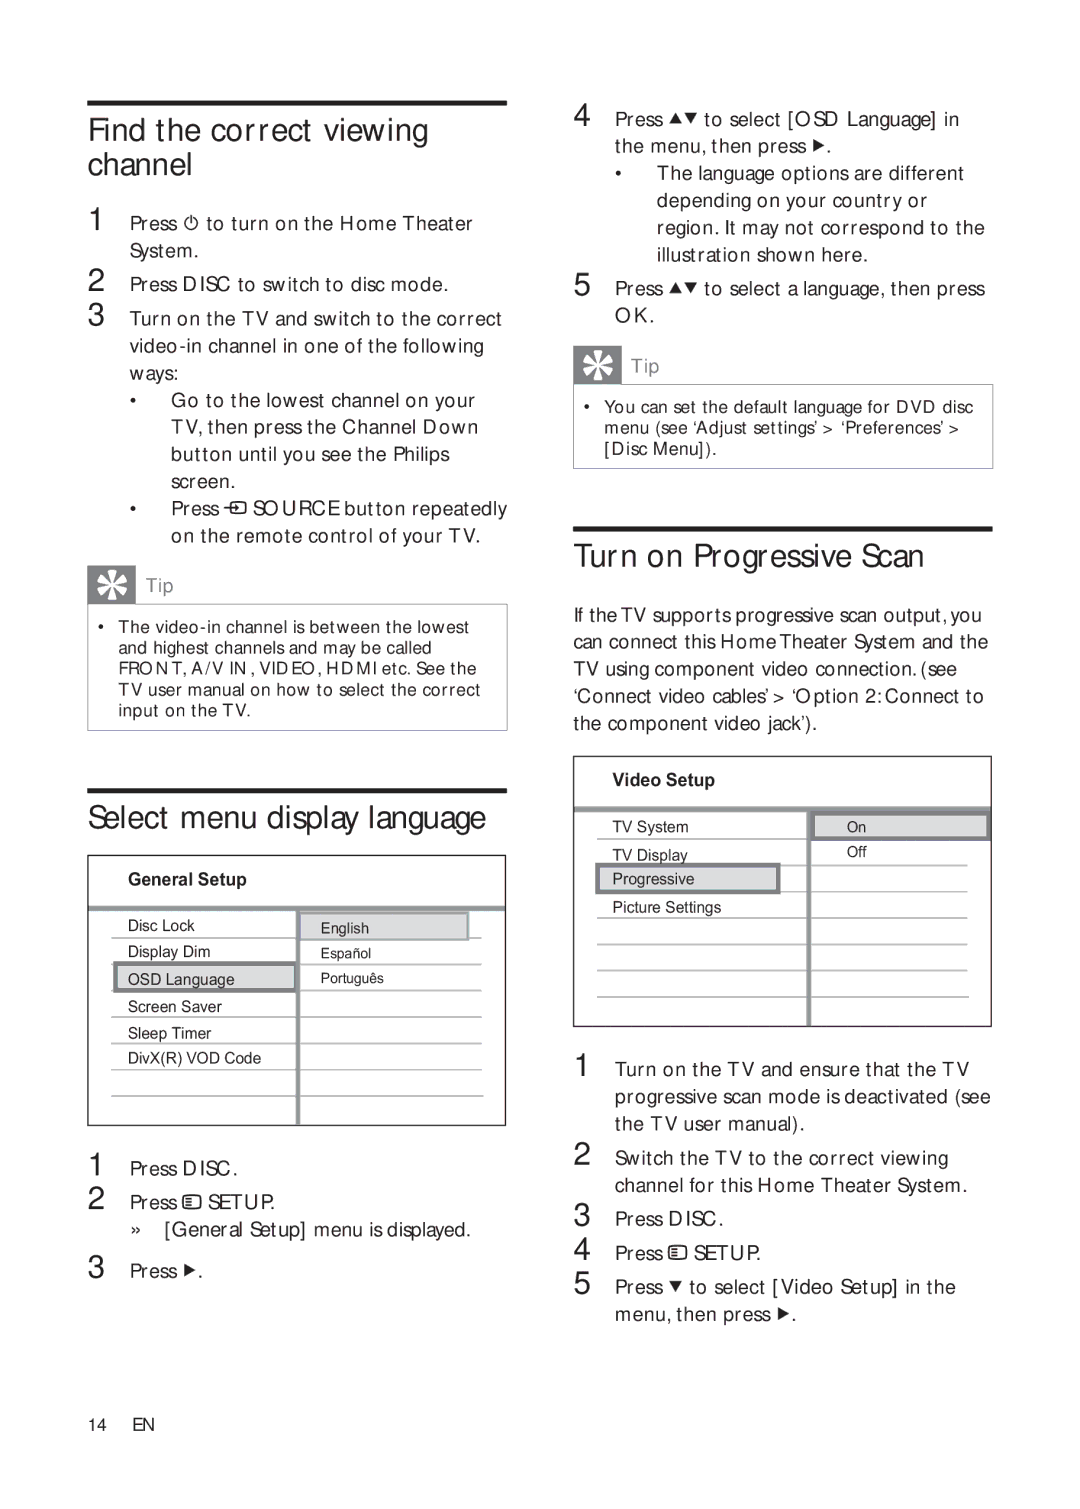
Select menu display language
General Setup
| Disc Lock | English |
|
|
| Display Dim | Español |
| |
| OSD Language | Português |
| |
| Screen Saver |
|
|
|
| Sleep Timer |
|
|
|
| DivX(R) VOD Code |
|
|
|
|
|
|
|
|
|
|
|
|
|
1 Press DISC.
2 Press ![]() SETUP.
SETUP.
»[General Setup] menu is displayed.
3 Press ![]() .
.
4 Press ![]() to select [OSD Language] in the menu, then press
to select [OSD Language] in the menu, then press ![]() .
.
•The language options are different depending on your country or region. It may not correspond to the illustration shown here.
5 Press 
 to select a language, then press OK.
 Tip
Tip
•You can set the default language for DVD disc menu (see ‘Adjust settings’ > ‘Preferences’ > [Disc Menu]).
Turn on Progressive Scan
If the TV supports progressive scan output, you can connect this Home Theater System and the TV using component video connection. (see ‘Connect video cables’ > ‘Option 2: Connect to the component video jack’).
Video Setup
| TV System | On |
| |
| TV Display | Off |
| |
| Progressive |
|
|
|
| Picture Settings |
|
| |
|
|
|
|
|
|
|
|
|
|
|
|
|
|
|
|
|
|
|
|
1 Turn on the TV and ensure that the TV progressive scan mode is deactivated (see the TV user manual).
2 Switch the TV to the correct viewing channel for this Home Theater System.
3 Press DISC.
4 Press ![]() SETUP.
SETUP.
5 Press ![]() to select [Video Setup] in the menu, then press
to select [Video Setup] in the menu, then press ![]() .
.
14EN
