8ENGLISH
AV SOURCE INPUT
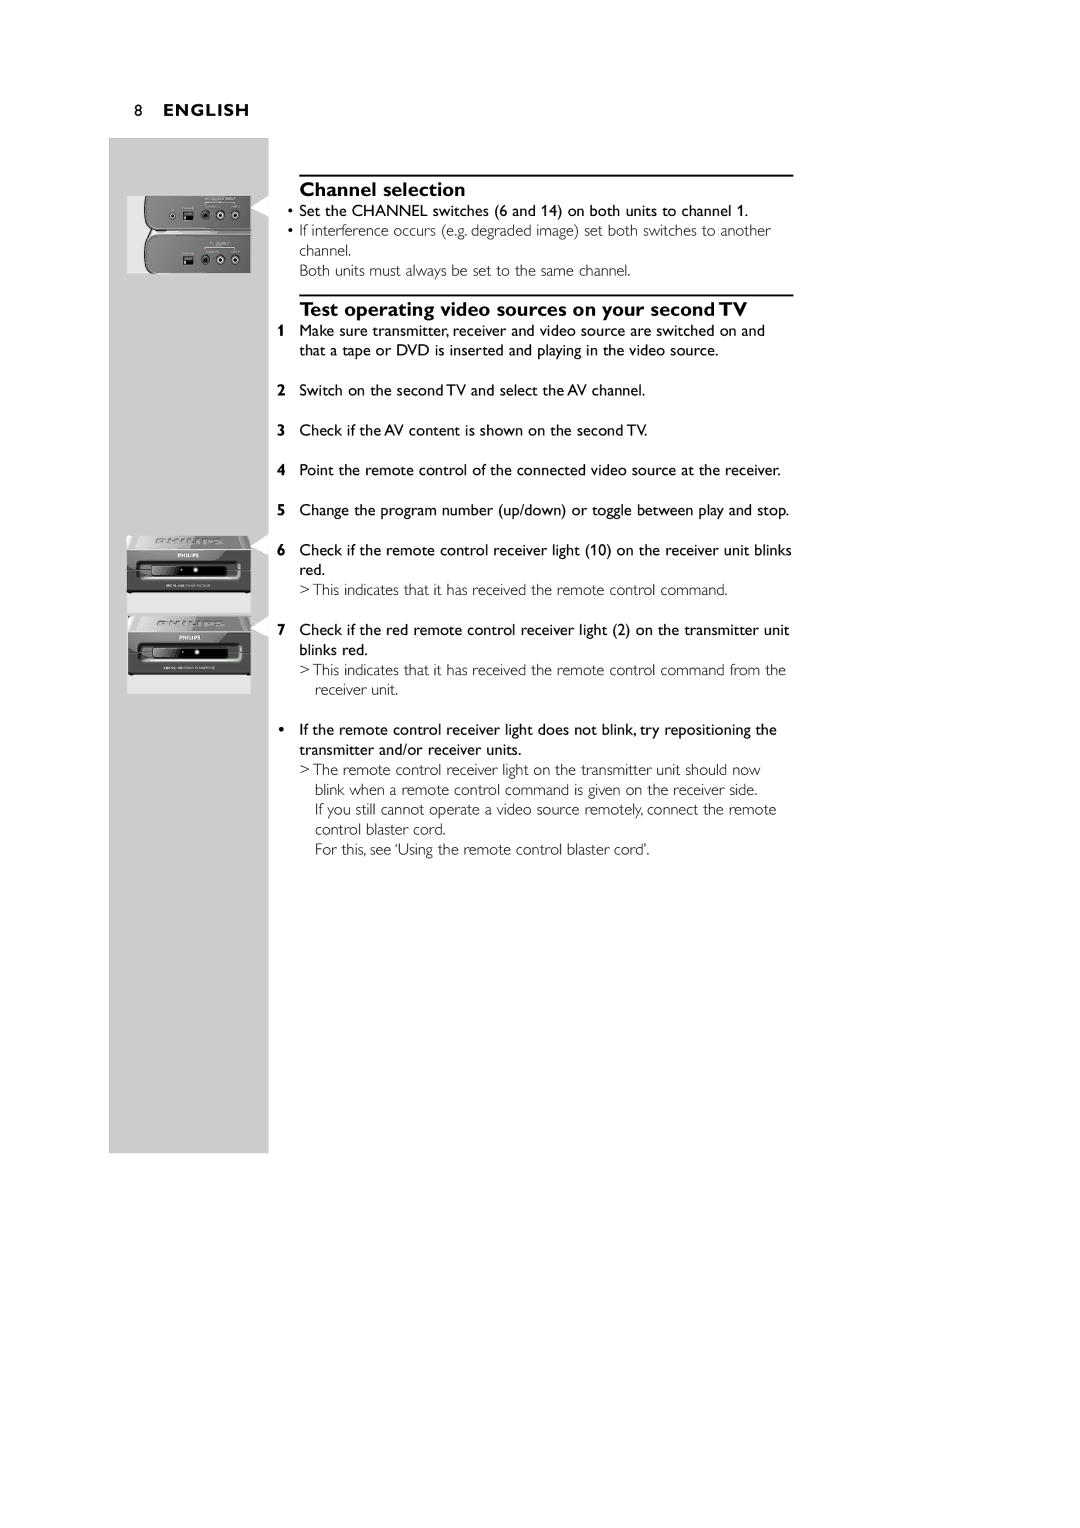
Channel selection
IR CHANNEL
1 2 3 4
CHANNEL
1 2 3 4
TV OUTPUT
•Set the CHANNEL switches (6 and 14) on both units to channel 1.
•If interference occurs (e.g. degraded image) set both switches to another channel.
Both units must always be set to the same channel.
Test operating video sources on your second TV
SBCVL1100 TVLINK RECEIVER
SBCVL1100 TVLINK TRANSMITTER
1Make sure transmitter, receiver and video source are switched on and that a tape or DVD is inserted and playing in the video source.
2Switch on the second TV and select the AV channel.
3Check if the AV content is shown on the second TV.
4Point the remote control of the connected video source at the receiver.
5Change the program number (up/down) or toggle between play and stop.
6Check if the remote control receiver light (10) on the receiver unit blinks red.
>This indicates that it has received the remote control command.
7Check if the red remote control receiver light (2) on the transmitter unit blinks red.
>This indicates that it has received the remote control command from the receiver unit.
•If the remote control receiver light does not blink, try repositioning the transmitter and/or receiver units.
>The remote control receiver light on the transmitter unit should now blink when a remote control command is given on the receiver side.
If you still cannot operate a video source remotely, connect the remote control blaster cord.
For this, see ‘Using the remote control blaster cord’.