Delete / check / change programmed recordings
TIMER
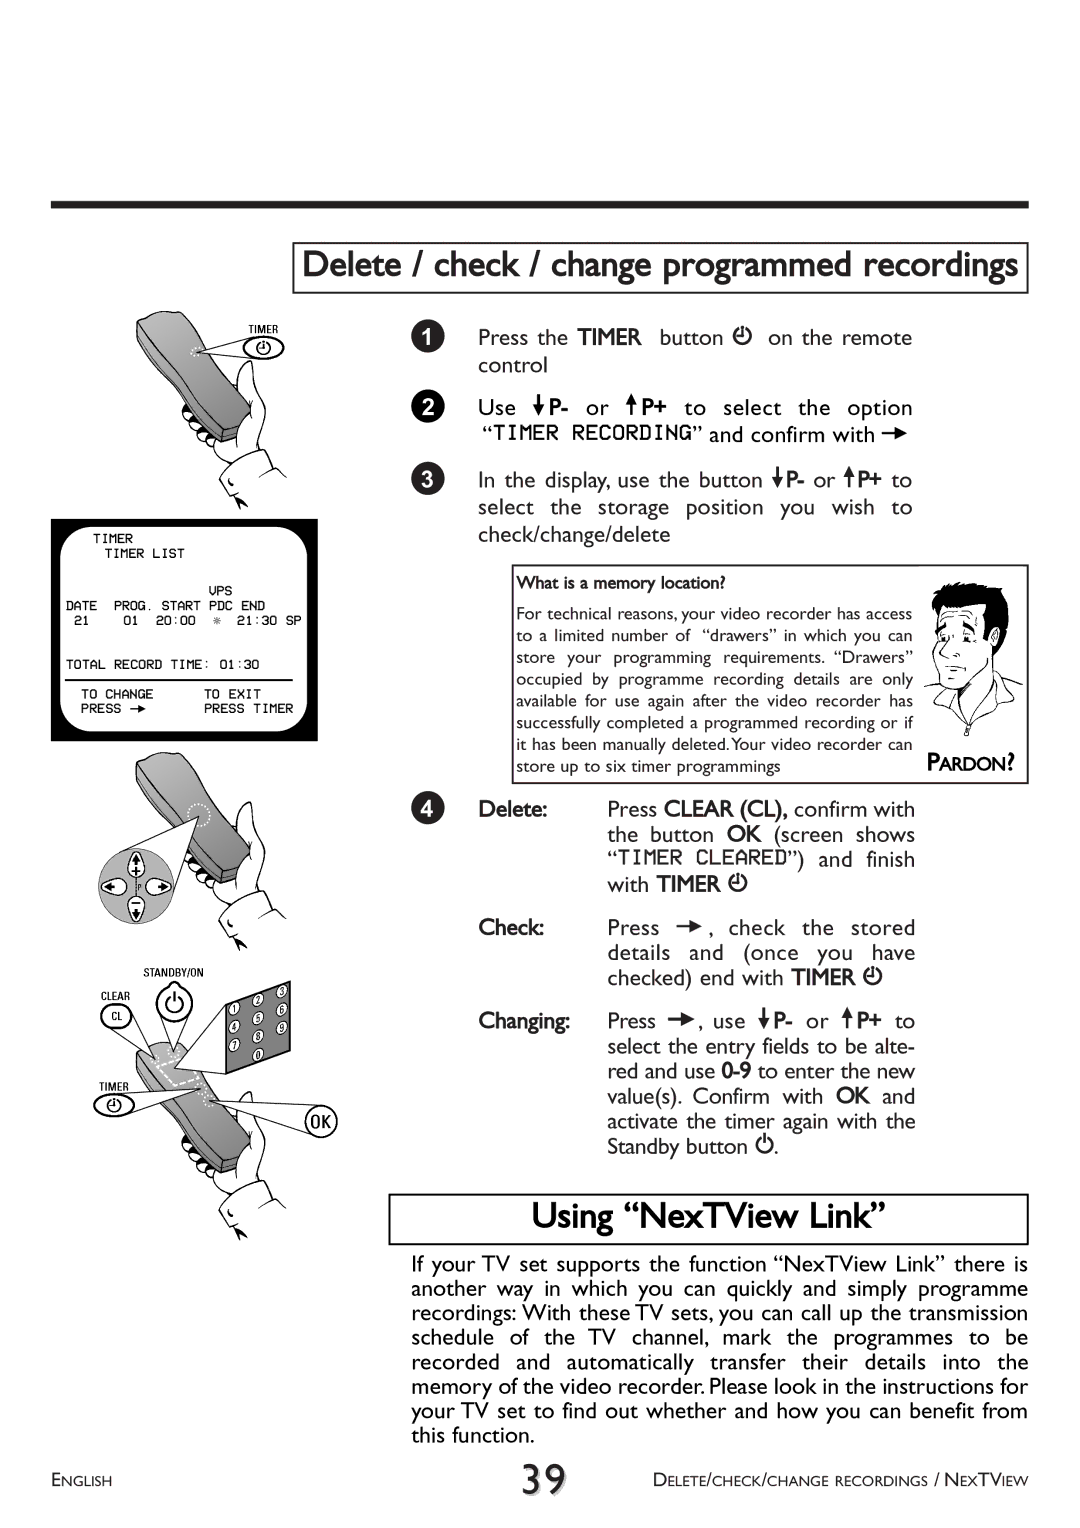
TIMER LIST
VPS
DATE PROG. START PDC END
21 01 20:00 * 21:30 SP
TOTAL RECORD TIME: 01:30
TO CHANGE | TO EXIT | ||
PRESS P | PRESS TIMER | ||
|
|
|
|
|
|
|
|
|
|
|
|
|
|
|
|
1Press the TIMER button k on the remote control
2Use =P- or ;P+ to select the option “TIMER RECORDING” and confirm with P
3In the display, use the button =P- or ;P+ to select the storage position you wish to check/change/delete
| What is a memory location? |
|
| |
| For technical reasons, your video recorder has access |
|
| |
| to a limited number of “drawers” in which you can |
|
| |
| store your programming requirements. “Drawers” |
|
| |
| occupied by programme recording details are only |
|
| |
| available for use again after the video recorder has |
|
| |
| successfully completed a programmed recording or if |
|
| |
| it has been manually deleted.Your video recorder can |
|
| |
| PARDON? | |||
| store up to six timer programmings | |||
|
|
|
|
|
4 Delete: | Press CLEAR (CL), confirm with |
|
| |
|
| the button OK (screen shows |
|
|
|
| “TIMER CLEARED”) and finish |
|
|
|
| with TIMER k |
|
|
Check: | Press P, check the stored |
|
| |
|
| details and (once you have |
|
|
|
| checked) end with TIMER k |
|
|
Changing: | Press P, use =P- or ;P+ to |
|
| |
|
| select the entry fields to be alte- |
|
|
red and use
Using “NexTView Link”
If your TV set supports the function “NexTView Link” there is another way in which you can quickly and simply programme recordings: With these TV sets, you can call up the transmission schedule of the TV channel, mark the programmes to be recorded and automatically transfer their details into the memory of the video recorder. Please look in the instructions for your TV set to find out whether and how you can benefit from this function.
ENGLISH | 39 | DELETE/CHECK/CHANGE RECORDINGS / NEXTVIEW |
|