Cleaning
The unpainted surfaces are coated with a waxy oil to protect them from corrosion during shipment. Remove this protective coating with a solvent cleaner or
WARNING: Gasoline and petroleum products have low flash points and could cause an explo-
!sion or fire if used to clean machinery. DO NOT use gasoline or petroleum products to clean the machinery. Many of the solvents commonly used to clean machinery can be toxic when inhaled or ingested. Lack of ventilation while using these solvents could cause serious personal health risks or fire. Take precautions from this hazard by only using cleaning solvents in a well ventilated area.
Site Considerations
!WARNING: DO NOT allow unsupervised children or visitors in shop at any time.
Floor Load
The PNR
Working Space
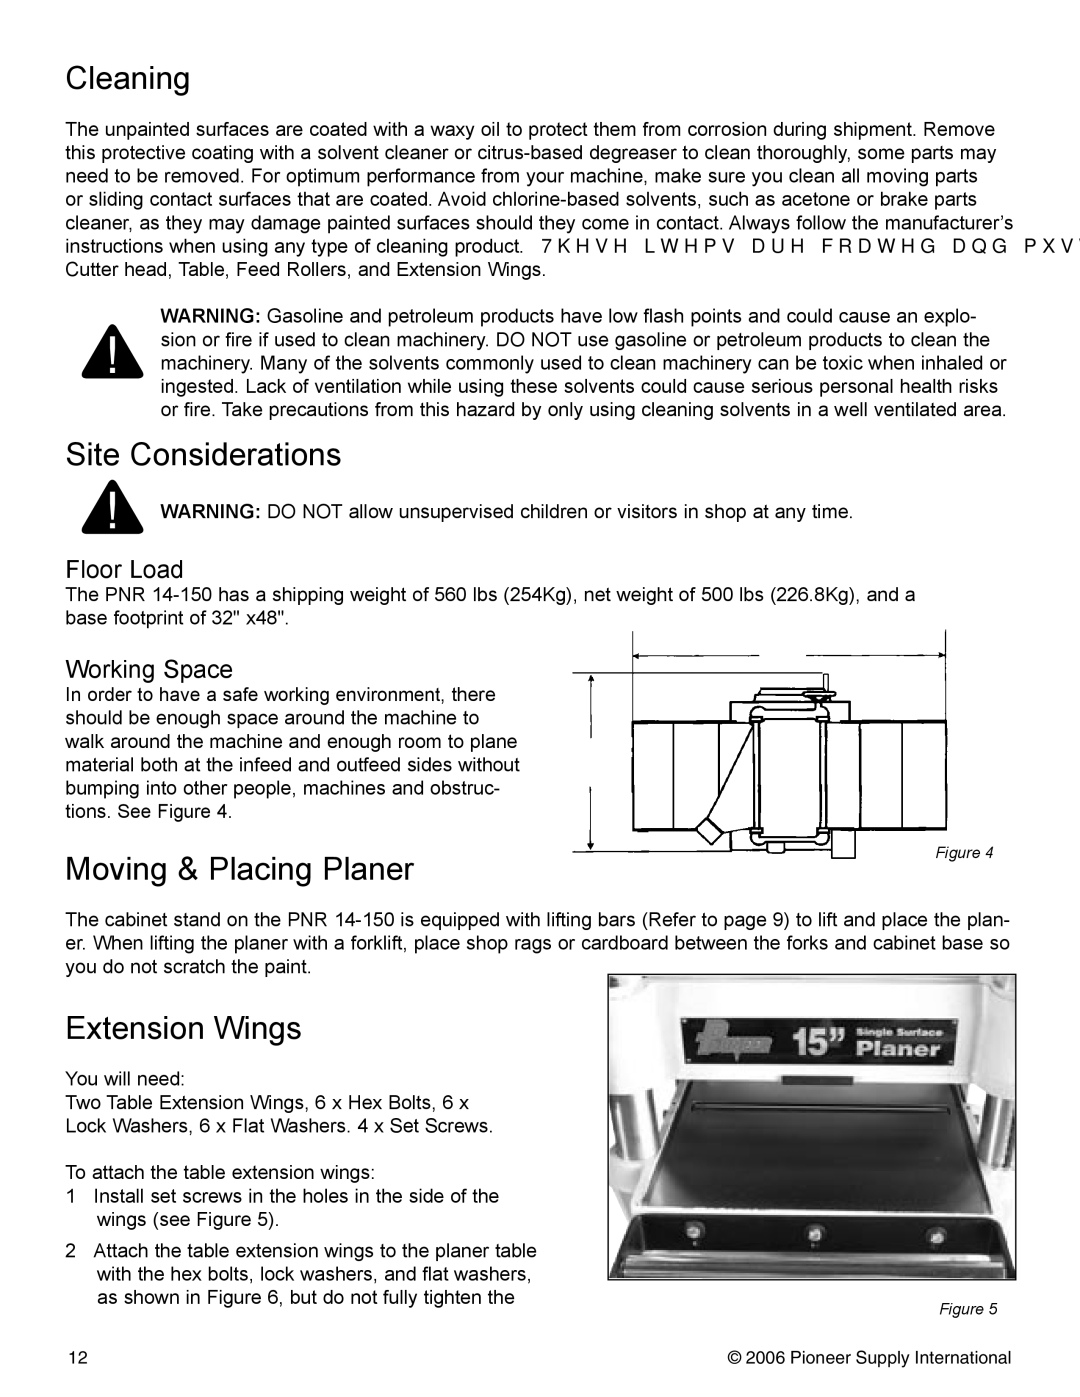
In order to have a safe working environment, there should be enough space around the machine to walk around the machine and enough room to plane material both at the infeed and outfeed sides without bumping into other people, machines and obstruc- tions. See Figure 4.
Moving & Placing Planer
Figure 4
The cabinet stand on the PNR
Extension Wings
You will need:
Two Table Extension Wings, 6 x Hex Bolts, 6 x
Lock Washers, 6 x Flat Washers. 4 x Set Screws.
To attach the table extension wings:
1Install set screws in the holes in the side of the wings (see Figure 5).
2Attach the table extension wings to the planer table with the hex bolts, lock washers, and flat washers,
as shown in Figure 6, but do not fully tighten the | Figure 5 |
|
12 | © 2006 Pioneer Supply International |
