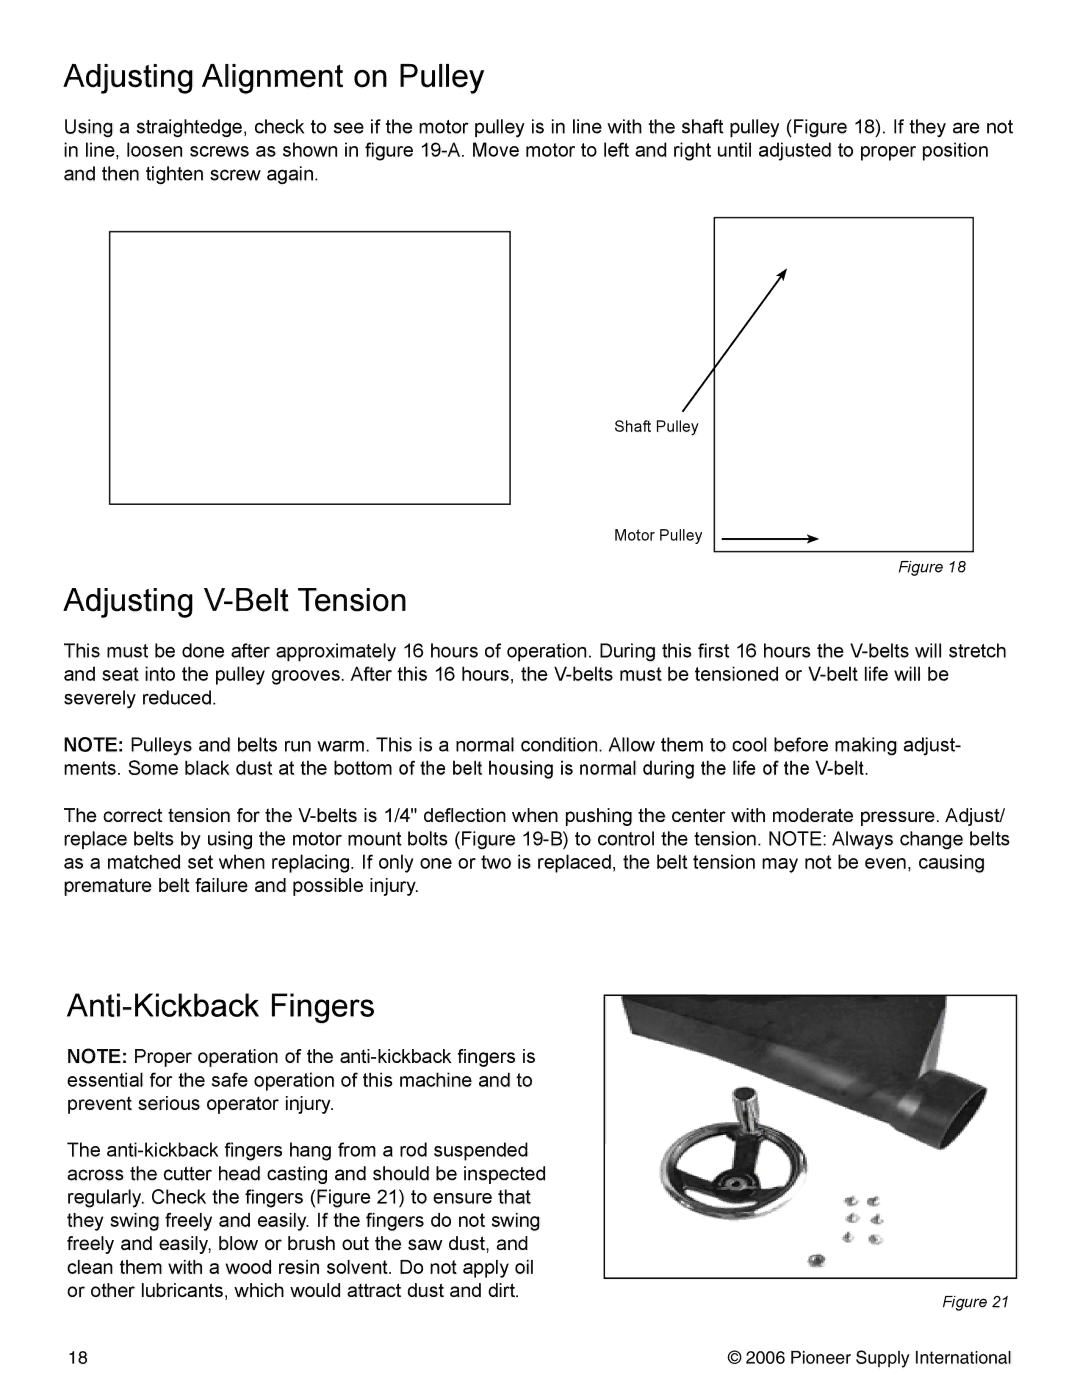
Adjusting Alignment on Pulley
Using a straightedge, check to see if the motor pulley is in line with the shaft pulley (Figure 18). If they are not in line, loosen screws as shown in figure
A
B
Figure 19
Adjusting V-Belt Tension
Shaft Pulley
Motor Pulley
Figure 18
This must be done after approximately 16 hours of operation. During this first 16 hours the
NOTE: Pulleys and belts run warm. This is a normal condition. Allow them to cool before making adjust- ments. Some black dust at the bottom of the belt housing is normal during the life of the
The correct tension for the
|
|
NOTE: Proper operation of the |
|
essential for the safe operation of this machine and to |
|
prevent serious operator injury. |
|
The |
|
across the cutter head casting and should be inspected |
|
regularly. Check the fingers (Figure 21) to ensure that |
|
they swing freely and easily. If the fingers do not swing |
|
freely and easily, blow or brush out the saw dust, and |
|
clean them with a wood resin solvent. Do not apply oil |
|
or other lubricants, which would attract dust and dirt. | Figure 21 |
|
18 | © 2006 Pioneer Supply International |