6.3Dimming
6.3.1Photodiode Board and Automatic Dimming Connector
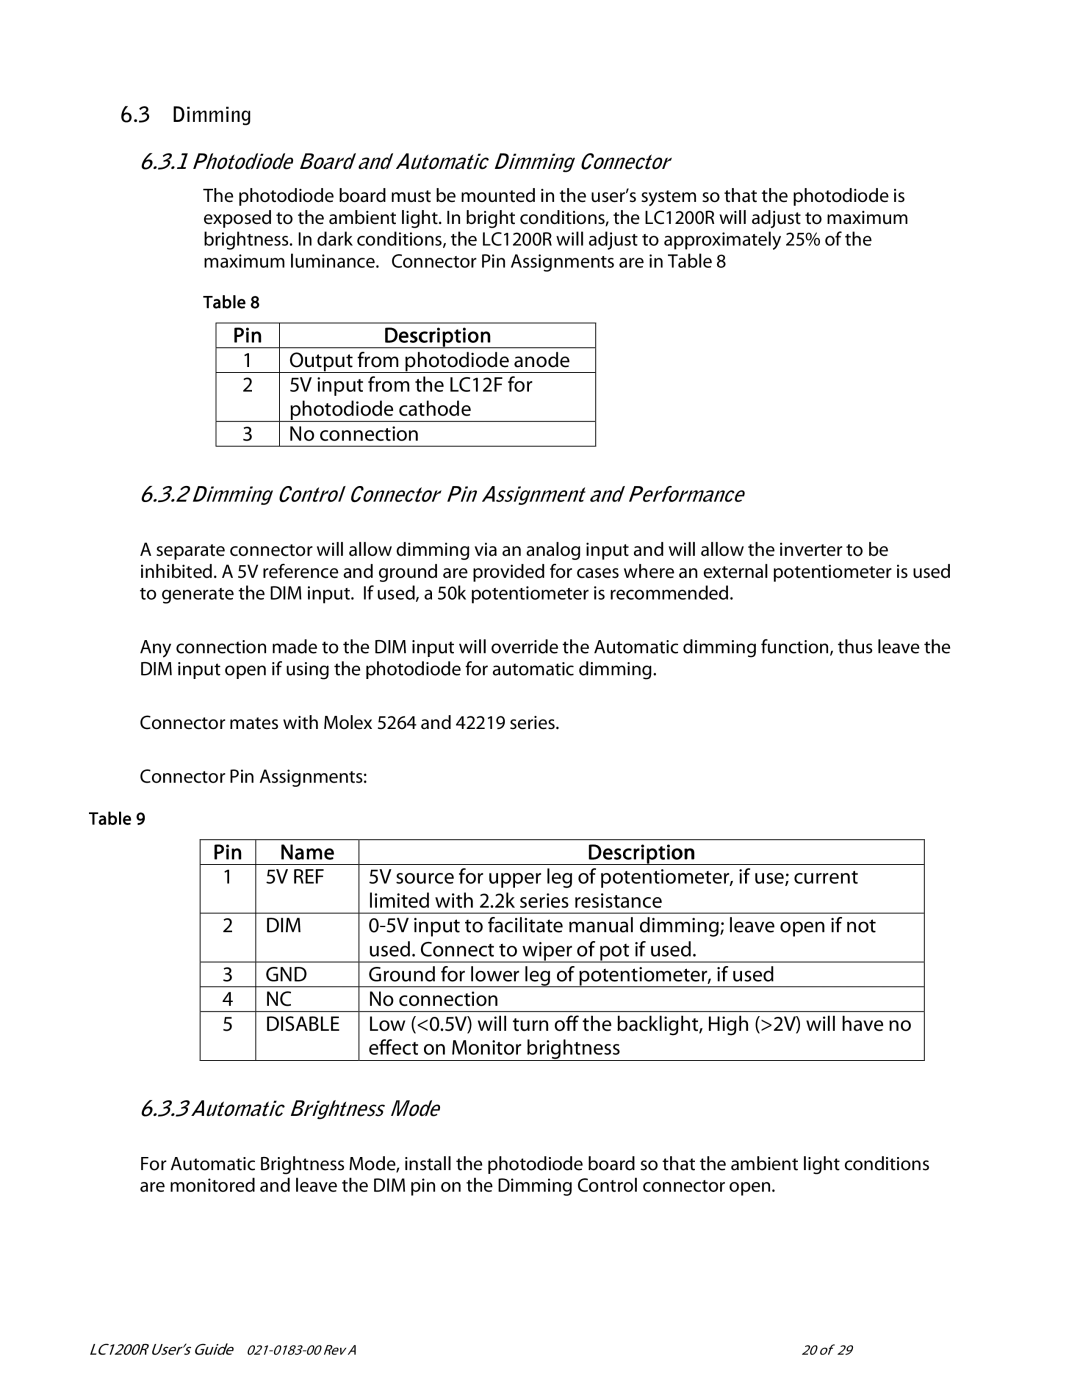
The photodiode board must be mounted in the user’s system so that the photodiode is exposed to the ambient light. In bright conditions, the LC1200R will adjust to maximum brightness. In dark conditions, the LC1200R will adjust to approximately 25% of the maximum luminance. Connector Pin Assignments are in Table 8
Table 8
Pin | Description |
1Output from photodiode anode
2 5V input from the LC12F for photodiode cathode
3 No connection
6.3.2Dimming Control Connector Pin Assignment and Performance
A separate connector will allow dimming via an analog input and will allow the inverter to be inhibited. A 5V reference and ground are provided for cases where an external potentiometer is used to generate the DIM input. If used, a 50k potentiometer is recommended.
Any connection made to the DIM input will override the Automatic dimming function, thus leave the DIM input open if using the photodiode for automatic dimming.
Connector mates with Molex 5264 and 42219 series.
Connector Pin Assignments:
Table 9
Pin | Name | Description |
1 | 5V REF | 5V source for upper leg of potentiometer, if use; current |
|
| limited with 2.2k series resistance |
2 | DIM | |
|
| used. Connect to wiper of pot if used. |
3 | GND | Ground for lower leg of potentiometer, if used |
4 | NC | No connection |
5 | DISABLE | Low (<0.5V) will turn off the backlight, High (>2V) will have no |
|
| effect on Monitor brightness |
6.3.3 Automatic Brightness Mode
For Automatic Brightness Mode, install the photodiode board so that the ambient light conditions are monitored and leave the DIM pin on the Dimming Control connector open.
LC1200R User’s Guide | 20 of 29 |
