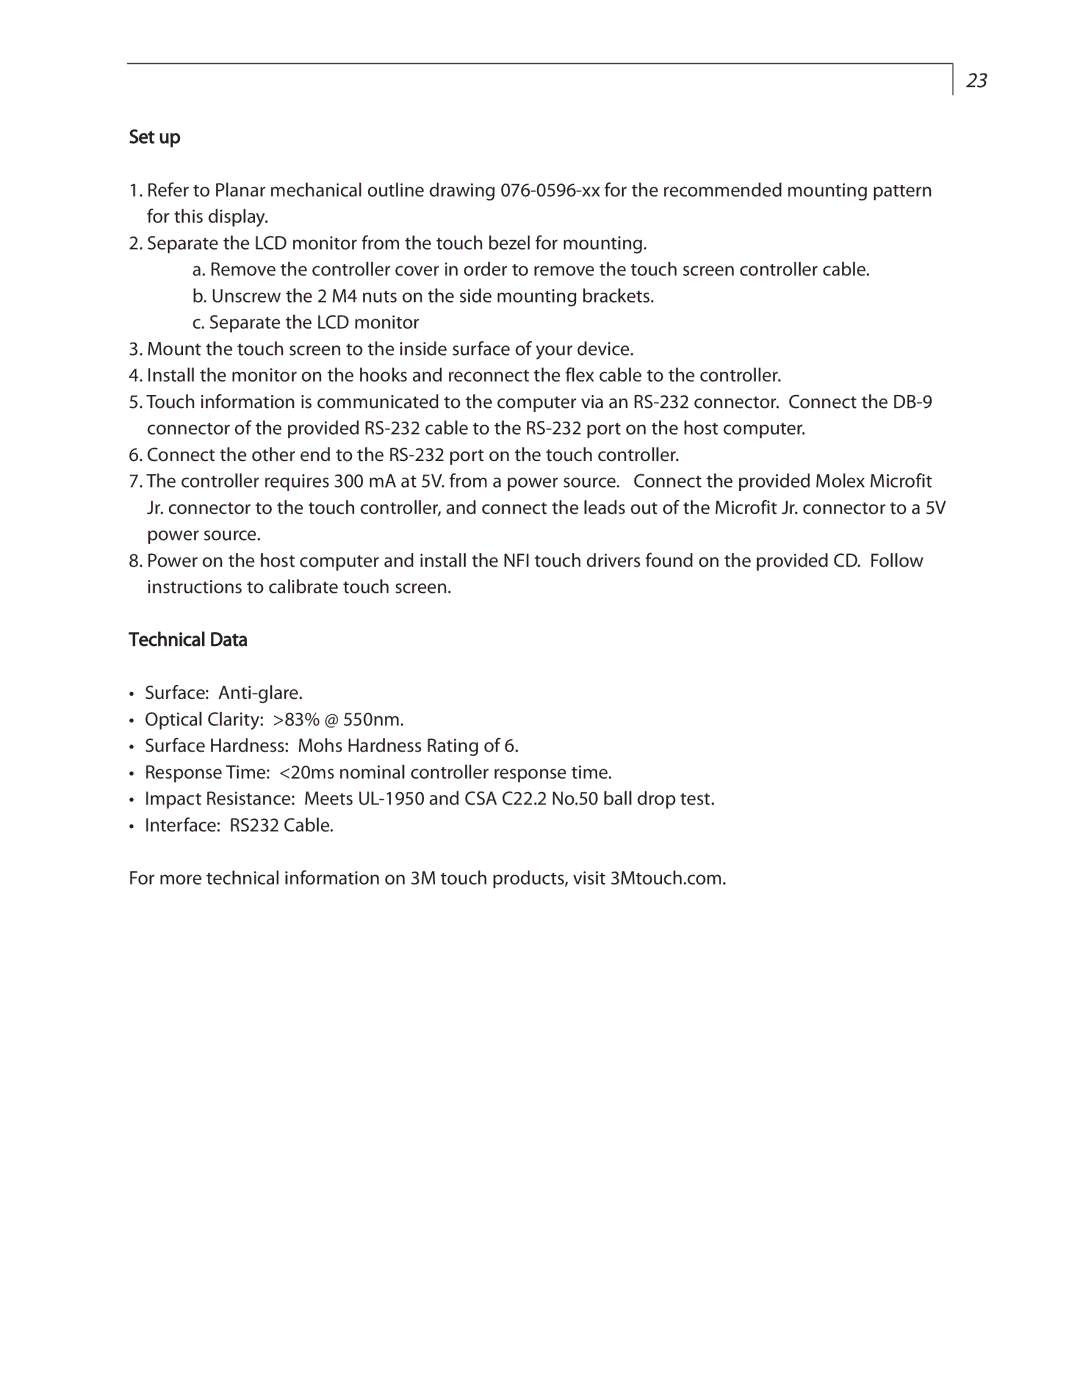
LC1502R specifications
The Planar LC1502R is a cutting-edge display solution designed for various applications ranging from retail environments to corporate settings. With a focus on performance and versatility, this model features an impressive 15-inch LCD screen that offers vibrant color reproduction and sharp image quality, ensuring content stands out and captures attention.One of the main features of the LC1502R is its high brightness capability, which allows it to perform exceptionally well in brightly lit environments. The display boasts a brightness level of up to 500 nits, making it suitable for dynamic settings such as storefronts and trade shows where ambient light can hinder visibility. The high contrast ratio also enhances the depth and clarity of images, ensuring that the finer details are not lost.
Additionally, the LC1502R is equipped with advanced touch screen technology. The multi-touch functionality enables seamless interaction, allowing users to engage with the content in a more hands-on manner. This feature is particularly beneficial for applications that require user interaction, such as self-service kiosks and informational displays.
Another standout characteristic of the Planar LC1502R is its robust design. Built for durability, the screen is housed in a sleek, modern frame that seamlessly integrates into various environments. The unit is also designed to withstand the rigors of continuous operation, featuring reliable thermal management to prevent overheating.
Connectivity options are paramount in today’s digital landscape, and the LC1502R does not disappoint. It comes equipped with multiple input options including HDMI, VGA, and USB. These connectivity features allow for easy integration with various multimedia sources, ranging from computers to media players.
Moreover, the LC1502R is designed with the end-user in mind, featuring an intuitive interface that simplifies setup and operation. Its lightweight design further enhances its ease of installation, whether mounted on a wall or placed on a stand.
In conclusion, the Planar LC1502R is a versatile and high-performance display solution that caters to a wide range of applications. Its combination of high brightness, touch screen capabilities, durable design, and flexible connectivity options makes it an ideal choice for businesses looking to enhance their visual communication strategy. With the LC1502R, users can expect exceptional image quality and reliable performance, making it a valuable asset in any visual display scenario.
