COLOR
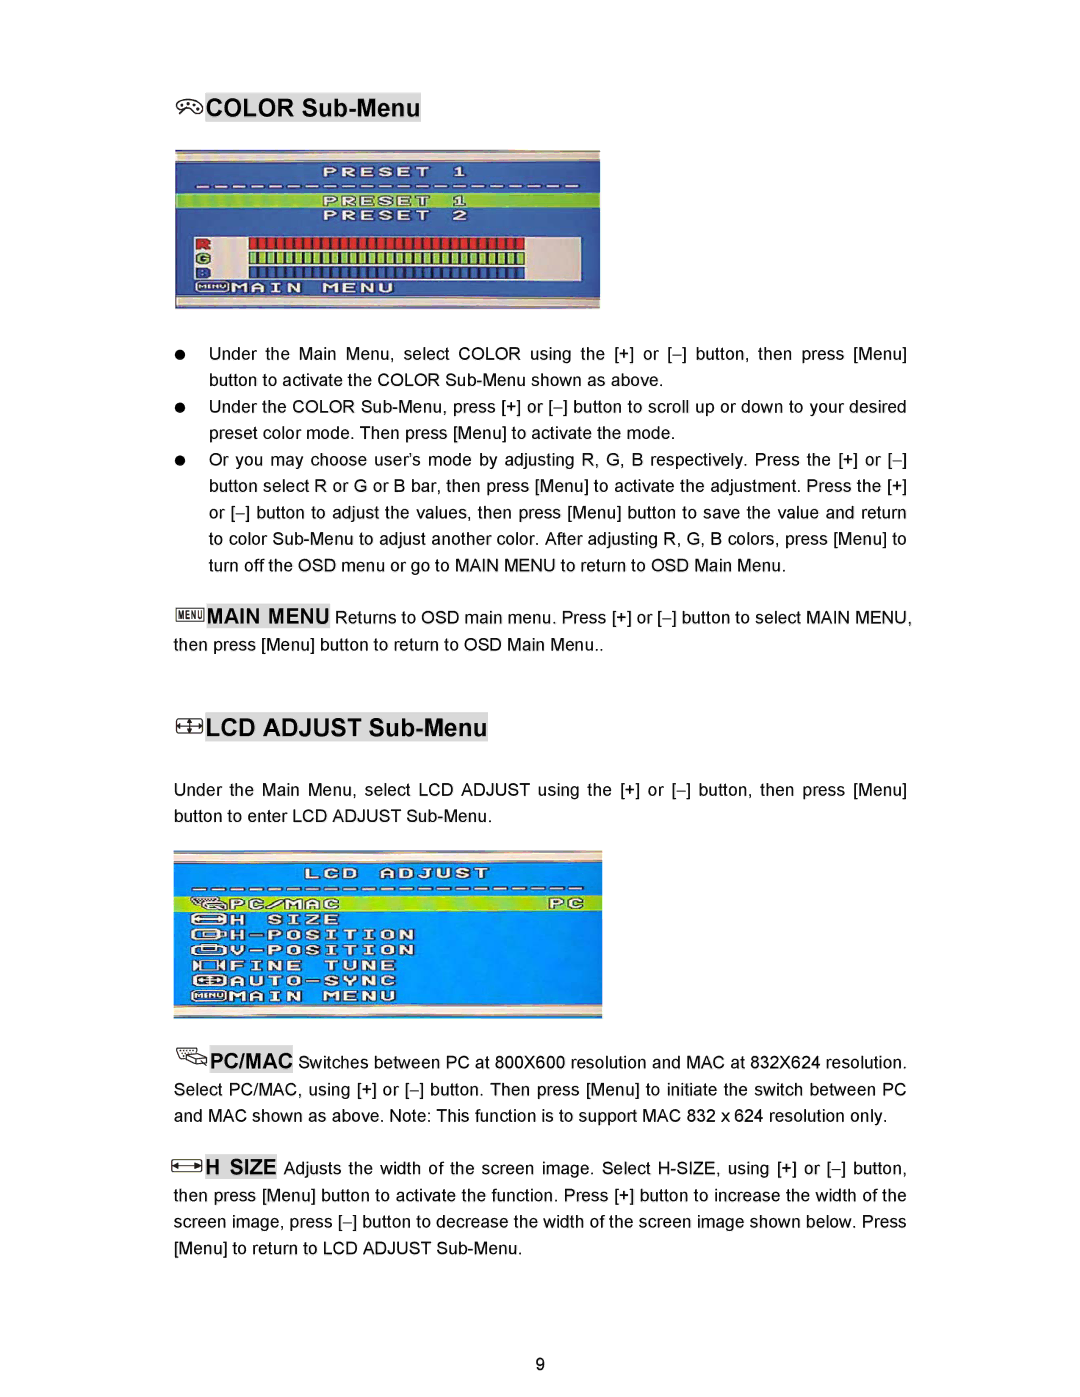
COLOR Sub-Menu
Under the Main Menu, select COLOR using the [+] or [−] button, then press [Menu] button to activate the COLOR
Under the COLOR
Or you may choose user’s mode by adjusting R, G, B respectively. Press the [+] or [−] button select R or G or B bar, then press [Menu] to activate the adjustment. Press the [+] or [−] button to adjust the values, then press [Menu] button to save the value and return to color
![]()
![]()
![]()
![]()
![]() MAIN MENU Returns to OSD main menu. Press [+] or [−] button to select MAIN MENU, then press [Menu] button to return to OSD Main Menu..
MAIN MENU Returns to OSD main menu. Press [+] or [−] button to select MAIN MENU, then press [Menu] button to return to OSD Main Menu..
 LCD ADJUST
 Sub-Menu
Under the Main Menu, select LCD ADJUST using the [+] or [−] button, then press [Menu] button to enter LCD ADJUST
![]()
![]() PC/MAC Switches between PC at 800X600 resolution and MAC at 832X624 resolution. Select PC/MAC, using [+] or [−] button. Then press [Menu] to initiate the switch between PC and MAC shown as above. Note: This function is to support MAC 832 x 624 resolution only.
PC/MAC Switches between PC at 800X600 resolution and MAC at 832X624 resolution. Select PC/MAC, using [+] or [−] button. Then press [Menu] to initiate the switch between PC and MAC shown as above. Note: This function is to support MAC 832 x 624 resolution only.
![]() H SIZE Adjusts the width of the screen image. Select
H SIZE Adjusts the width of the screen image. Select
9