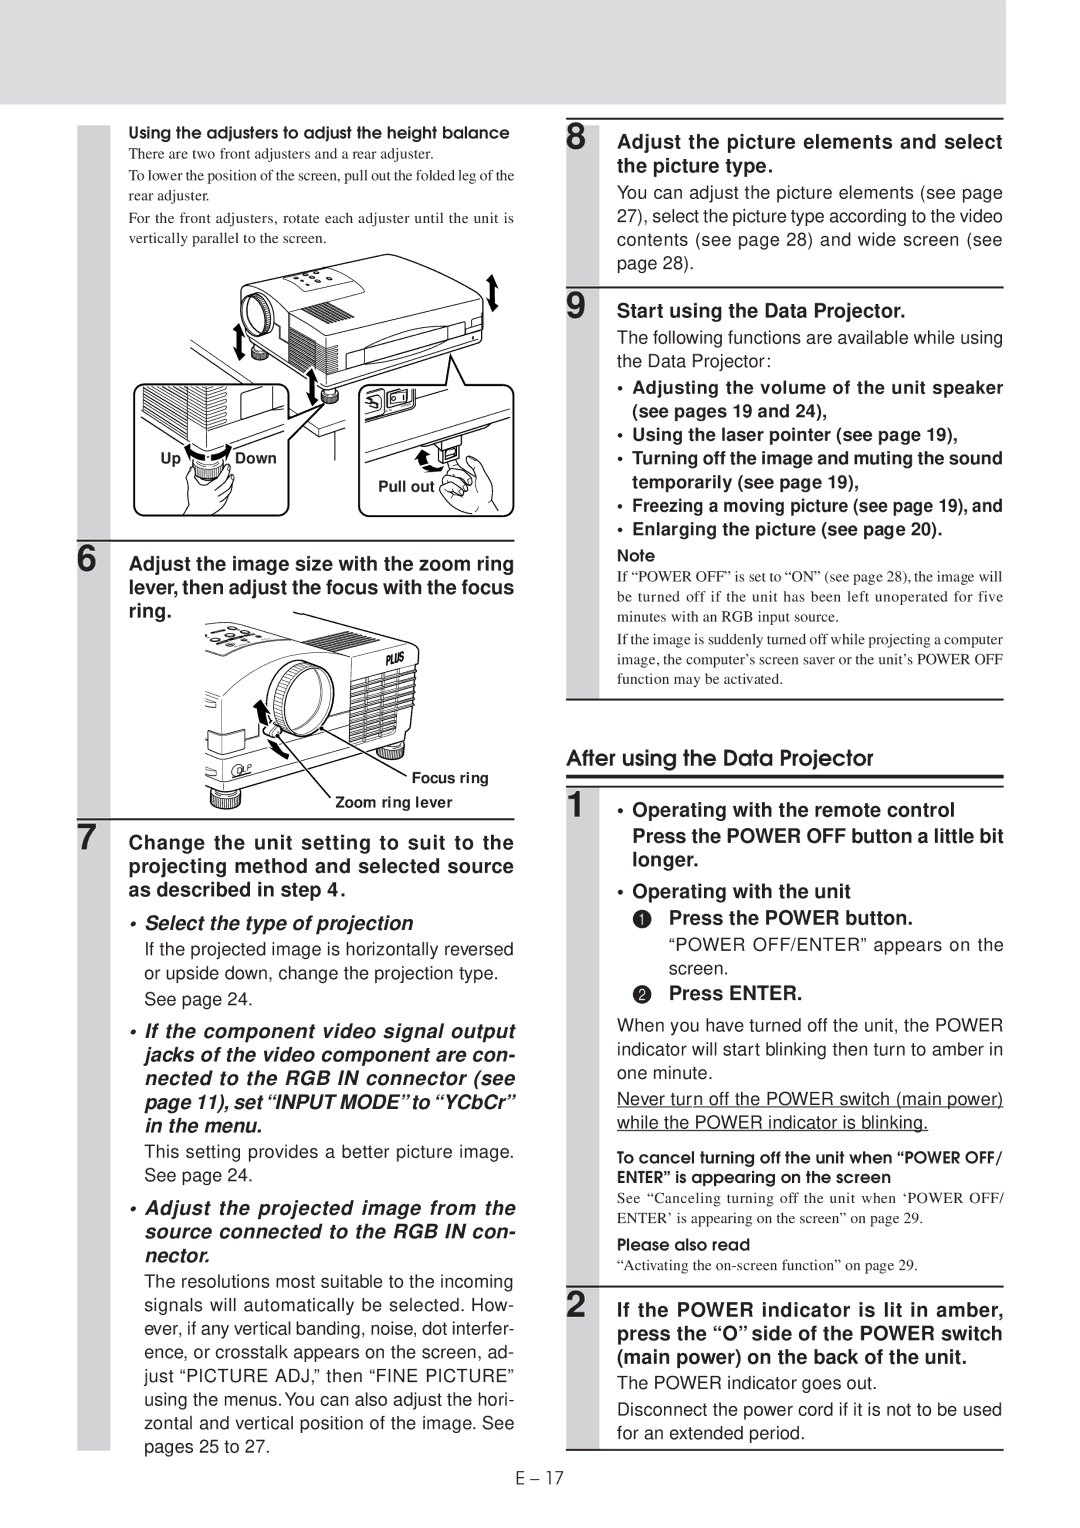
UP-1100 specifications
The Plus UP-1100 is an innovative and versatile all-in-one device that combines the best features of a printer, scanner, and copier, making it a valuable addition to any office or home workspace. This multifunction printer is designed to maximize productivity while providing high-quality output, ensuring that users can efficiently handle a variety of tasks without the need for multiple devices.One of the standout features of the Plus UP-1100 is its rapid printing speed, which can produce up to 30 pages per minute. This feature is particularly beneficial for busy environments where time is of the essence. The printer supports automatic duplexing, allowing users to print on both sides of the paper without manual intervention, further enhancing productivity and reducing paper consumption.
In terms of print quality, the UP-1100 utilizes advanced inkjet technology, delivering stunning color and sharp black-and-white documents that meet the demands of both professional and personal projects. With a maximum print resolution of up to 4800 x 1200 dpi, users can expect vivid images and crisp text, making it suitable for everything from high-quality presentations to everyday print jobs.
The scanning capabilities of the Plus UP-1100 are equally impressive. It offers high-resolution scanning up to 1200 x 1200 dpi, ensuring that even the most intricate details are captured faithfully. Additionally, it features an automatic document feeder (ADF) that can handle multiple pages at once, streamlining the scanning process for multi-page documents.
Connectivity is another area where the UP-1100 excels. It supports both wired and wireless connections, allowing users to print and scan from a variety of devices, including laptops, smartphones, and tablets. The easy-to-use mobile printing options, such as Apple AirPrint and Google Cloud Print, enable seamless printing from anywhere within the network.
Moreover, the Plus UP-1100 is designed with energy efficiency in mind. It incorporates innovative energy-saving technologies that reduce power consumption during idle times without compromising performance. This feature not only benefits the environment but also helps to lower operational costs.
In summary, the Plus UP-1100 is a powerful multifunction printer that combines speed, quality, and connectivity in one compact unit. With its impressive features and user-friendly design, it is an ideal solution for anyone looking to enhance their productivity while enjoying versatile printing, scanning, and copying capabilities. Whether for a home office or a bustling workplace, the UP-1100 is poised to meet the evolving needs of its users.

