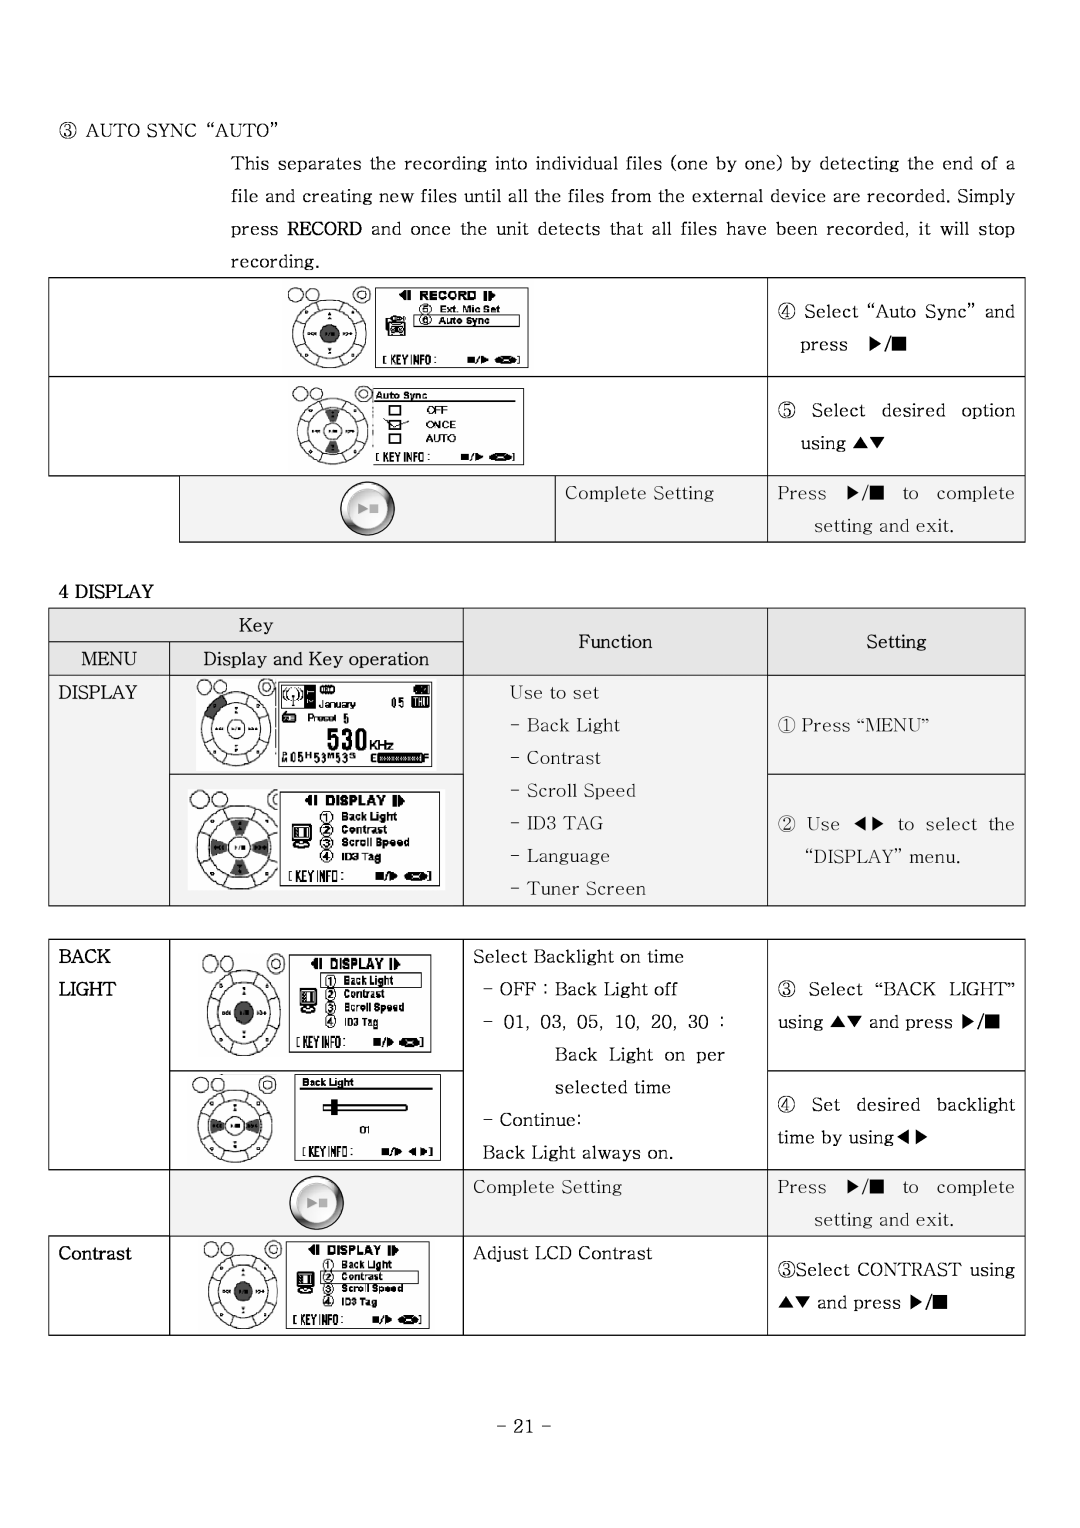
③AUTO SYNC “AUTO”
This separates the recording into individual files (one by one) by detecting the end of a file and creating new files until all the files from the external device are recorded. Simply press RECORD and once the unit detects that all files have been recorded, it will stop recording.
④ Select “Auto Sync” and press ▶/■
⑤ Select desired option using ▲▼
Complete Setting | Press ▶/■ to complete |
| setting and exit. |
4 DISPLAY
|
|
| Key |
|
|
| Function |
|
| ||||
|
|
|
|
|
|
|
|
|
|
| |||
| MENU |
| Display and Key operation |
|
|
|
|
| |||||
|
|
|
|
|
|
|
|
|
| ||||
|
|
|
|
|
|
|
|
|
|
|
| ||
| DISPLAY |
|
|
|
|
| Use to set |
|
|
|
| ||
|
|
|
|
|
|
| - Back Light |
|
|
| |||
|
|
|
|
|
|
| - Contrast |
|
|
|
| ||
|
|
|
|
|
|
| - Scroll Speed |
|
|
| |||
|
|
|
|
|
|
|
|
|
| ||||
|
|
|
|
|
|
| - ID3 TAG |
|
|
|
| ||
|
|
|
|
|
|
| - Language |
|
|
| |||
|
|
|
|
|
|
| - Tuner Screen |
|
|
| |||
|
|
|
|
|
|
|
|
|
|
|
|
|
|
|
|
|
|
|
|
|
|
| |||||
| BACK |
|
|
|
| Select Backlight on time |
|
| |||||
| LIGHT |
|
|
|
| - OFF : Back Light off |
|
| |||||
|
|
| - | 01, | 03, | 05, | 10, | 20, | 30 | : | |||
|
|
|
|
|
|
|
| Back | Light on | per | |||
|
|
|
|
|
|
|
| selected time |
|
| |||
|
|
|
|
|
|
|
|
|
| ||||
|
|
|
|
|
| - Continue: |
|
|
|
| |||
|
|
|
|
|
| Back Light always on. |
|
| |||||
|
|
|
|
|
|
|
|
|
| ||||
|
|
|
|
|
| Complete Setting |
|
|
| ||||
|
|
|
|
|
|
|
|
|
|
|
|
|
|
|
|
|
|
|
|
|
|
|
|
|
|
|
|
| Contrast |
|
|
|
| Adjust LCD Contrast |
|
| |||||
|
|
|
|
|
|
|
|
|
|
|
|
|
|
Setting
①Press “MENU”
②Use ◀▶ to select the “DISPLAY” menu.
③Select “BACK LIGHT”
using ▲▼ and press ▶/■
④Set desired backlight time by using◀▶
Press ▶/■ to complete setting and exit.
③Select CONTRAST using ▲▼ and press ▶/■
- 21 -