903549 -
FUNCTIONAL DESCRIPTION
FOREWORD
INSTALLING AND REMOVING DRILL BIT
1.CAUTION: DISCONNECT TOOL FROM POWER SOURCE.
2.The
3.Clean and insert smooth end of drill bit as far as it will go into the chuck, or up to the flutes for small bits.
4.While holding the bit with one hand, turn outer sleeve clockwise until bit is gripped in the chuck.
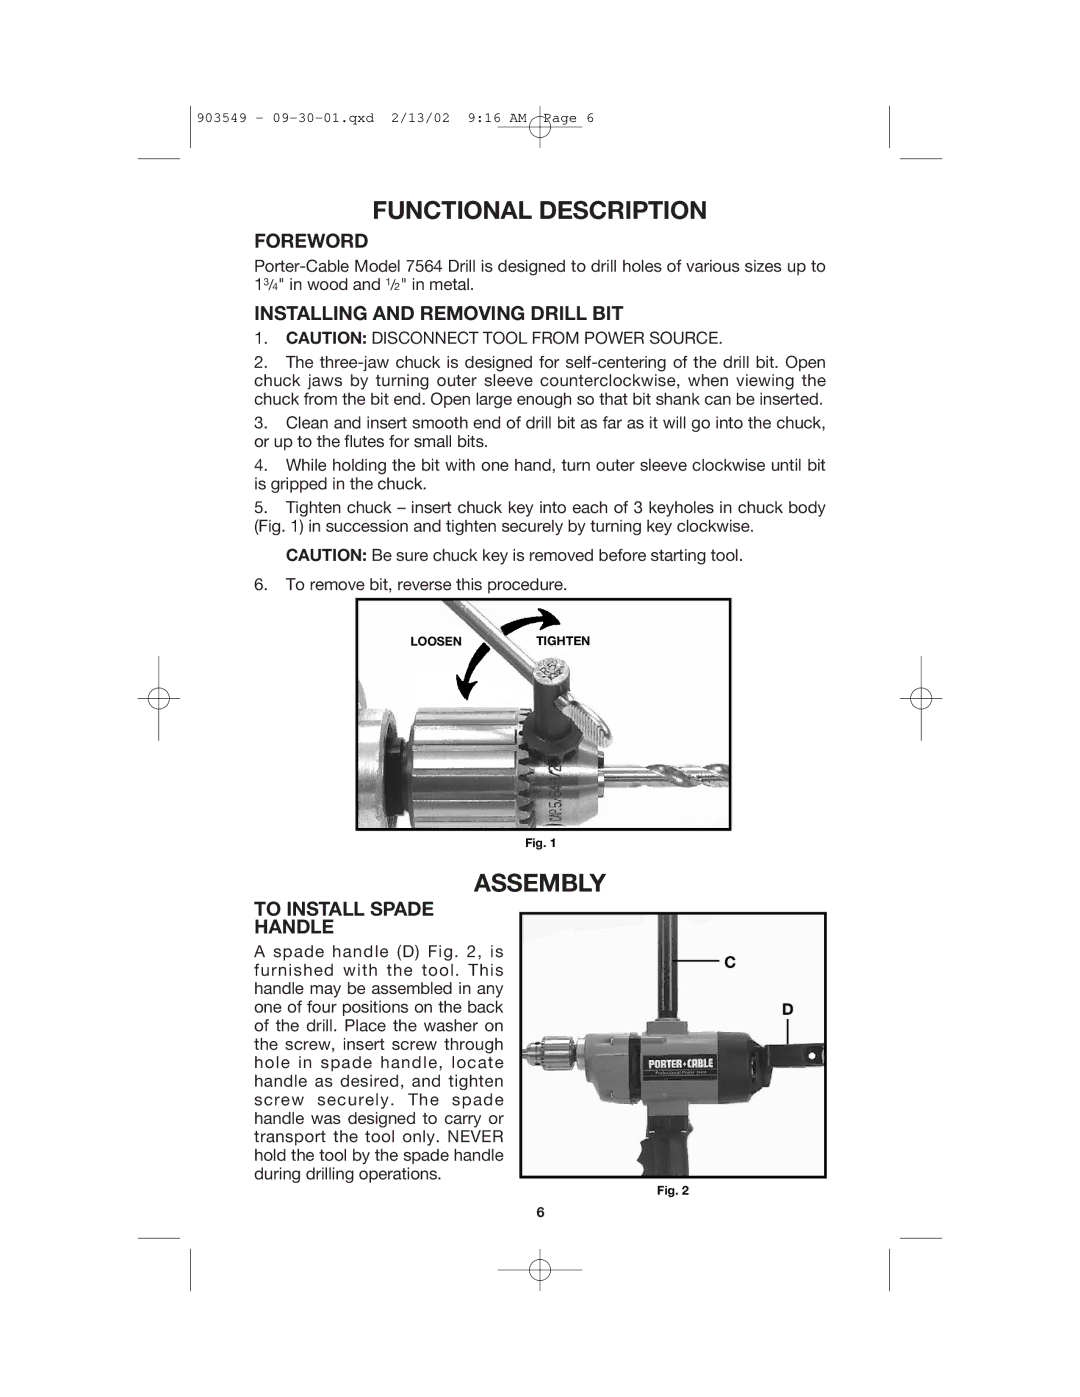
5.Tighten chuck – insert chuck key into each of 3 keyholes in chuck body (Fig. 1) in succession and tighten securely by turning key clockwise.
CAUTION: Be sure chuck key is removed before starting tool.
6.To remove bit, reverse this procedure.
LOOSENTIGHTEN
Fig. 1
ASSEMBLY
TO INSTALL SPADE
HANDLE
A spade handle (D) Fig. 2, is furnished with the tool. This handle may be assembled in any one of four positions on the back of the drill. Place the washer on the screw, insert screw through hole in spade handle, locate handle as desired, and tighten screw securely. The spade handle was designed to carry or transport the tool only. NEVER hold the tool by the spade handle during drilling operations.
C
D
Fig. 2
6
