OPERATION
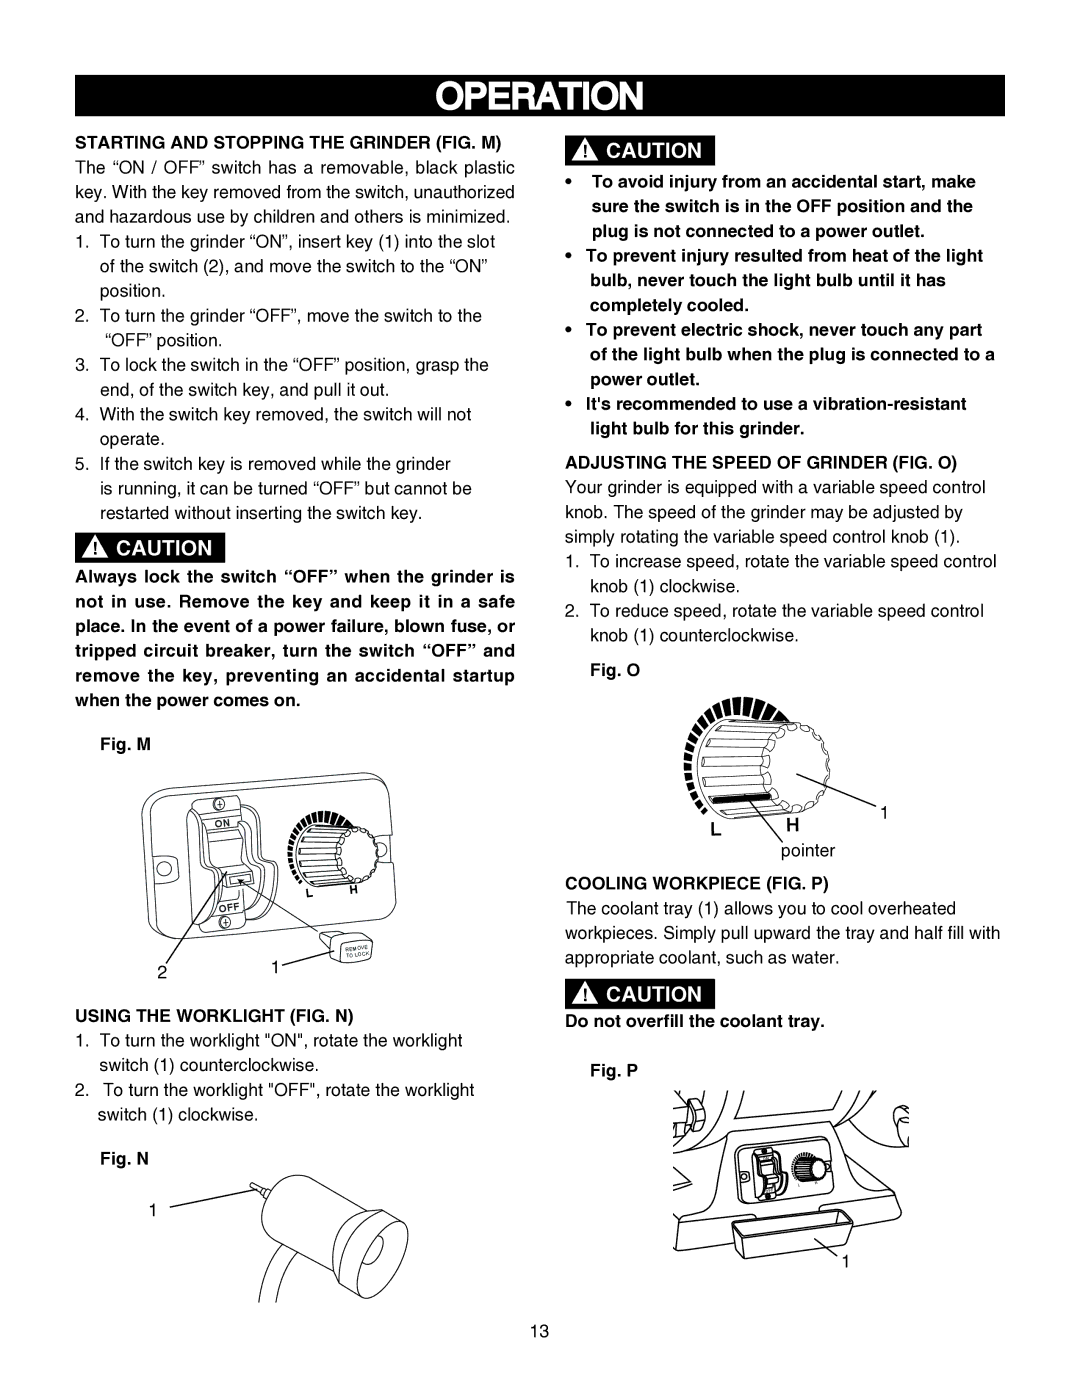
STARTING AND STOPPING THE GRINDER (FIG. M) The “ON / OFF” switch has a removable, black plastic key. With the key removed from the switch, unauthorized and hazardous use by children and others is minimized.
1.To turn the grinder “ON”, insert key (1) into the slot of the switch (2), and move the switch to the “ON” position.
2.To turn the grinder “OFF”, move the switch to the “OFF” position.
3.To lock the switch in the “OFF” position, grasp the end, of the switch key, and pull it out.
4.With the switch key removed, the switch will not operate.
5.If the switch key is removed while the grinder is running, it can be turned “OFF” but cannot be restarted without inserting the switch key.
!CAUTION
Always lock the switch “OFF” when the grinder is not in use. Remove the key and keep it in a safe place. In the event of a power failure, blown fuse, or tripped circuit breaker, turn the switch “OFF” and remove the key, preventing an accidental startup when the power comes on.
Fig. M
ON
|
| L | H |
|
|
| |
| OFF |
|
|
|
|
| REMOVE |
| 1 |
| TO LOCK |
2 |
|
|
USING THE WORKLIGHT (FIG. N)
1.To turn the worklight "ON", rotate the worklight switch (1) counterclockwise.
2.To turn the worklight "OFF", rotate the worklight switch (1) clockwise.
Fig. N
1
!CAUTION
•To avoid injury from an accidental start, make sure the switch is in the OFF position and the plug is not connected to a power outlet.
•To prevent injury resulted from heat of the light bulb, never touch the light bulb until it has completely cooled.
•To prevent electric shock, never touch any part of the light bulb when the plug is connected to a power outlet.
•It's recommended to use a vibration-resistant light bulb for this grinder.
ADJUSTING THE SPEED OF GRINDER (FIG. O)
Your grinder is equipped with a variable speed control knob. The speed of the grinder may be adjusted by simply rotating the variable speed control knob (1).
1.To increase speed, rotate the variable speed control knob (1) clockwise.
2.To reduce speed, rotate the variable speed control knob (1) counterclockwise.
Fig. O
L | H | 1 |
| ||
pointer |
| |
|
|
COOLING WORKPIECE (FIG. P)
The coolant tray (1) allows you to cool overheated workpieces. Simply pull upward the tray and half fill with appropriate coolant, such as water.
!CAUTION
Do not overfill the coolant tray.
Fig. P
ON
L | H |
| |
OFF |
|
1
13