Unpacking
Remove contents from the shipping carton. Check for damage and ensure all parts are intact. Any damage should be reported immediately to your distributor and shipping agent. Read the manual thoroughly to familiarize yourself with the correct assembly and maintenance procedures and proper safety precautions.
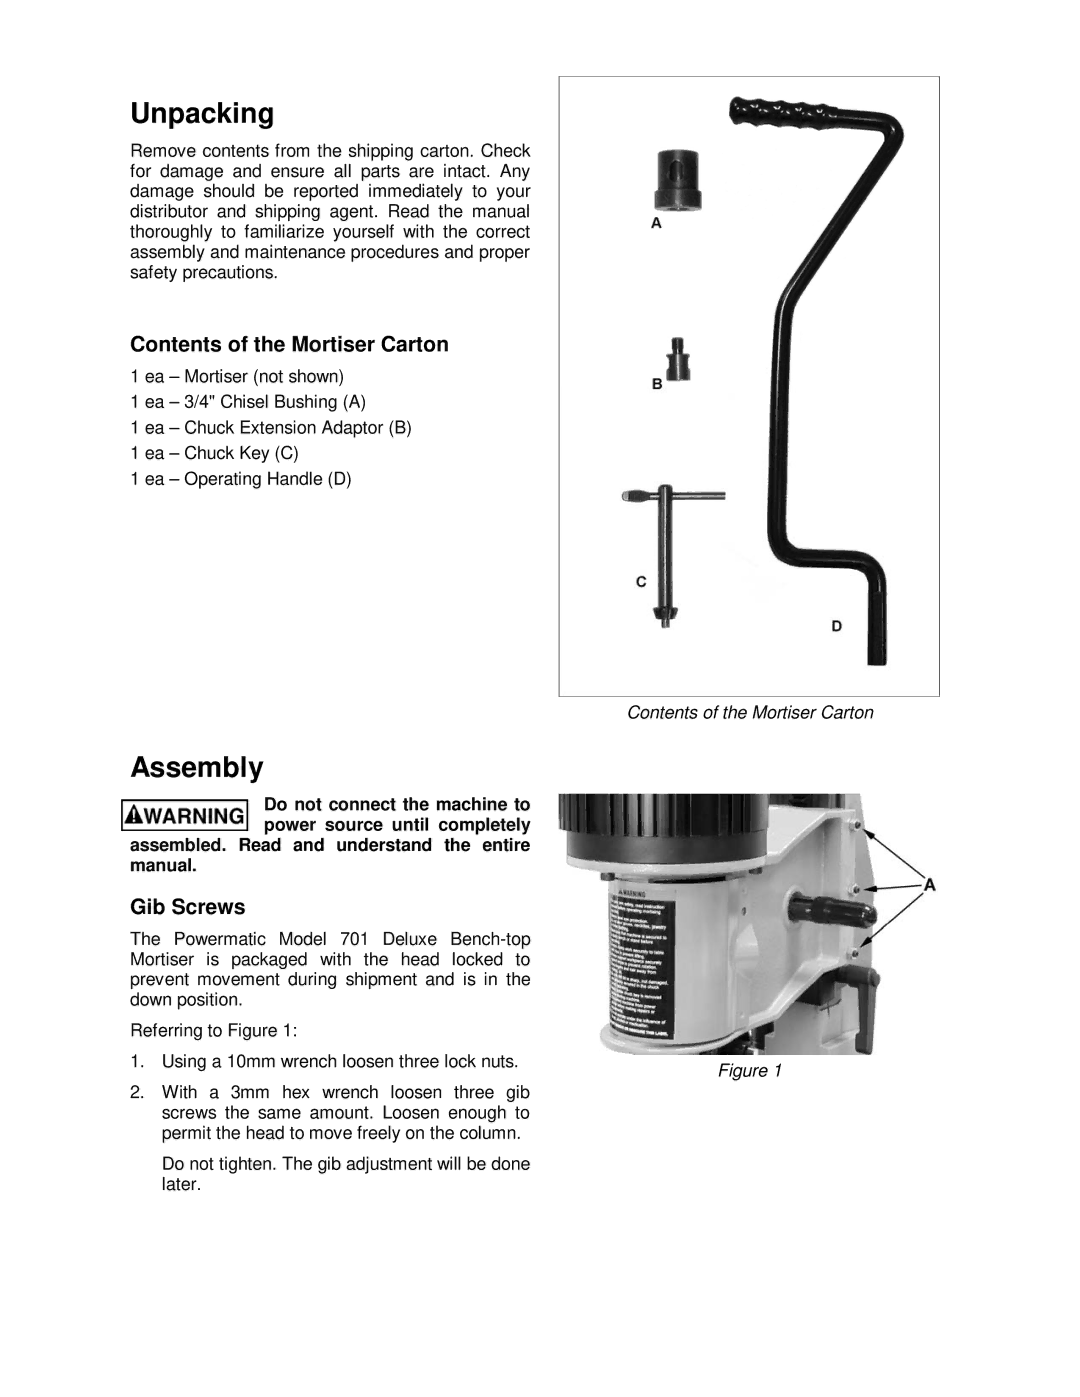
Contents of the Mortiser Carton
1 ea – Mortiser (not shown)
1 ea – 3/4" Chisel Bushing (A)
1 ea – Chuck Extension Adaptor (B)
1 ea – Chuck Key (C)
1 ea – Operating Handle (D)
Assembly
Do not connect the machine to power source until completely assembled. Read and understand the entire
manual.
Gib Screws
The Powermatic Model 701 Deluxe
Referring to Figure 1:
1.Using a 10mm wrench loosen three lock nuts.
2.With a 3mm hex wrench loosen three gib screws the same amount. Loosen enough to permit the head to move freely on the column.
Do not tighten. The gib adjustment will be done later.
Contents of the Mortiser Carton
Figure 1