Assembling the Treadmill | 19 |
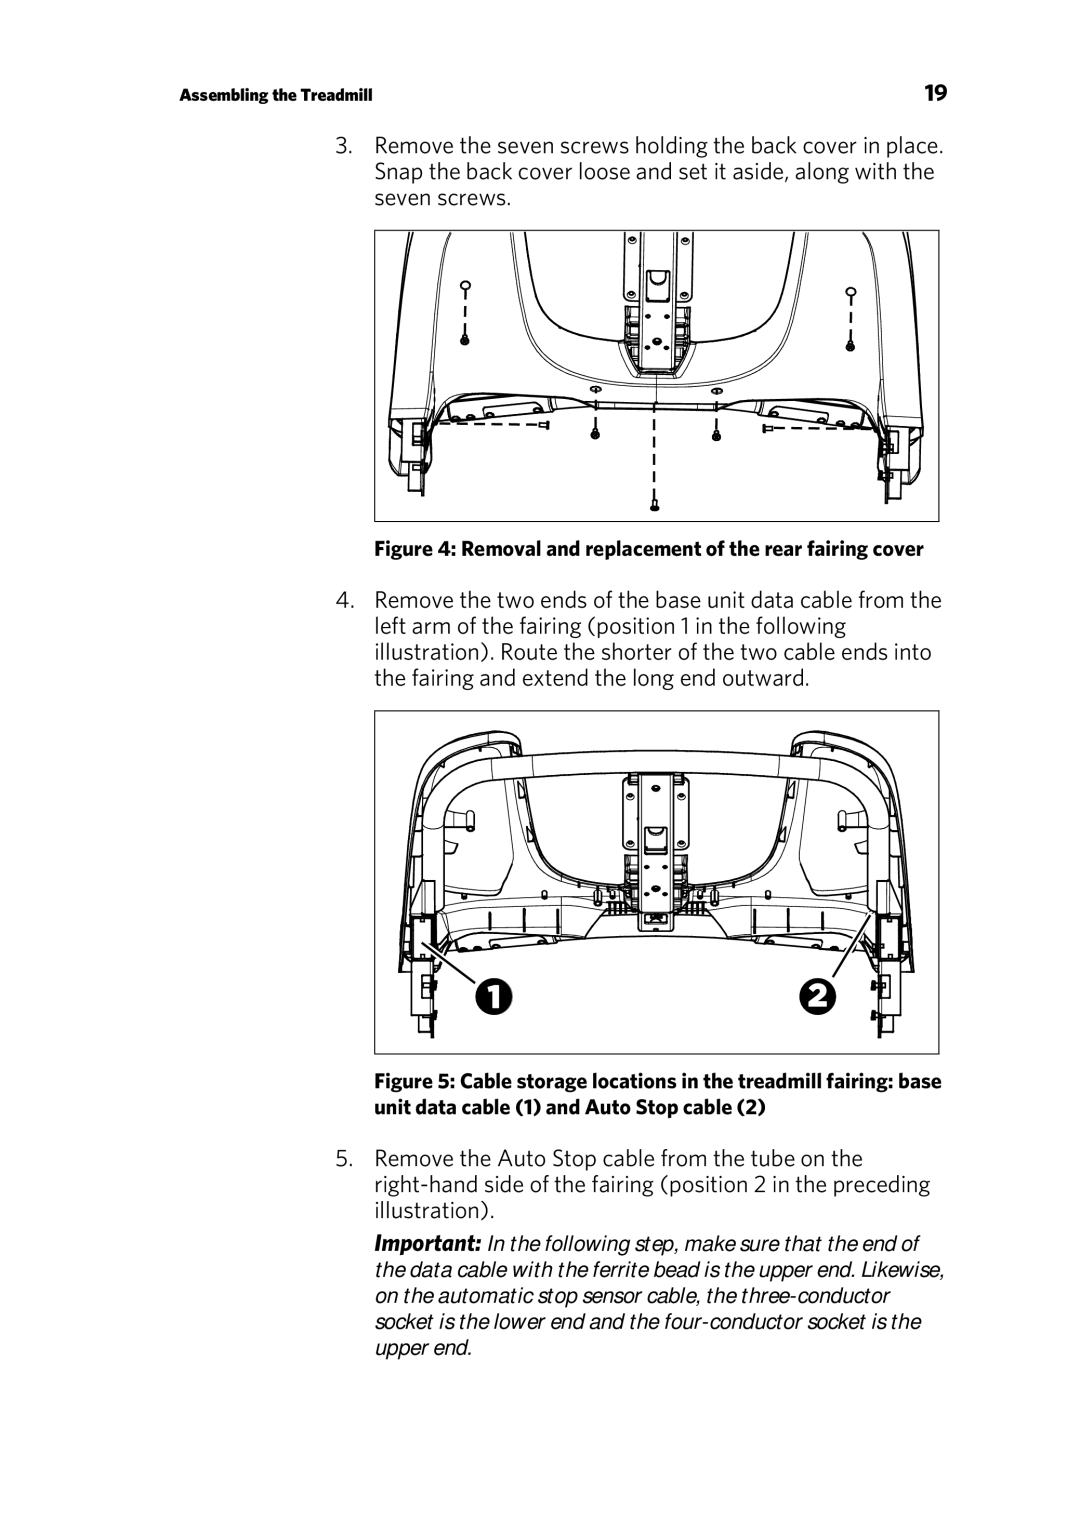
3.Remove the seven screws holding the back cover in place. Snap the back cover loose and set it aside, along with the seven screws.
Figure 4: Removal and replacement of the rear fairing cover
4.Remove the two ends of the base unit data cable from the left arm of the fairing (position 1 in the following illustration). Route the shorter of the two cable ends into the fairing and extend the long end outward.
Figure 5: Cable storage locations in the treadmill fairing: base unit data cable (1) and Auto Stop cable (2)
5.Remove the Auto Stop cable from the tube on the
Important: In the following step, make sure that the end of the data cable with the ferrite bead is the upper end. Likewise, on the automatic stop sensor cable, the