X . C A R E A N D M A I N T E N A N C E
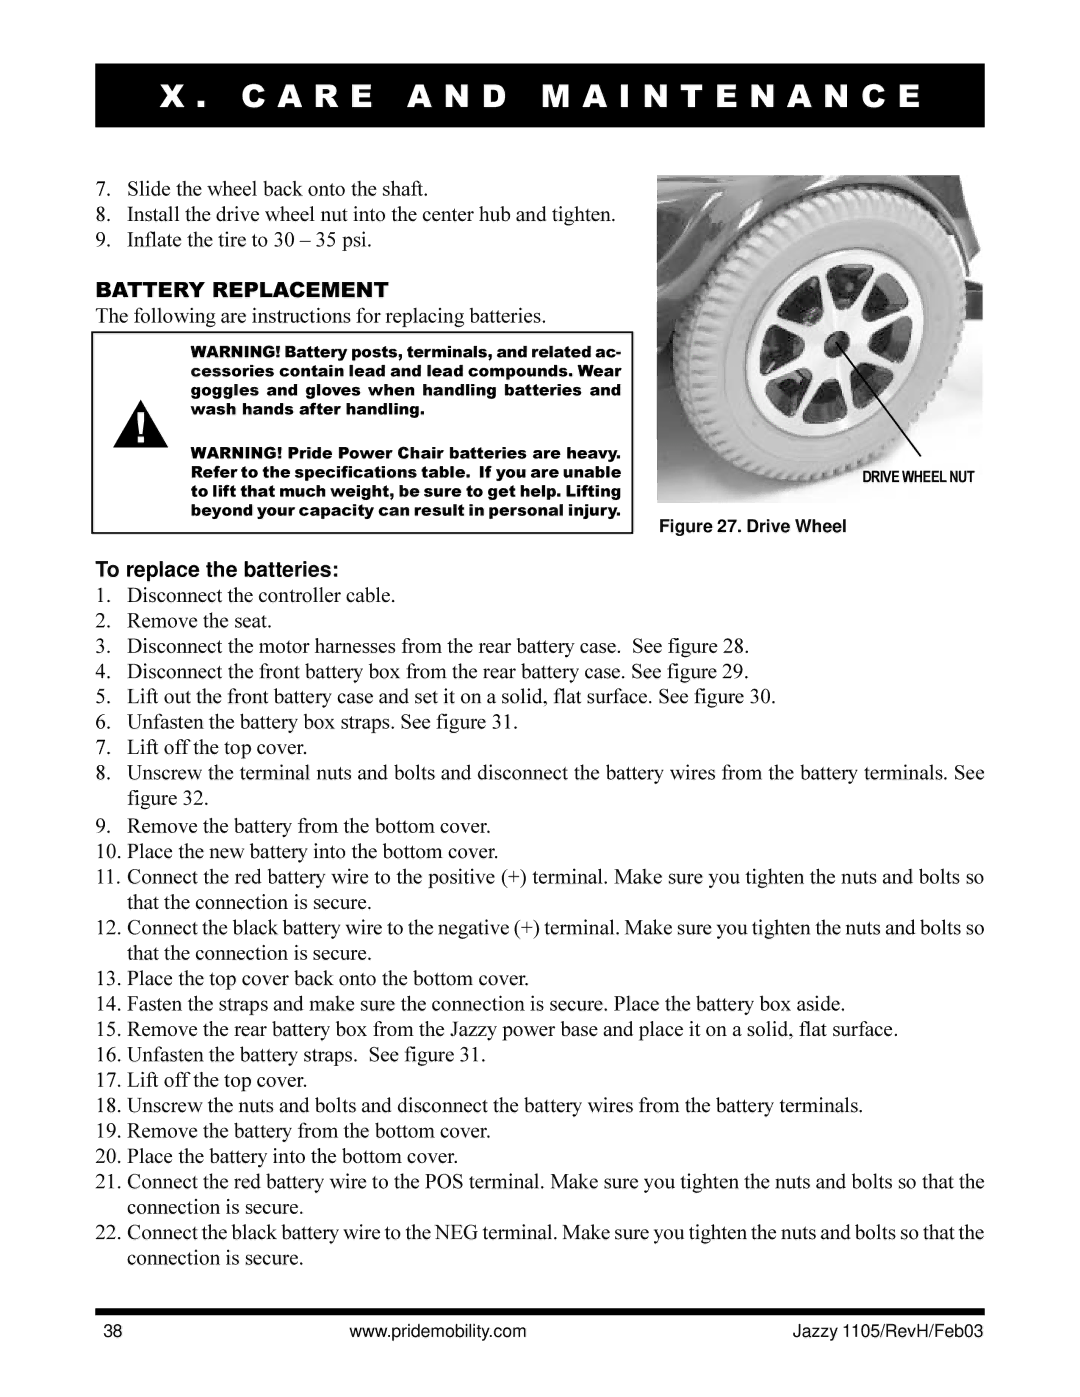
7.Slide the wheel back onto the shaft.
8.Install the drive wheel nut into the center hub and tighten.
9.Inflate the tire to 30 – 35 psi.
BATTERY REPLACEMENT
The following are instructions for replacing batteries.
WARNING! Battery posts, terminals, and related ac- cessories contain lead and lead compounds. Wear goggles and gloves when handling batteries and wash hands after handling.
WARNING! Pride Power Chair batteries are heavy. Refer to the specifications table. If you are unable to lift that much weight, be sure to get help. Lifting beyond your capacity can result in personal injury.
DRIVE WHEEL NUT
Figure 27. Drive Wheel
To replace the batteries:
1.Disconnect the controller cable.
2.Remove the seat.
3.Disconnect the motor harnesses from the rear battery case. See figure 28.
4.Disconnect the front battery box from the rear battery case. See figure 29.
5.Lift out the front battery case and set it on a solid, flat surface. See figure 30.
6.Unfasten the battery box straps. See figure 31.
7.Lift off the top cover.
8.Unscrew the terminal nuts and bolts and disconnect the battery wires from the battery terminals. See figure 32.
9.Remove the battery from the bottom cover.
10.Place the new battery into the bottom cover.
11.Connect the red battery wire to the positive (+) terminal. Make sure you tighten the nuts and bolts so that the connection is secure.
12.Connect the black battery wire to the negative (+) terminal. Make sure you tighten the nuts and bolts so that the connection is secure.
13.Place the top cover back onto the bottom cover.
14.Fasten the straps and make sure the connection is secure. Place the battery box aside.
15.Remove the rear battery box from the Jazzy power base and place it on a solid, flat surface.
16.Unfasten the battery straps. See figure 31.
17.Lift off the top cover.
18.Unscrew the nuts and bolts and disconnect the battery wires from the battery terminals.
19.Remove the battery from the bottom cover.
20.Place the battery into the bottom cover.
21.Connect the red battery wire to the POS terminal. Make sure you tighten the nuts and bolts so that the connection is secure.
22.Connect the black battery wire to the NEG terminal. Make sure you tighten the nuts and bolts so that the connection is secure.
38 | www.pridemobility.com | Jazzy 1105/RevH/Feb03 |
