BATTERY REPLACEMENT
1.Turn “designated disconnect” switch to “OFF”.
2.Remove ELPS50 power supply enclosure cover bolts and nuts, then lift off cover and carefully set it aside to prevent damage to the flat joint and flange gasket.
![]() WARNING
WARNING
To avoid explosion, do not damage the flat joint surfaces. Do not use hammers or prying tools to open covers. Do not handle covers roughly, or place them on surfaces that might damage or scratch the flat joint surfaces.
3.Disconnect battery leads from terminals Batt+ (#8) and Batt- (#9) on terminal block. See Figure 3.
4.Remove the four screws that fasten the battery
![]() WARNING
WARNING
To avoid potential explosion, do not short circuit the battery or connector terminals.
5.Cover replacement battery with insulating sheet and reinstall battery using
![]() CAUTION
CAUTION
To avoid exposing battery terminals, insulating sheet must completely cover the battery.
![]() WARNING
WARNING
To avoid explosion, clean both flat joint surfaces of body and cover before closing. Dirt or foreign material must not accumulate on flat joint surfaces. Surfaces must seat fully against each other to provide a proper explosion proof seal.
6.Close cover and securely tighten all cover bolts and nuts to 30 ft. lbs. torque making certain that no cover bolts are omitted. Use only bolts supplied with enclose.
7.Turn ON supply power to the ELPS
8.Test replacement battery following Step 4 of “D. Complete Installation”.
![]() WARNING
WARNING
To avoid explosion:
1.Exercise care in handling cells/batteries in order to prevent shorting of the cell with conductive materials such as rings, bracelets, and keys. The cell or conductor may overheat and cause burns.
2.Do not dispose of the cell/battery in open flame; cells may burst.
3.Do not open or mutilate cell/battery. Opened cells may release corrosive electrolytes which may have harmful effects on the skin and eyes and may be toxic if ingested.
![]() WARNING
WARNING
To maintain explosionproof integrity, make sure all threads are fully engaged.
8.Slide locking tab into position so it engages one of the slots on the globe assembly. Tighten screw to secure locking tab.
9.Carefully slide EXIT sign back over globe assembly. Attach with 3 screws removed in Step 1
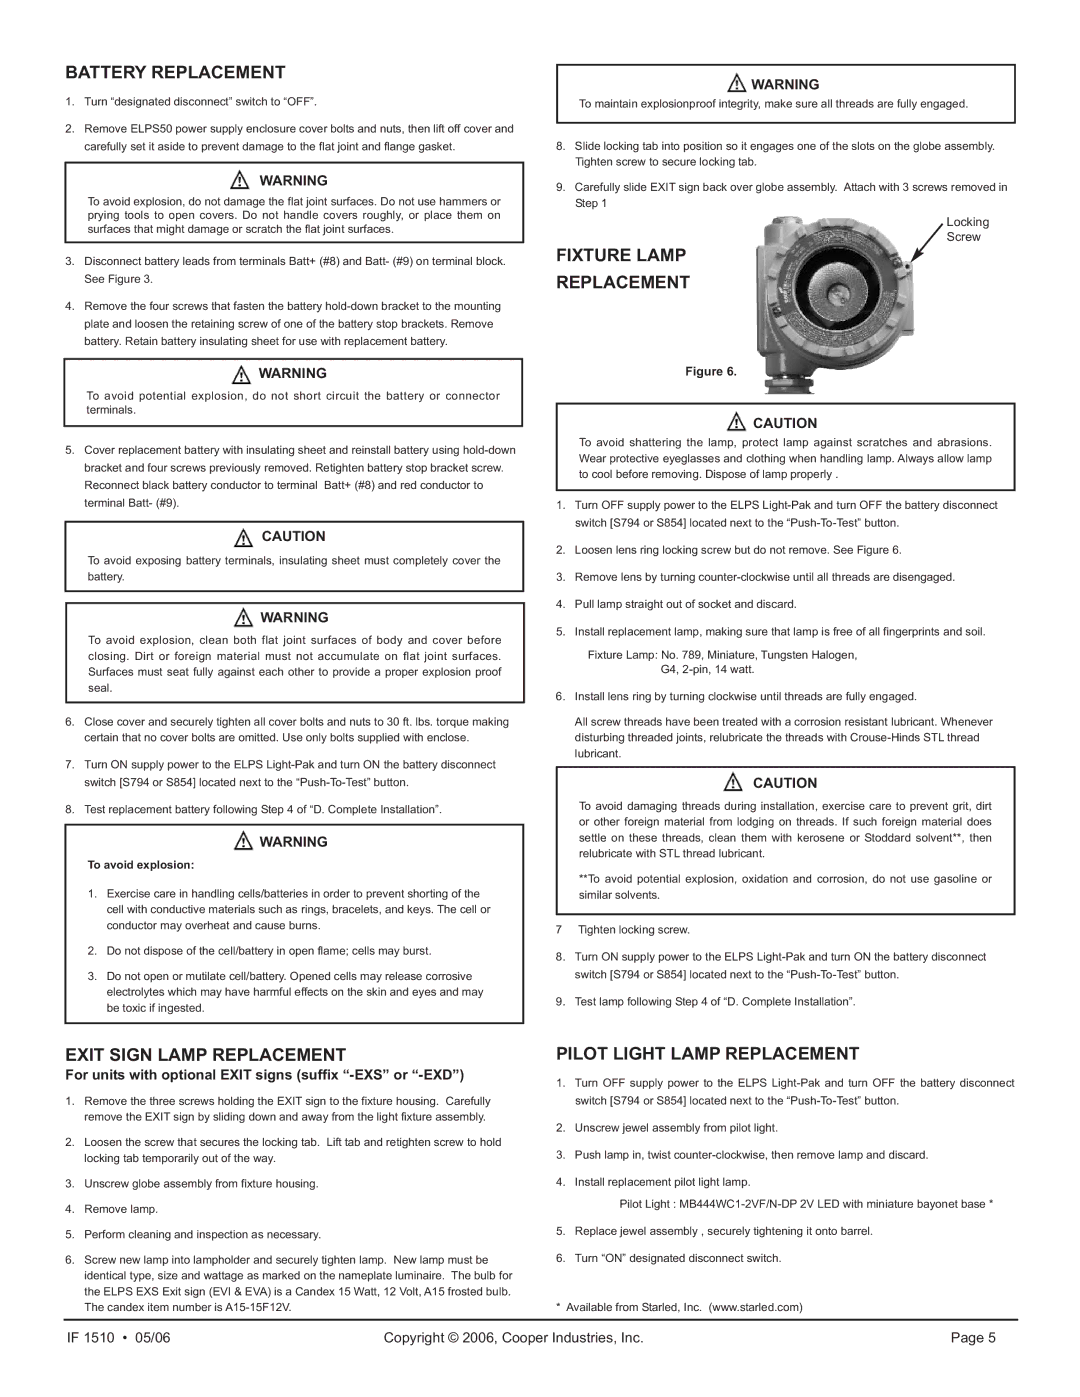
Locking
Screw
FIXTURE LAMP
REPLACEMENT
Figure 6.
![]() CAUTION
CAUTION
To avoid shattering the lamp, protect lamp against scratches and abrasions. Wear protective eyeglasses and clothing when handling lamp. Always allow lamp to cool before removing. Dispose of lamp properly .
1.Turn OFF supply power to the ELPS
2.Loosen lens ring locking screw but do not remove. See Figure 6.
3.Remove lens by turning
4.Pull lamp straight out of socket and discard.
5.Install replacement lamp, making sure that lamp is free of all fingerprints and soil.
Fixture Lamp: No. 789, Miniature, Tungsten Halogen,
G4,
6.Install lens ring by turning clockwise until threads are fully engaged.
All screw threads have been treated with a corrosion resistant lubricant. Whenever disturbing threaded joints, relubricate the threads with
![]() CAUTION
CAUTION
To avoid damaging threads during installation, exercise care to prevent grit, dirt or other foreign material from lodging on threads. If such foreign material does settle on these threads, clean them with kerosene or Stoddard solvent**, then relubricate with STL thread lubricant.
**To avoid potential explosion, oxidation and corrosion, do not use gasoline or similar solvents.
7Tighten locking screw.
8.Turn ON supply power to the ELPS
9.Test lamp following Step 4 of “D. Complete Installation”.
EXIT SIGN LAMP REPLACEMENT
For units with optional EXIT signs (suffix “-EXS” or “-EXD”)
1.Remove the three screws holding the EXIT sign to the fixture housing. Carefully remove the EXIT sign by sliding down and away from the light fixture assembly.
2.Loosen the screw that secures the locking tab. Lift tab and retighten screw to hold locking tab temporarily out of the way.
3.Unscrew globe assembly from fixture housing.
4.Remove lamp.
5.Perform cleaning and inspection as necessary.
6.Screw new lamp into lampholder and securely tighten lamp. New lamp must be identical type, size and wattage as marked on the nameplate luminaire. The bulb for the ELPS EXS Exit sign (EVI & EVA) is a Candex 15 Watt, 12 Volt, A15 frosted bulb. The candex item number is
PILOT LIGHT LAMP REPLACEMENT
1.Turn OFF supply power to the ELPS
2.Unscrew jewel assembly from pilot light.
3.Push lamp in, twist
4.Install replacement pilot light lamp.
Pilot Light :
5.Replace jewel assembly , securely tightening it onto barrel.
6.Turn “ON” designated disconnect switch.
* Available from Starled, Inc. (www.starled.com)
IF 1510 • 05/06 | Copyright © 2006, Cooper Industries, Inc. | Page 5 |
