USING THE RESTORATION 2.0
The RESTORATION 2.0 is designed to seat two adults. The six
The guidelines below explain how to properly use the RESTORATION 2.0. Follow these guidelines to main- tain the RESTORATION 2.0 for your
PLUGGING IN THE RESTORATION 2.0
Once the RESTORATION 2.0 is filled with water and you have made sure that the
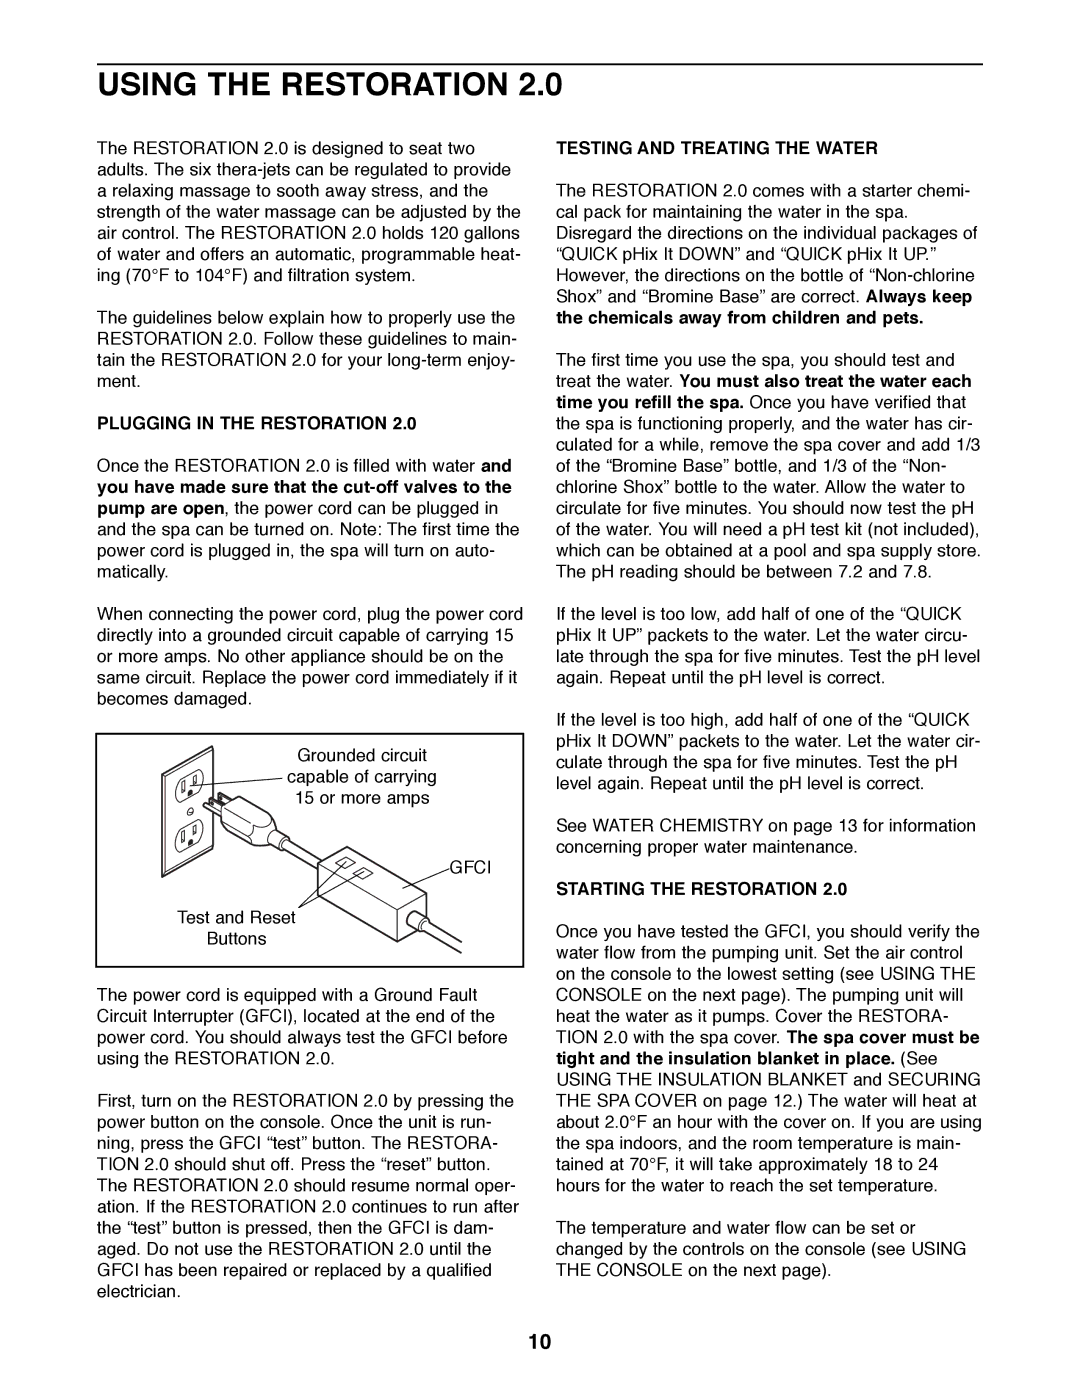
When connecting the power cord, plug the power cord directly into a grounded circuit capable of carrying 15 or more amps. No other appliance should be on the same circuit. Replace the power cord immediately if it becomes damaged.
Grounded circuit
capable of carrying
15 or more amps
GFCI
Test and Reset
Buttons
The power cord is equipped with a Ground Fault Circuit Interrupter (GFCI), located at the end of the power cord. You should always test the GFCI before using the RESTORATION 2.0.
First, turn on the RESTORATION 2.0 by pressing the power button on the console. Once the unit is run- ning, press the GFCI ÒtestÓ button. The RESTORA- TION 2.0 should shut off. Press the ÒresetÓ button. The RESTORATION 2.0 should resume normal oper- ation. If the RESTORATION 2.0 continues to run after the ÒtestÓ button is pressed, then the GFCI is dam- aged. Do not use the RESTORATION 2.0 until the GFCI has been repaired or replaced by a qualified electrician.
TESTING AND TREATING THE WATER
The RESTORATION 2.0 comes with a starter chemi- cal pack for maintaining the water in the spa. Disregard the directions on the individual packages of ÒQUICK pHix It DOWNÓ and ÒQUICK pHix It UP.Ó However, the directions on the bottle of
The first time you use the spa, you should test and treat the water. You must also treat the water each time you refill the spa. Once you have verified that the spa is functioning properly, and the water has cir- culated for a while, remove the spa cover and add 1/3 of the ÒBromine BaseÓ bottle, and 1/3 of the ÒNon- chlorine ShoxÓ bottle to the water. Allow the water to circulate for five minutes. You should now test the pH of the water. You will need a pH test kit (not included), which can be obtained at a pool and spa supply store. The pH reading should be between 7.2 and 7.8.
If the level is too low, add half of one of the ÒQUICK pHix It UPÓ packets to the water. Let the water circu- late through the spa for five minutes. Test the pH level again. Repeat until the pH level is correct.
If the level is too high, add half of one of the ÒQUICK pHix It DOWNÓ packets to the water. Let the water cir- culate through the spa for five minutes. Test the pH level again. Repeat until the pH level is correct.
See WATER CHEMISTRY on page 13 for information concerning proper water maintenance.
STARTING THE RESTORATION 2.0
Once you have tested the GFCI, you should verify the water flow from the pumping unit. Set the air control on the console to the lowest setting (see USING THE CONSOLE on the next page). The pumping unit will heat the water as it pumps. Cover the RESTORA- TION 2.0 with the spa cover. The spa cover must be tight and the insulation blanket in place. (See USING THE INSULATION BLANKET and SECURING THE SPA COVER on page 12.) The water will heat at about 2.0¡F an hour with the cover on. If you are using the spa indoors, and the room temperature is main- tained at 70¡F, it will take approximately 18 to 24 hours for the water to reach the set temperature.
The temperature and water flow can be set or changed by the controls on the console (see USING THE CONSOLE on the next page).
10