PLFW101, PLJW102, PLFW102, PLJW101 specifications
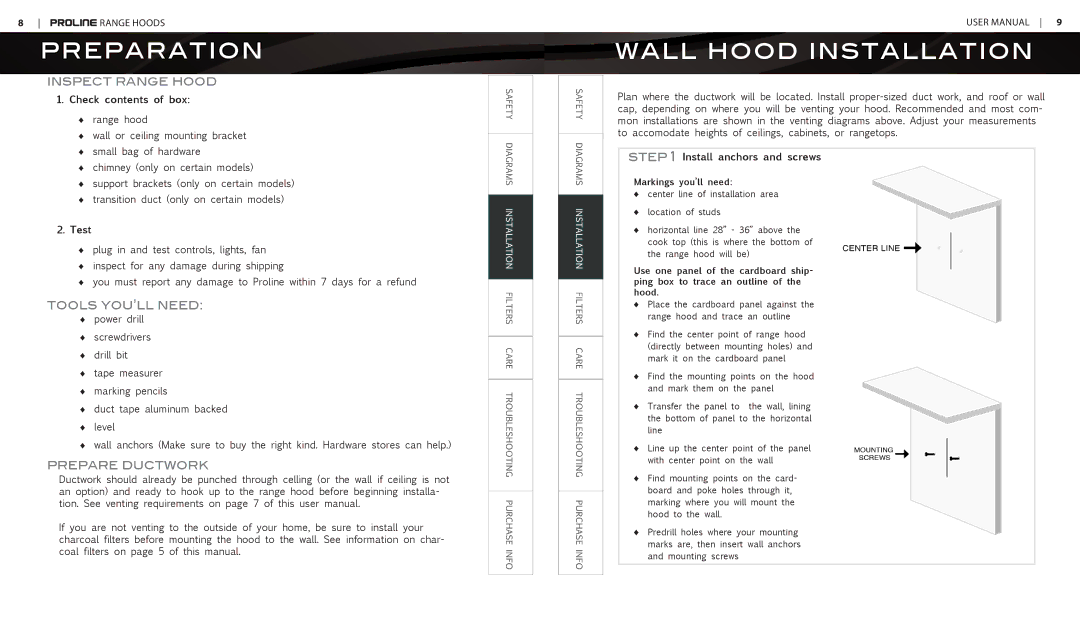
Proline PLJW101, PLJW102, PLFW102, and PLFW101 are advanced kitchen ventilation solutions designed to enhance cooking environments with efficiency and style. These range hoods cater to diverse culinary needs while maintaining aesthetic appeal, blending seamlessly into modern kitchen designs.The Proline PLJW101 features a sleek wall-mounted design with a powerful 900 CFM motor. This model is equipped with an easy-to-use touch control panel that allows for precise operation. It incorporates three speed settings, enabling users to adjust the airflow according to cooking intensity. The PLJW101 also comes with bright LED lights that illuminate the cooking area, facilitating better visibility during meal preparation.
In contrast, the Proline PLJW102 is slightly more robust, boasting a maximum airflow of 1200 CFM. This model is particularly suitable for those who frequently engage in high-heat cooking methods, such as frying or grilling. The PLJW102 features a stainless steel construction that not only enhances durability but also adds a modern touch to kitchen aesthetics. Its dishwasher-safe filters ensure easy maintenance, making it a practical choice for busy households.
The PLFW102, a prestigious island range hood, mirrors the powerful performance of its wall-mounted counterparts, offering a 900 CFM motor. Its unique design allows for more flexibility in kitchen layout and ventilation, making it ideal for open-concept designs. With its stylish canopy and a range of finish options, the PLFW102 makes a bold statement while effectively clearing smoke and odors from the kitchen.
Lastly, the Proline PLFW101 is tailored for users seeking a balance between performance and design. With a 610 CFM motor, this island hood provides adequate ventilation for everyday cooking tasks. The touch control panel simplifies usage, while the quiet operation ensures a comfortable cooking experience without the distraction of excessive noise.
All models come equipped with high-quality stainless steel and are built for longevity, ensuring they withstand the rigors of a busy kitchen. With powerful motors, user-friendly controls, and stylish finishes, Proline’s PLJW101, PLJW102, PLFW102, and PLFW101 range hoods deliver reliable performance and efficiency, making them essential appliances for modern kitchens. With a combination of aesthetics, functionality, and advanced technology, these range hoods stand out as top choices for kitchen ventilation solutions.

