•Stereo power amplifier
•150 Watts Per Channel into 8Ω
•225 Watts Per Channel into 4Ω
•SDAT™ output stage
•Balanced JFET input stage
•Single ended (RCA) and balanced (XLR) type inputs
•Fully balanced internal architecture
•Internal High Current Ultimate Outlet™ provides AC filtration
•WBT™ 5-way binding posts
•12 Volt DC trigger
•PS bus for communication with other PS Audio products
•93% efficient, produces almost no heat
•PS Audio’s brushed aluminum FRAME chassis
•Available in black or silver chassis
1.Turn off your pre-amplifier or any other equipment that the HCA-2 will be connected to.
2.Unpack the HCA-2 and place it on a smooth surface. The HCA-2 may also be rack mounted with an optional rack shelf. Due to the efficiency of the design the HCA-2 does not need to be placed in a ventilated area.
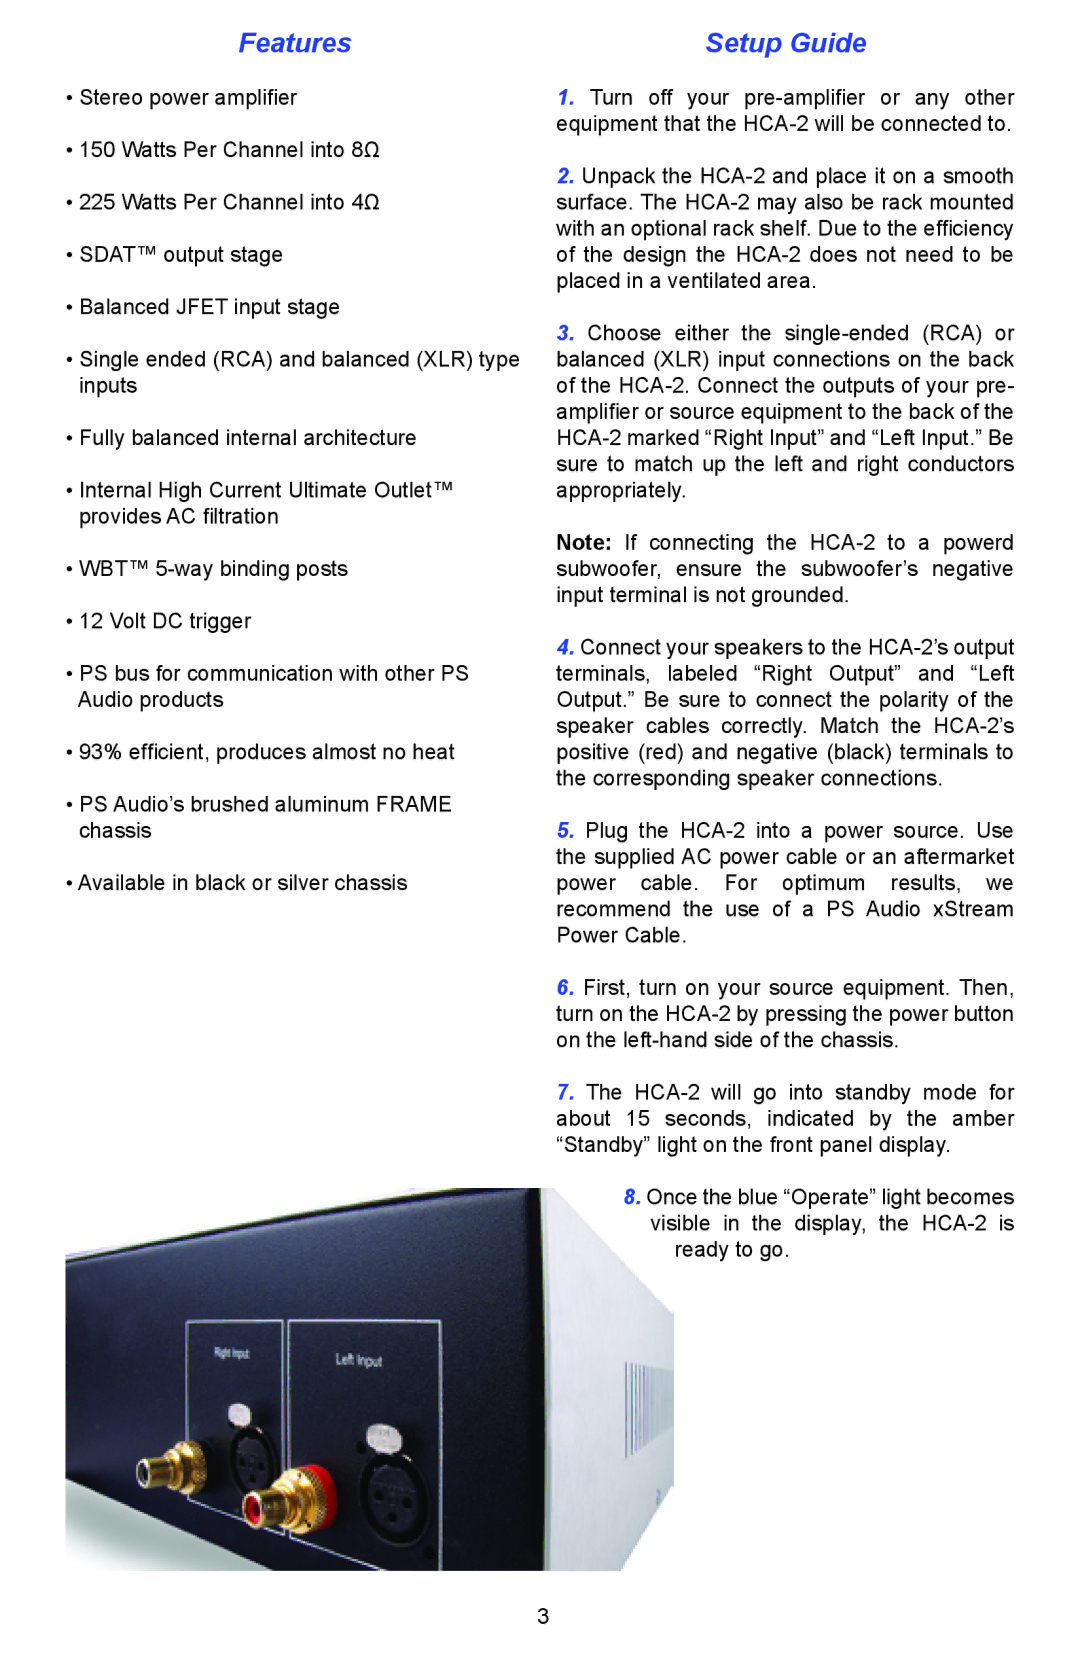
3.Choose either the single-ended (RCA) or balanced (XLR) input connections on the back of the HCA-2. Connect the outputs of your pre- amplifier or source equipment to the back of the HCA-2 marked “Right Input” and “Left Input.” Be sure to match up the left and right conductors appropriately.
Note: If connecting the HCA-2 to a powerd subwoofer, ensure the subwoofer’s negative input terminal is not grounded.
4.Connect your speakers to the HCA-2’s output terminals, labeled “Right Output” and “Left Output.” Be sure to connect the polarity of the speaker cables correctly. Match the HCA-2’s positive (red) and negative (black) terminals to the corresponding speaker connections.
5.Plug the HCA-2 into a power source. Use the supplied AC power cable or an aftermarket power cable. For optimum results, we recommend the use of a PS Audio xStream Power Cable.
6.First, turn on your source equipment. Then, turn on the HCA-2 by pressing the power button on the left-hand side of the chassis.
7.The HCA-2 will go into standby mode for about 15 seconds, indicated by the amber “Standby” light on the front panel display.
8.Once the blue “Operate” light becomes visible in the display, the HCA-2 is
ready to go.