To set up SNMP:
1. In the navigation panel, select Monitoring and Notification > Configure SNMP.
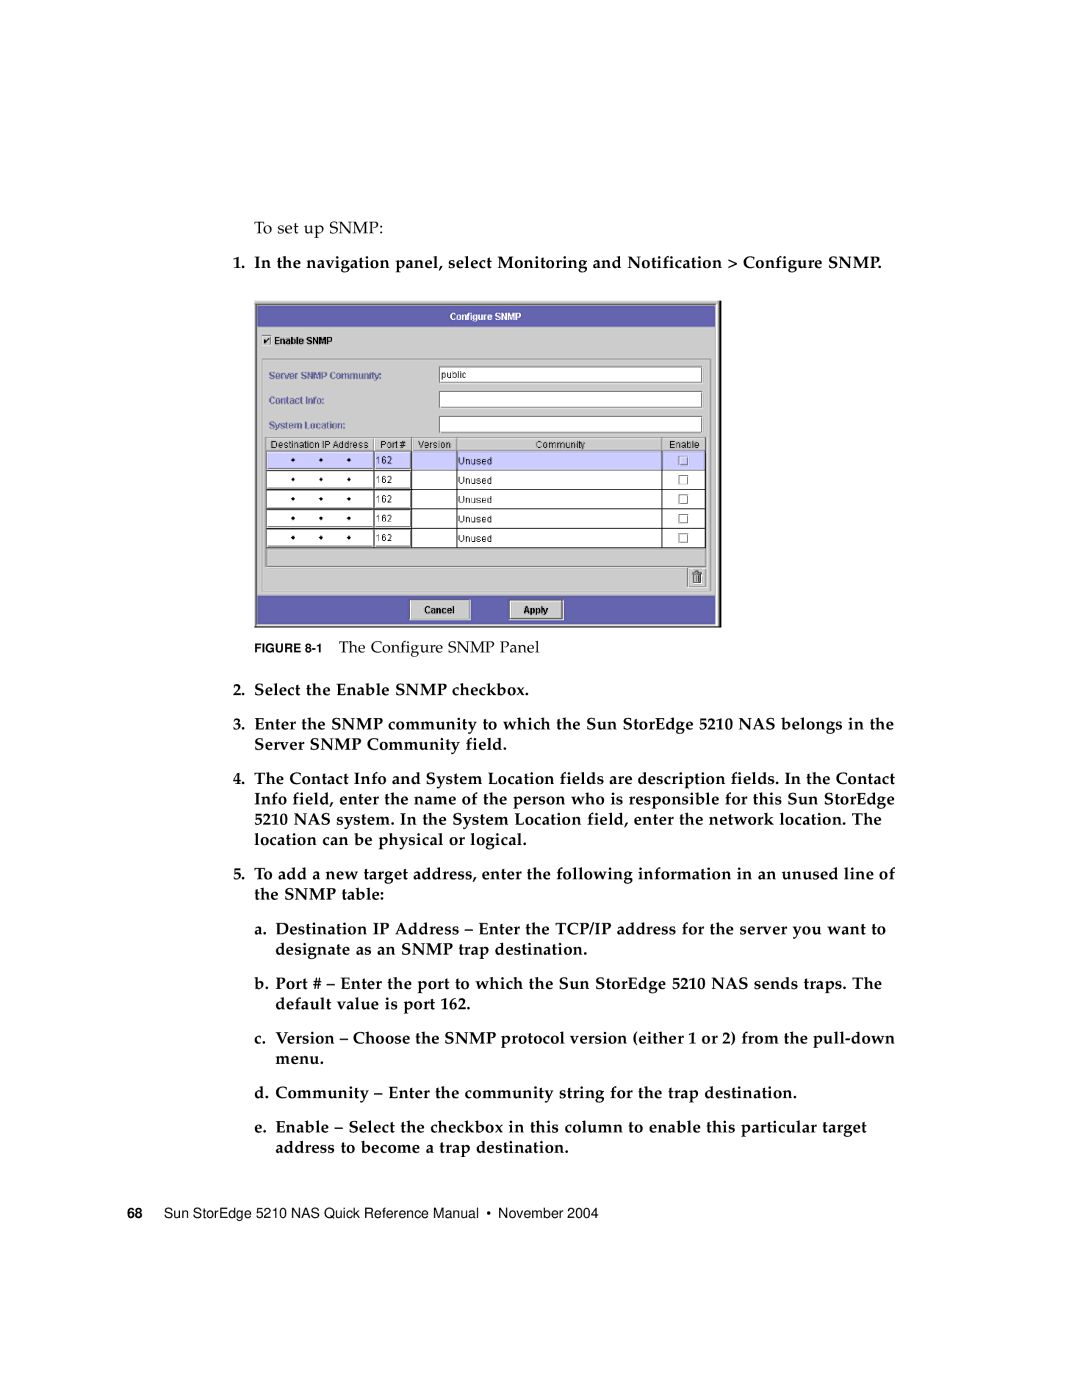
FIGURE 8-1 The Configure SNMP Panel
2.Select the Enable SNMP checkbox.
3.Enter the SNMP community to which the Sun StorEdge 5210 NAS belongs in the Server SNMP Community field.
4.The Contact Info and System Location fields are description fields. In the Contact Info field, enter the name of the person who is responsible for this Sun StorEdge 5210 NAS system. In the System Location field, enter the network location. The location can be physical or logical.
5.To add a new target address, enter the following information in an unused line of the SNMP table:
a.Destination IP Address – Enter the TCP/IP address for the server you want to designate as an SNMP trap destination.
b.Port # – Enter the port to which the Sun StorEdge 5210 NAS sends traps. The default value is port 162.
c.Version – Choose the SNMP protocol version (either 1 or 2) from the
d.Community – Enter the community string for the trap destination.
e.Enable – Select the checkbox in this column to enable this particular target address to become a trap destination.