Verifying DNS Configuration
1.In the navigation panel, select Network Configuration > Configure TCP/IP > Set Up DNS.
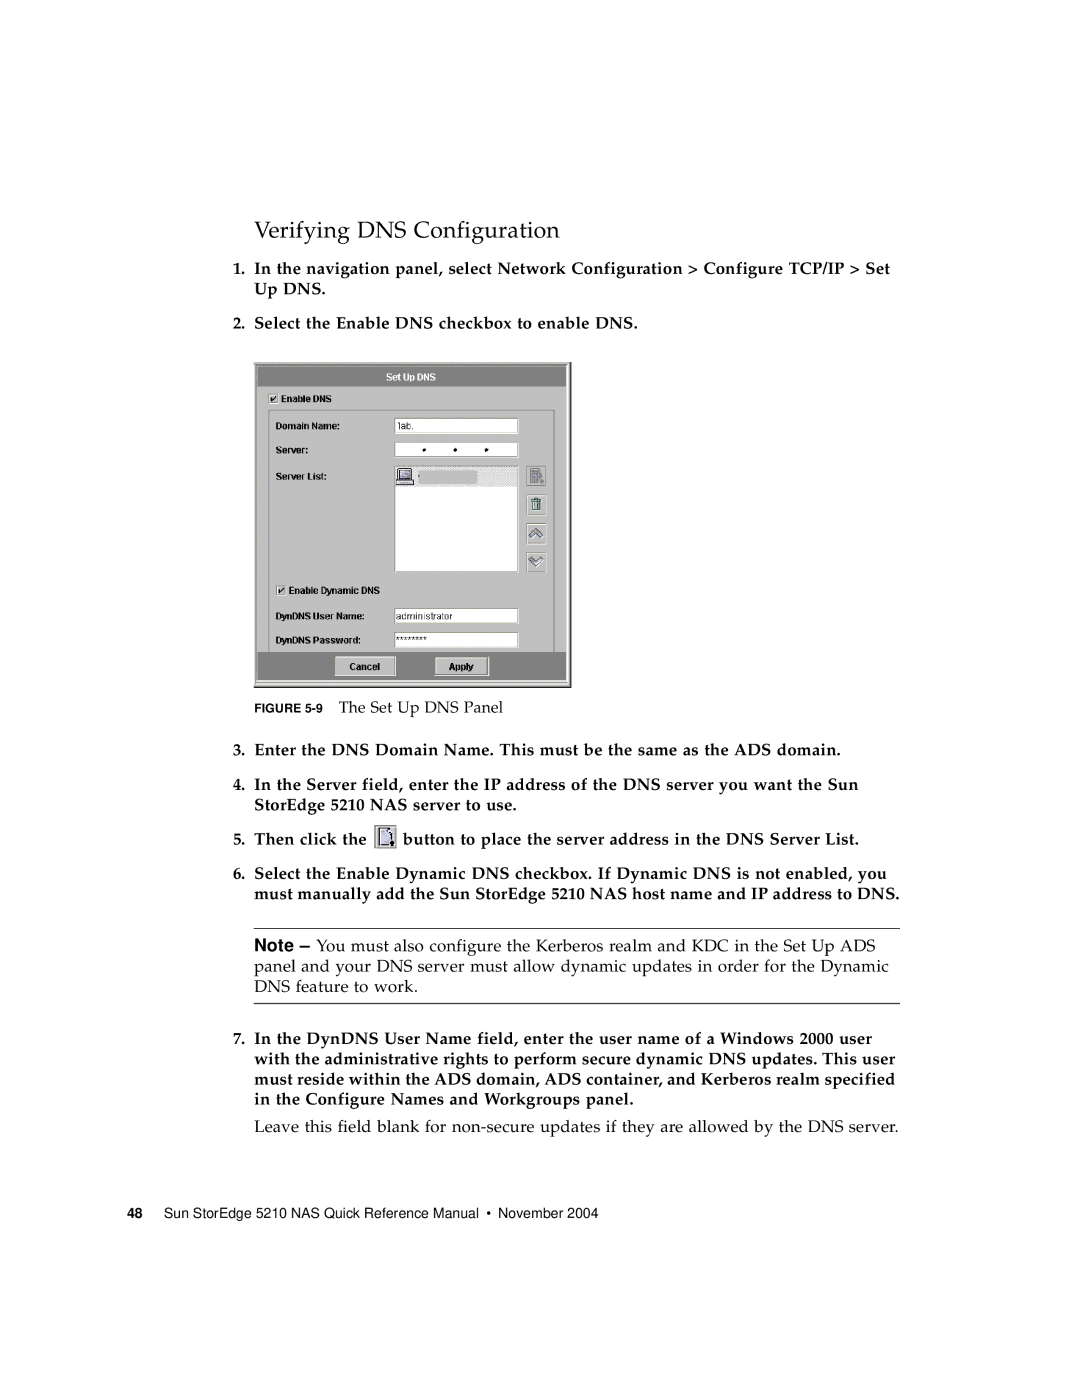
2.Select the Enable DNS checkbox to enable DNS.
FIGURE 5-9 The Set Up DNS Panel
3.Enter the DNS Domain Name. This must be the same as the ADS domain.
4.In the Server field, enter the IP address of the DNS server you want the Sun StorEdge 5210 NAS server to use.
5.Then click the ![]() button to place the server address in the DNS Server List.
button to place the server address in the DNS Server List.
6.Select the Enable Dynamic DNS checkbox. If Dynamic DNS is not enabled, you must manually add the Sun StorEdge 5210 NAS host name and IP address to DNS.
Note – You must also configure the Kerberos realm and KDC in the Set Up ADS panel and your DNS server must allow dynamic updates in order for the Dynamic DNS feature to work.
7.In the DynDNS User Name field, enter the user name of a Windows 2000 user with the administrative rights to perform secure dynamic DNS updates. This user must reside within the ADS domain, ADS container, and Kerberos realm specified in the Configure Names and Workgroups panel.
Leave this field blank for