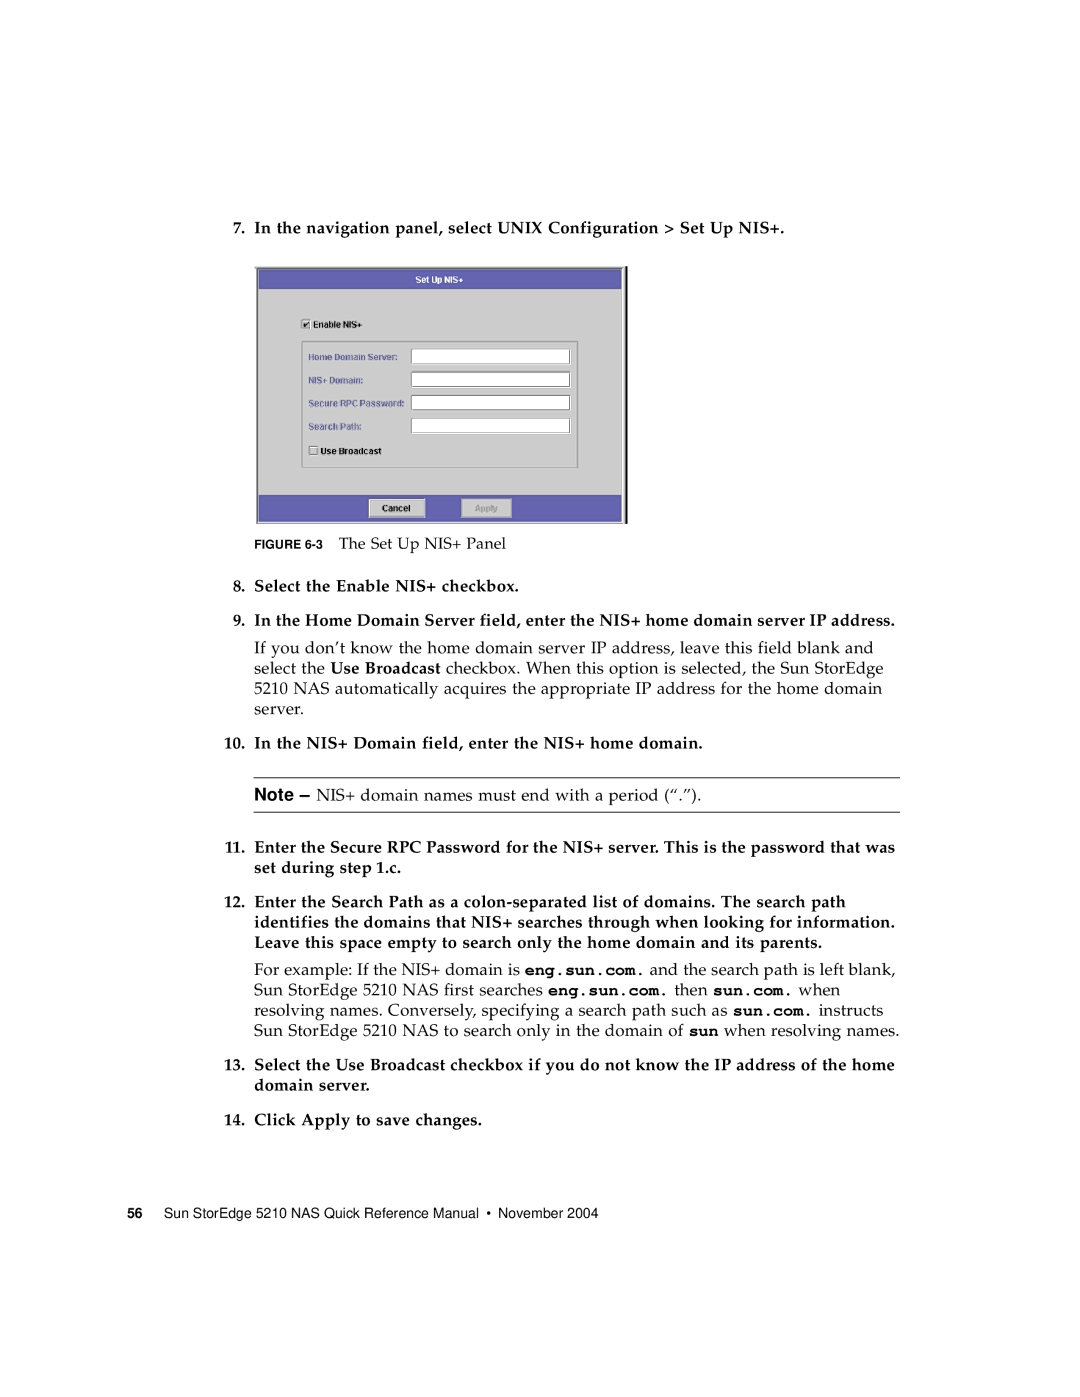
7. In the navigation panel, select UNIX Configuration > Set Up NIS+.
FIGURE 6-3 The Set Up NIS+ Panel
8.Select the Enable NIS+ checkbox.
9.In the Home Domain Server field, enter the NIS+ home domain server IP address.
If you don’t know the home domain server IP address, leave this field blank and select the Use Broadcast checkbox. When this option is selected, the Sun StorEdge 5210 NAS automatically acquires the appropriate IP address for the home domain server.
10.In the NIS+ Domain field, enter the NIS+ home domain.
Note – NIS+ domain names must end with a period (“.”).
11.Enter the Secure RPC Password for the NIS+ server. This is the password that was set during step 1.c.
12.Enter the Search Path as a
For example: If the NIS+ domain is eng.sun.com. and the search path is left blank, Sun StorEdge 5210 NAS first searches eng.sun.com. then sun.com. when resolving names. Conversely, specifying a search path such as sun.com. instructs Sun StorEdge 5210 NAS to search only in the domain of sun when resolving names.
13.Select the Use Broadcast checkbox if you do not know the IP address of the home domain server.
14.Click Apply to save changes.