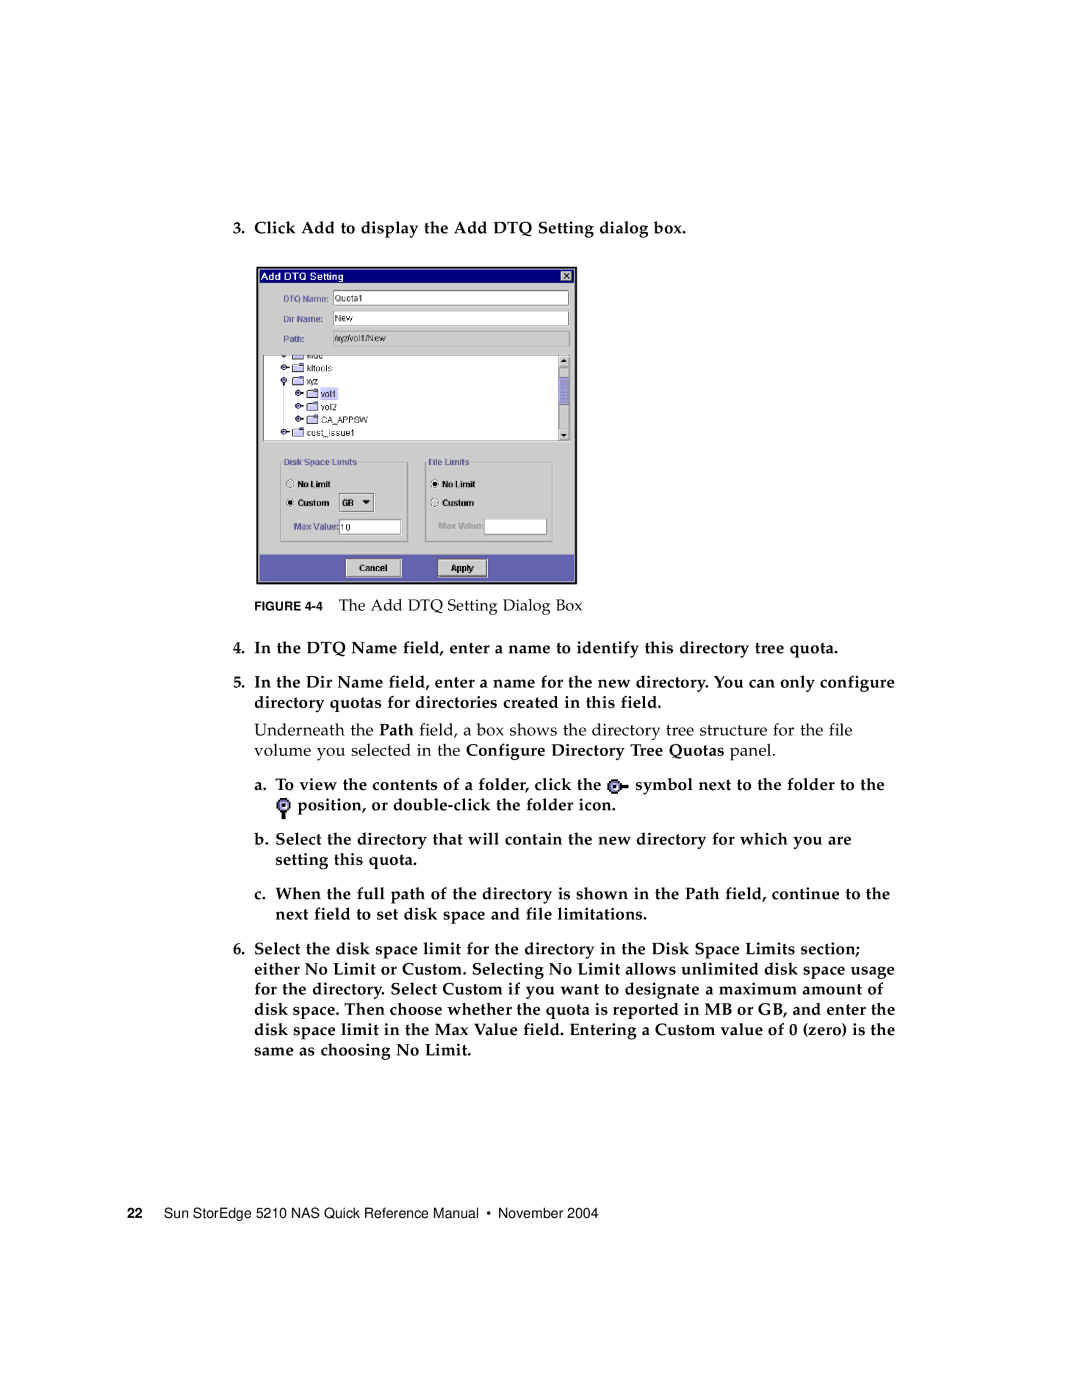
3. Click Add to display the Add DTQ Setting dialog box.
FIGURE 4-4 The Add DTQ Setting Dialog Box
4.In the DTQ Name field, enter a name to identify this directory tree quota.
5.In the Dir Name field, enter a name for the new directory. You can only configure directory quotas for directories created in this field.
Underneath the Path field, a box shows the directory tree structure for the file volume you selected in the Configure Directory Tree Quotas panel.
a.To view the contents of a folder, click the![]() symbol next to the folder to the
symbol next to the folder to the ![]() position, or
position, or
b.Select the directory that will contain the new directory for which you are setting this quota.
c.When the full path of the directory is shown in the Path field, continue to the next field to set disk space and file limitations.
6.Select the disk space limit for the directory in the Disk Space Limits section; either No Limit or Custom. Selecting No Limit allows unlimited disk space usage for the directory. Select Custom if you want to designate a maximum amount of disk space. Then choose whether the quota is reported in MB or GB, and enter the disk space limit in the Max Value field. Entering a Custom value of 0 (zero) is the same as choosing No Limit.