Installation in the Computer | 2 – Hardware Installation |
5.Unscrew and remove the slot cover. Retain the screw to use when you install the QLA12160 board.
6.Place the QLA12160 board into the slot. Carefully press the board into the slot until it seats firmly.
NOTE: QLA12160 boards are designed with the components on the opposite side compared with
7.Secure the QLA12160 board with the slot cover screw.
8.Install the cable.
❑Internal: Connect the cable from the devices to the J3 connector on the QLA12160 board.
❑External: Connect a SCSI cable from the devices to the J1 connector and/or the J2 connector.
NOTE: If you are attaching an external device, you must provide your own cable.
9.Carefully reinstall the computer cover. Insert and tighten the computer cover screws.
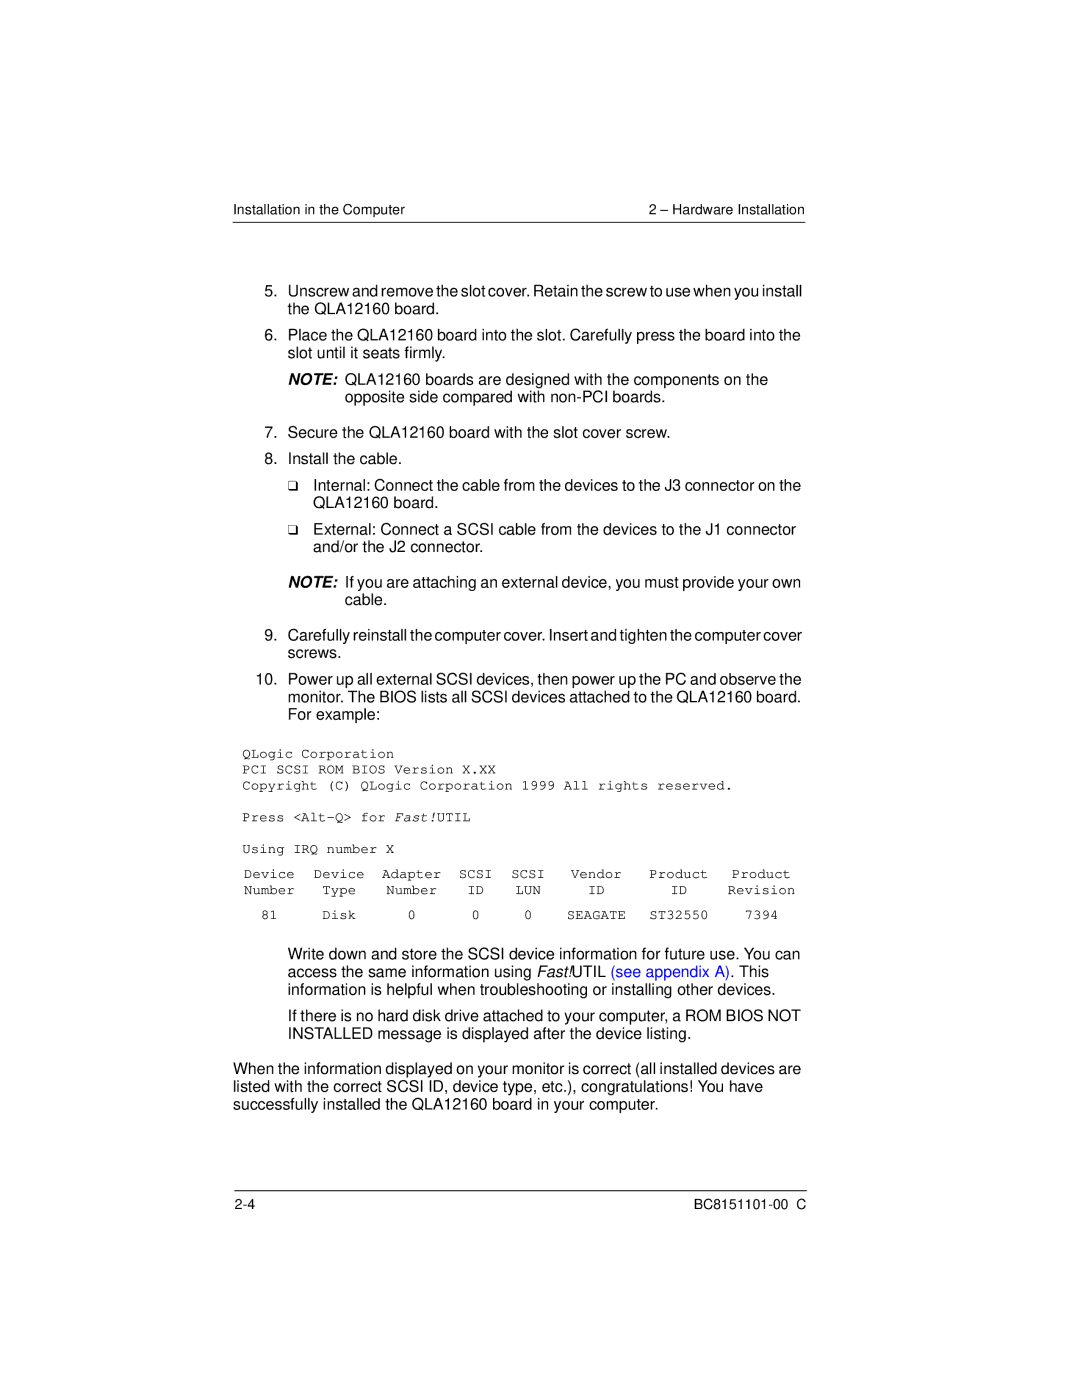
10.Power up all external SCSI devices, then power up the PC and observe the monitor. The BIOS lists all SCSI devices attached to the QLA12160 board. For example:
QLogic Corporation
PCI SCSI ROM BIOS Version X.XX
Copyright (C) QLogic Corporation 1999 All rights reserved.
Press
Using IRQ number X |
|
|
|
|
| ||
Device | Device | Adapter | SCSI | SCSI | Vendor | Product | Product |
Number | Type | Number | ID | LUN | ID | ID | Revision |
81 | Disk | 0 | 0 | 0 | SEAGATE | ST32550 | 7394 |
Write down and store the SCSI device information for future use. You can access the same information using Fast!UTIL (see appendix A). This information is helpful when troubleshooting or installing other devices.
If there is no hard disk drive attached to your computer, a ROM BIOS NOT INSTALLED message is displayed after the device listing.
When the information displayed on your monitor is correct (all installed devices are listed with the correct SCSI ID, device type, etc.), congratulations! You have successfully installed the QLA12160 board in your computer.