Chapter 5: DVR Setup - 5.12 Sub Menu-Time Set
To configure the DVR's time:
Press [![]() Up] and [
Up] and [![]() Down] to move prompt.
Down] to move prompt.
Press [![]() Select] to modify.
Select] to modify.
Press [ ![]() Menu] to save and exit.
Menu] to save and exit.
Chapter 5: DVR Setup - 5.13 Hard Disk Setup
Chapter 5: DVR Setup - 5.14 Motion Setup
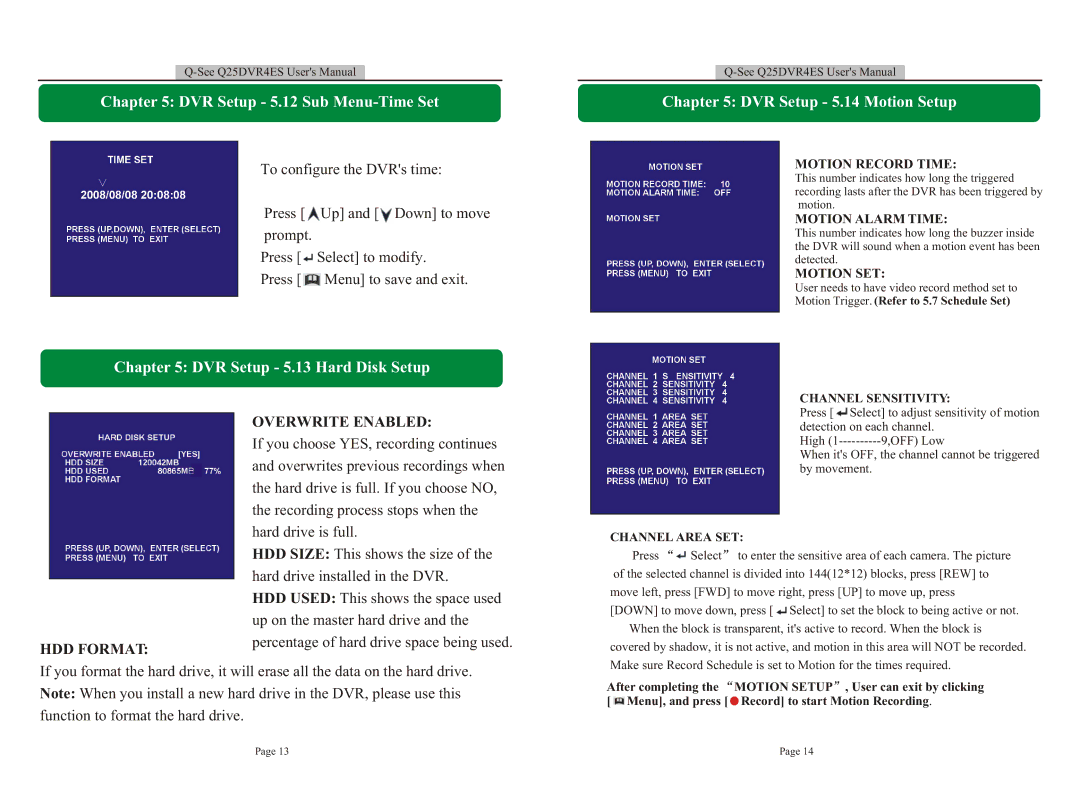
MOTION RECORD TIME:
This number indicates how long the triggered recording lasts after the DVR has been triggered by motion.
MOTION ALARM TIME:
This number indicates how long the buzzer inside the DVR will sound when a motion event has been detected.
MOTION SET:
User needs to have video record method set to
Motion Trigger. (Refer to 5.7 Schedule Set)
CHANNEL SENSITIVITY:
HDD FORMAT:
OVERWRITE ENABLED:
If you choose YES, recording continues and overwrites previous recordings when the hard drive is full. If you choose NO, the recording process stops when the hard drive is full.
HDD SIZE: This shows the size of the hard drive installed in the DVR.
HDD USED: This shows the space used up on the master hard drive and the percentage of hard drive space being used.
Press [![]() Select] to adjust sensitivity of motion detection on each channel.
Select] to adjust sensitivity of motion detection on each channel.
High
When it's OFF, the channel cannot be triggered by movement.
CHANNEL AREA SET:
Press ![]() Select to enter the sensitive area of each camera. The picture
Select to enter the sensitive area of each camera. The picture
of the selected channel is divided into 144(12*12) blocks, press [REW] to move left, press [FWD] to move right, press [UP] to move up, press [DOWN] to move down, press [ ![]() Select] to set the block to being active or not.
Select] to set the block to being active or not.
When the block is transparent, it's active to record. When the block is covered by shadow, it is not active, and motion in this area will NOT be recorded. Make sure Record Schedule is set to Motion for the times required.
If you format the hard drive, it will erase all the data on the hard drive. Note: When you install a new hard drive in the DVR, please use this function to format the hard drive.
After completing the ![]() MOTION SETUP , User can exit by clicking [
MOTION SETUP , User can exit by clicking [ ![]() Menu], and press [
Menu], and press [ ![]() Record] to start Motion Recording.
Record] to start Motion Recording.
Page 13 | Page 14 |