Installing in DOS
Note: To ensure a successful DOS in- stallation, boot up to DOS.
If Windows 3.1 loads automatically at boot up, exit Windows, then proceed with the mouse’s software installation.
If Windows 95/98 loads automatically at boot up, select Start from the task bar, choose Shut Down, and then select Re-
start the computer in
1.Insert the provided setup disk into your computer’s floppy disk drive.
2.At the DOS prompt, type
<drive>:\dos\install. (For example, if the Dual Wheel Mouse setup disk is in drive A, type a:\dos\install.)
3.Press Enter. A dialog box appears.
4.In the dialog box, type A:\DOS after SOURCE:.
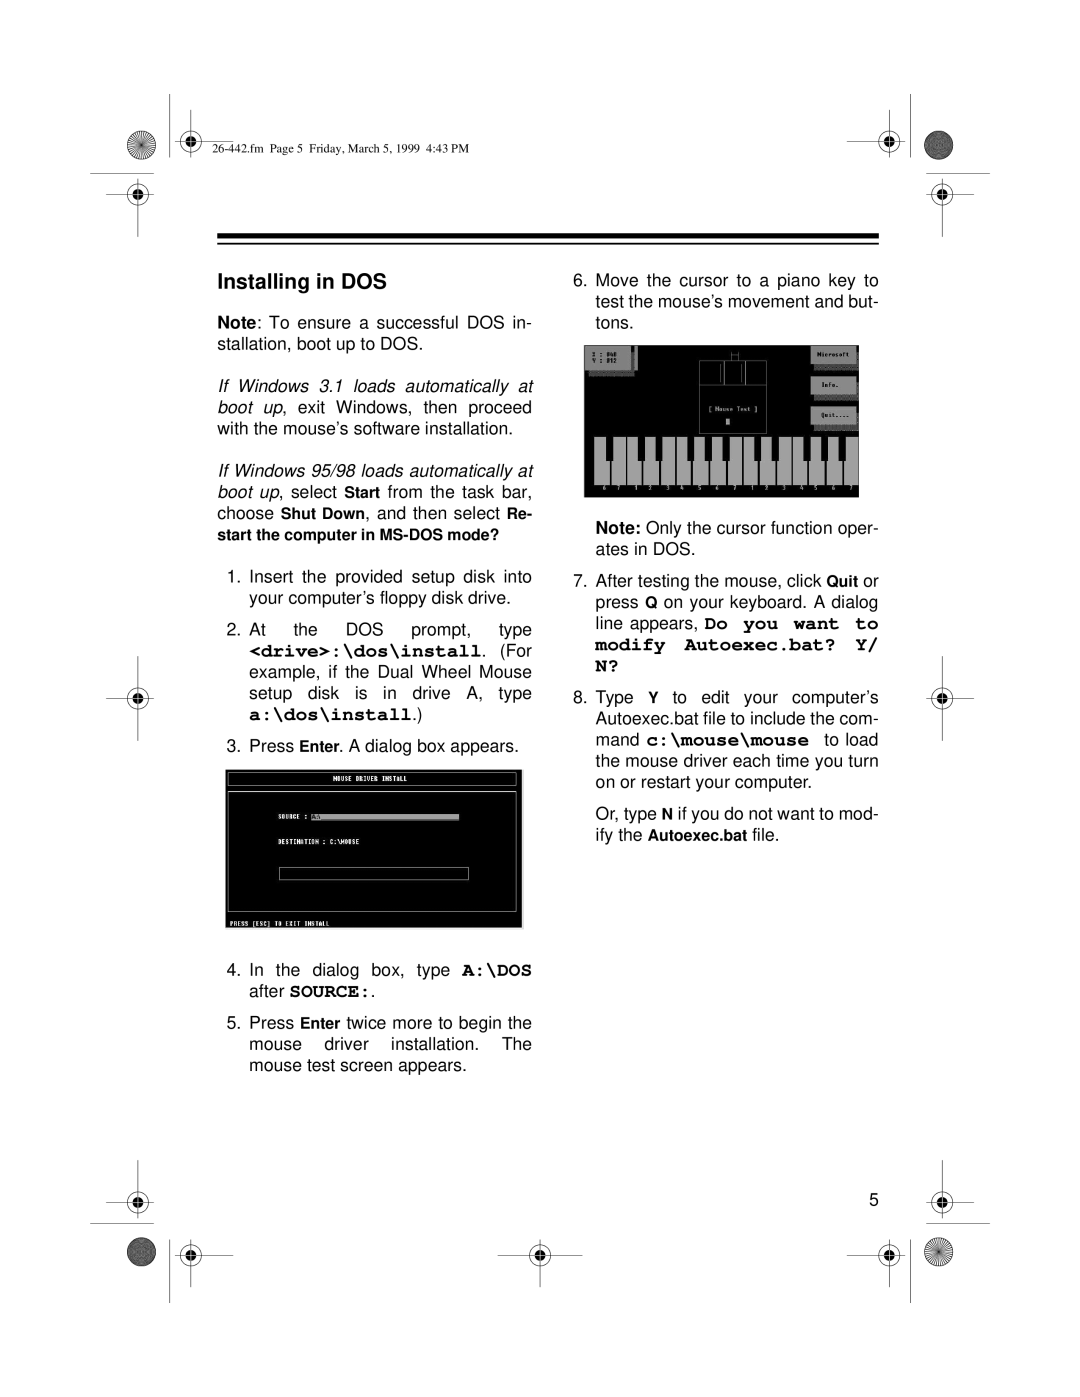
5.Press Enter twice more to begin the mouse driver installation. The mouse test screen appears.
6.Move the cursor to a piano key to test the mouse’s movement and but- tons.
Note: Only the cursor function oper- ates in DOS.
7.After testing the mouse, click Quit or press Q on your keyboard. A dialog line appears, Do you want to modify Autoexec.bat? Y/ N?
8.Type Y to edit your computer’s Autoexec.bat file to include the com- mand c:\mouse\mouse to load the mouse driver each time you turn on or restart your computer.
Or, type N if you do not want to mod- ify the Autoexec.bat file.
5
