Setting the Automatic Timer
1.Insert a blank cassette, or one that you want to record over, into the cassette com- partment. The Model 36 automatically turns on.
Note: If a cassette was loaded when you last turned off the Model 36, you must press POWER to turn on the Model 36.
2.Press MENU. The main menu appears.
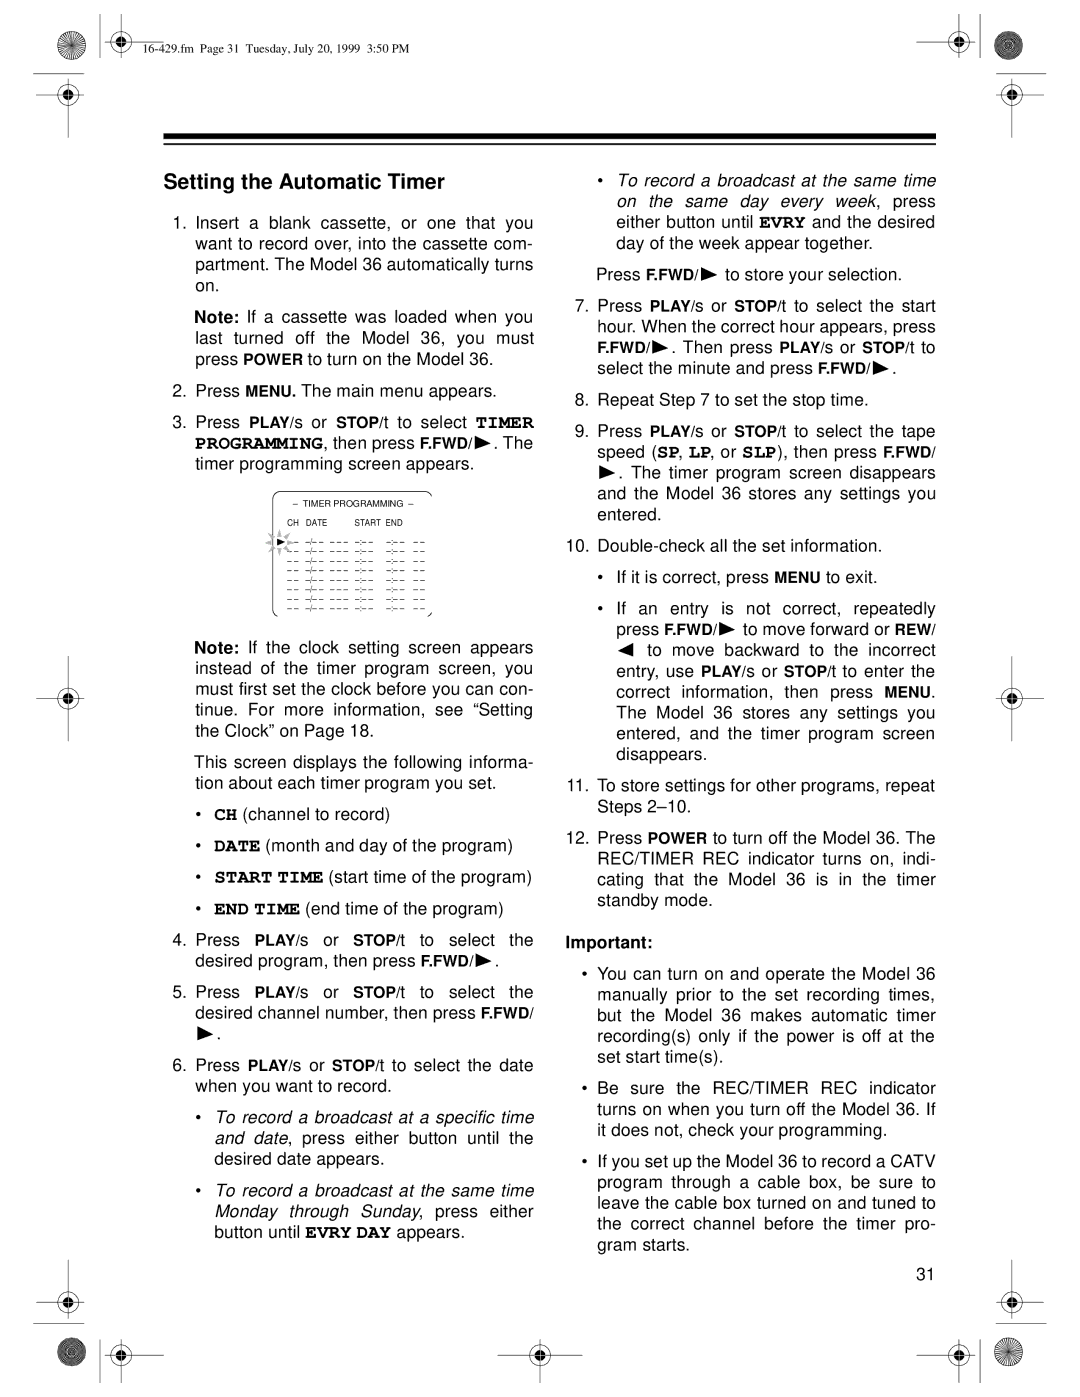
3.Press PLAY/s or STOP/t to select TIMER PROGRAMMING, then press F.FWD/ ![]() . The timer programming screen appears.
. The timer programming screen appears.
– TIMER PROGRAMMING –
CH | DATE |
| START END |
| |
– – | – – – | – – | |||
– – | – – – | – – | |||
– – | – – – | – – | |||
– – | – – – | – – | |||
– – | – – – | – – | |||
– – | – – – | – – | |||
– – | – – – | – – | |||
– – | – – – | – – | |||
Note: If the clock setting screen appears instead of the timer program screen, you must first set the clock before you can con- tinue. For more information, see “Setting the Clock” on Page 18.
This screen displays the following informa- tion about each timer program you set.
•CH (channel to record)
•DATE (month and day of the program)
•START TIME (start time of the program)
•END TIME (end time of the program)
4.Press PLAY/s or STOP/t to select the desired program, then press F.FWD/ ![]() .
.
5.Press PLAY/s or STOP/t to select the desired channel number, then press F.FWD/ ![]() .
.
6.Press PLAY/s or STOP/t to select the date when you want to record.
•To record a broadcast at a specific time and date, press either button until the desired date appears.
•To record a broadcast at the same time Monday through Sunday, press either button until EVRY DAY appears.
•To record a broadcast at the same time on the same day every week, press either button until EVRY and the desired day of the week appear together.
Press F.FWD/ ![]() to store your selection.
to store your selection.
7.Press PLAY/s or STOP/t to select the start hour. When the correct hour appears, press
F.FWD/ ![]() . Then press PLAY/s or STOP/t to select the minute and press F.FWD/
. Then press PLAY/s or STOP/t to select the minute and press F.FWD/ ![]() .
.
8.Repeat Step 7 to set the stop time.
9.Press PLAY/s or STOP/t to select the tape speed (SP, LP, or SLP), then press F.FWD/ ![]() . The timer program screen disappears and the Model 36 stores any settings you entered.
. The timer program screen disappears and the Model 36 stores any settings you entered.
10.
•If it is correct, press MENU to exit.
•If an entry is not correct, repeatedly press F.FWD/ ![]() to move forward or REW/
to move forward or REW/ ![]() to move backward to the incorrect entry, use PLAY/s or STOP/t to enter the correct information, then press MENU. The Model 36 stores any settings you entered, and the timer program screen disappears.
to move backward to the incorrect entry, use PLAY/s or STOP/t to enter the correct information, then press MENU. The Model 36 stores any settings you entered, and the timer program screen disappears.
11.To store settings for other programs, repeat Steps
12.Press POWER to turn off the Model 36. The REC/TIMER REC indicator turns on, indi- cating that the Model 36 is in the timer standby mode.
Important:
•You can turn on and operate the Model 36 manually prior to the set recording times, but the Model 36 makes automatic timer recording(s) only if the power is off at the set start time(s).
•Be sure the REC/TIMER REC indicator turns on when you turn off the Model 36. If it does not, check your programming.
•If you set up the Model 36 to record a CATV program through a cable box, be sure to leave the cable box turned on and tuned to the correct channel before the timer pro- gram starts.
31