2.Plug one end of the supplied long modu- lar cord into the TEL LINE jack on the back of the base and route the adapter cable and modular cords through the grooves on the bracket.
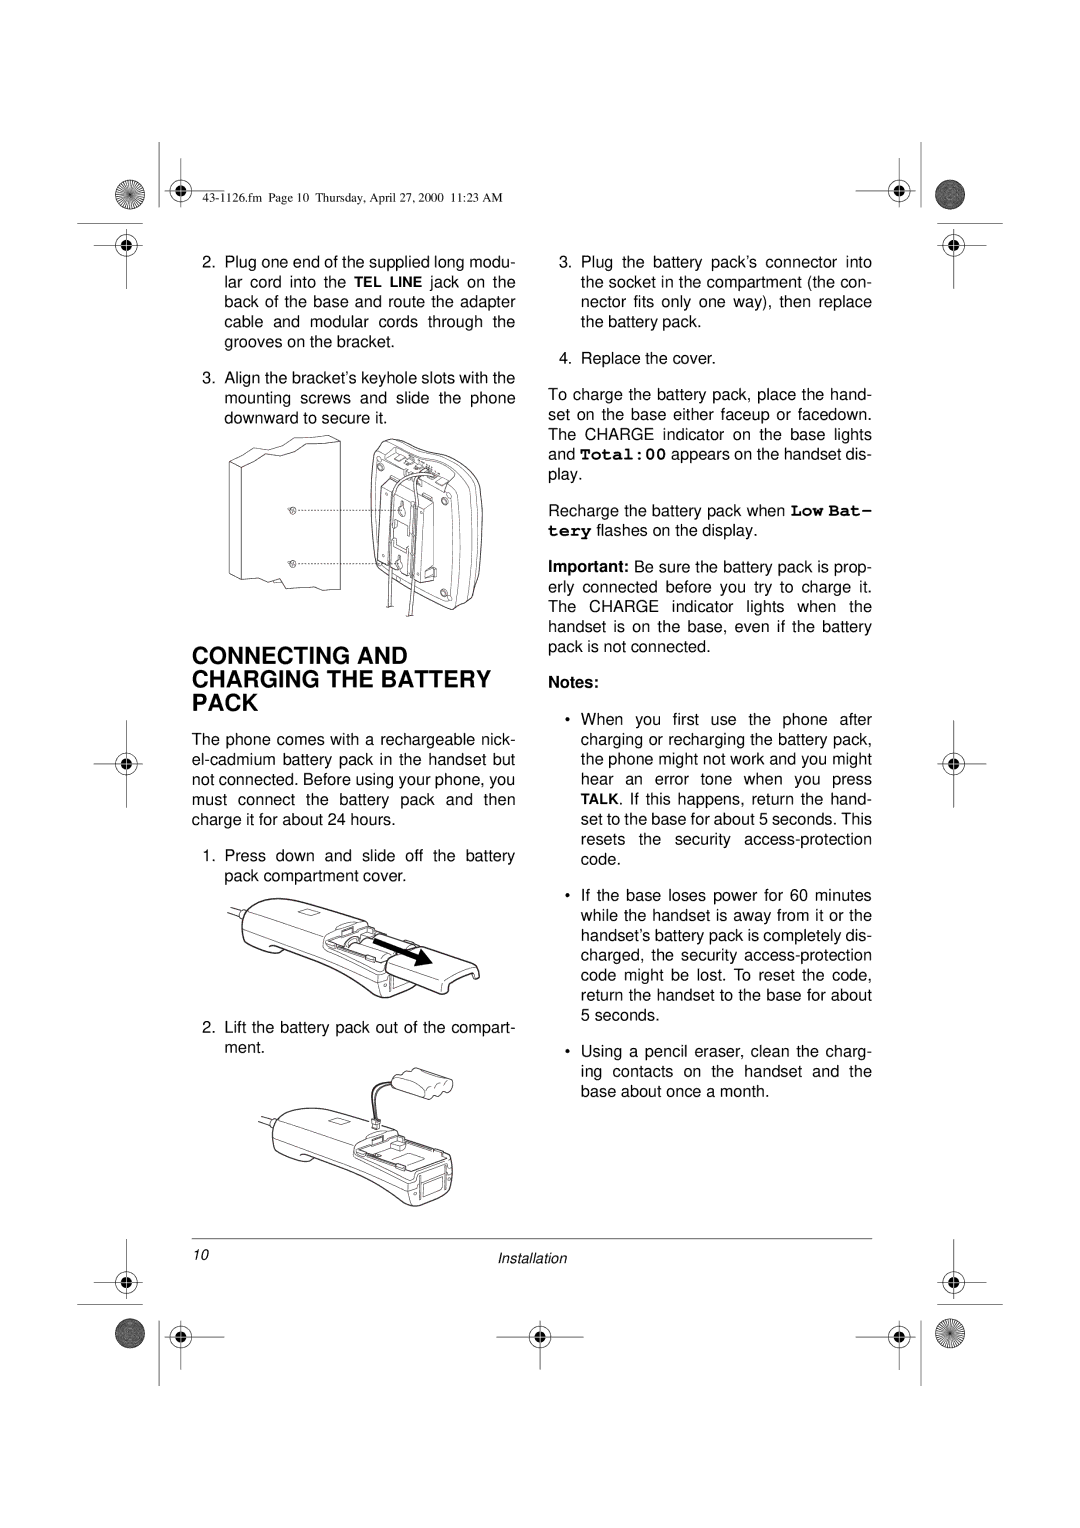
3.Align the bracket’s keyhole slots with the mounting screws and slide the phone downward to secure it.
CONNECTING AND CHARGING THE BATTERY PACK
The phone comes with a rechargeable nick-
1.Press down and slide off the battery pack compartment cover.
2.Lift the battery pack out of the compart- ment.
3.Plug the battery pack’s connector into the socket in the compartment (the con- nector fits only one way), then replace the battery pack.
4.Replace the cover.
To charge the battery pack, place the hand- set on the base either faceup or facedown. The CHARGE indicator on the base lights and Total:00 appears on the handset dis- play.
Recharge the battery pack when Low Bat- tery flashes on the display.
Important: Be sure the battery pack is prop- erly connected before you try to charge it. The CHARGE indicator lights when the handset is on the base, even if the battery pack is not connected.
Notes:
•When you first use the phone after charging or recharging the battery pack, the phone might not work and you might hear an error tone when you press TALK. If this happens, return the hand- set to the base for about 5 seconds. This resets the security
•If the base loses power for 60 minutes while the handset is away from it or the handset’s battery pack is completely dis- charged, the security
•Using a pencil eraser, clean the charg- ing contacts on the handset and the base about once a month.
10 |
| Installation | ||
|
|
|
|
|
|
|
|
|
|
|
|
|
|
|