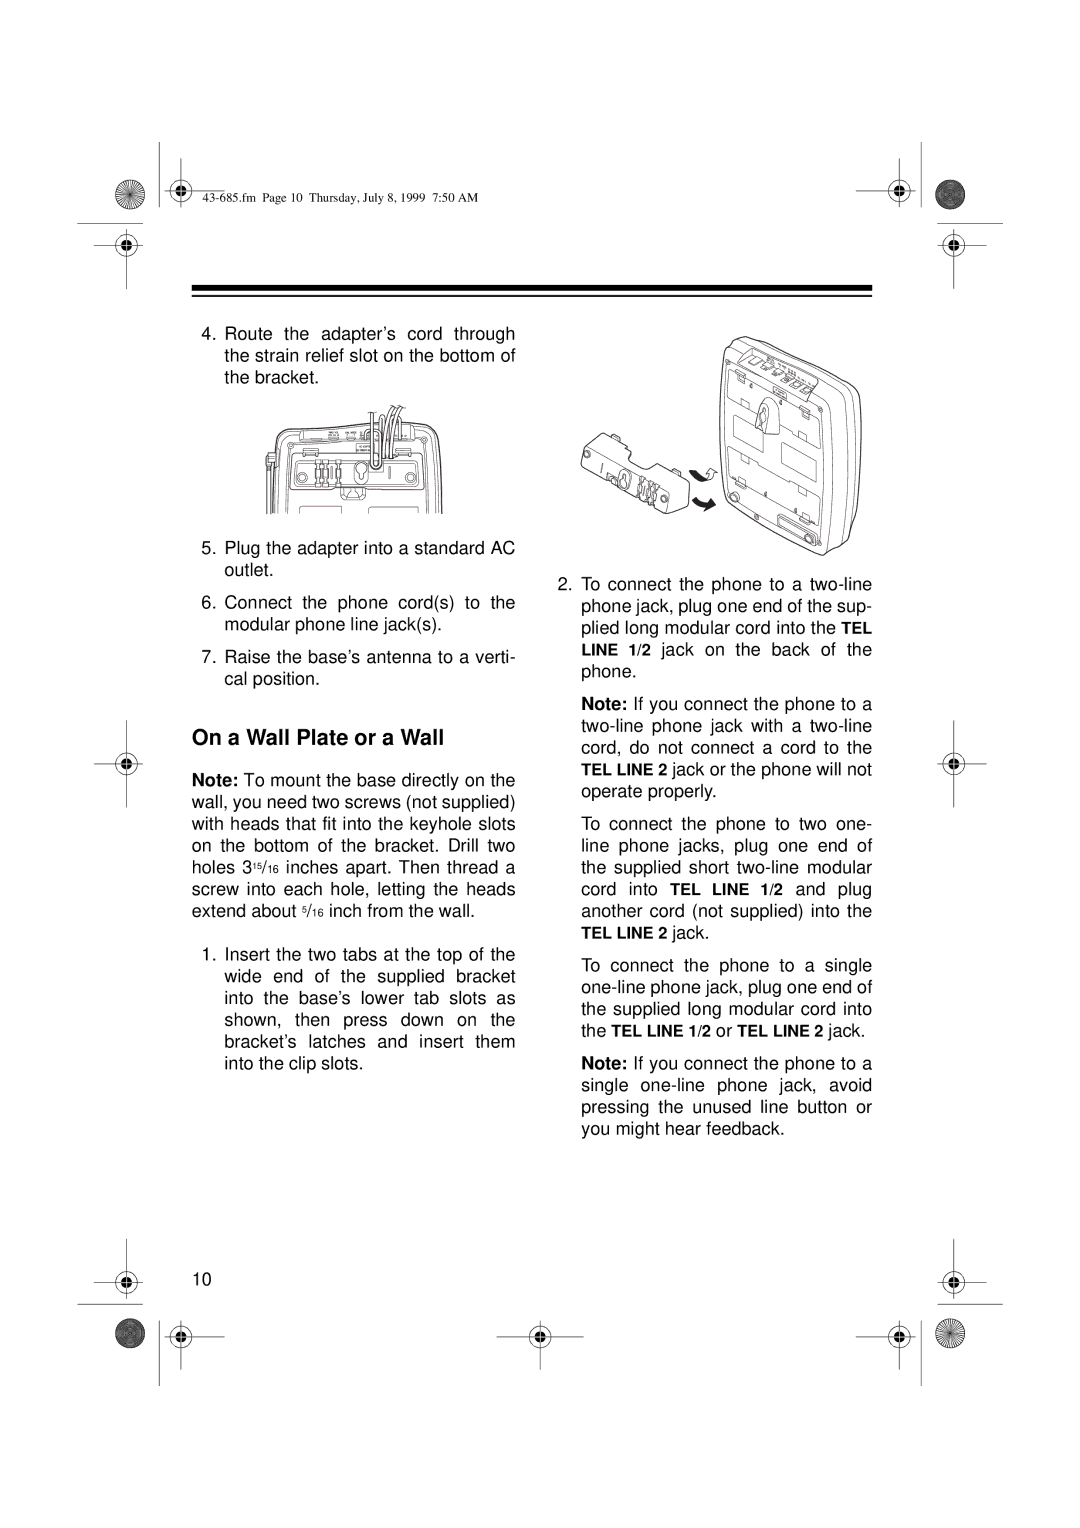
4.Route the adapter’s cord through the strain relief slot on the bottom of the bracket.
5.Plug the adapter into a standard AC outlet.
6.Connect the phone cord(s) to the modular phone line jack(s).
7.Raise the base’s antenna to a verti- cal position.
On a Wall Plate or a Wall
Note: To mount the base directly on the wall, you need two screws (not supplied) with heads that fit into the keyhole slots on the bottom of the bracket. Drill two holes 315/16 inches apart. Then thread a screw into each hole, letting the heads extend about 5/16 inch from the wall.
1.Insert the two tabs at the top of the wide end of the supplied bracket into the base’s lower tab slots as shown, then press down on the bracket’s latches and insert them into the clip slots.
10
2.To connect the phone to a
Note: If you connect the phone to a
To connect the phone to two one- line phone jacks, plug one end of the supplied short
TEL LINE 2 jack.
To connect the phone to a single
Note: If you connect the phone to a single
