PREPARATION
ATTACHING THE MICROPHONE HOLDER
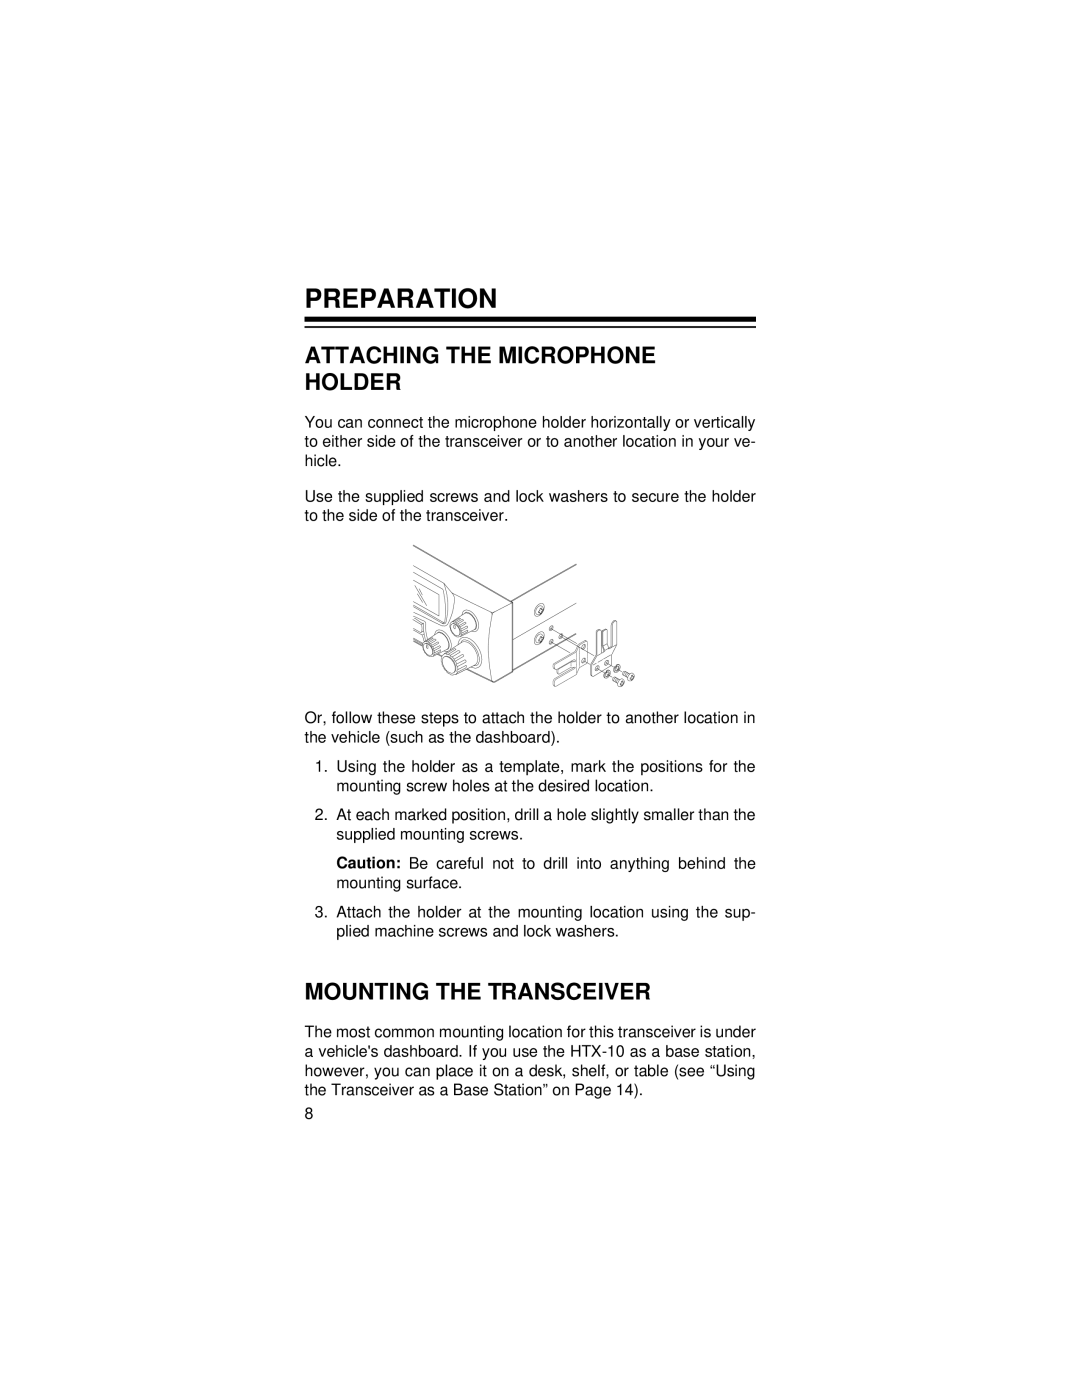
You can connect the microphone holder horizontally or vertically to either side of the transceiver or to another location in your ve- hicle.
Use the supplied screws and lock washers to secure the holder to the side of the transceiver.
Or, follow these steps to attach the holder to another location in the vehicle (such as the dashboard).
1.Using the holder as a template, mark the positions for the mounting screw holes at the desired location.
2.At each marked position, drill a hole slightly smaller than the supplied mounting screws.
Caution: Be careful not to drill into anything behind the mounting surface.
3.Attach the holder at the mounting location using the sup- plied machine screws and lock washers.
MOUNTING THE TRANSCEIVER
The most common mounting location for this transceiver is under a vehicle's dashboard. If you use the
8