3.Thread a screw into each hole until it’s head extends about 1/8
inch from the wall.
1/8”
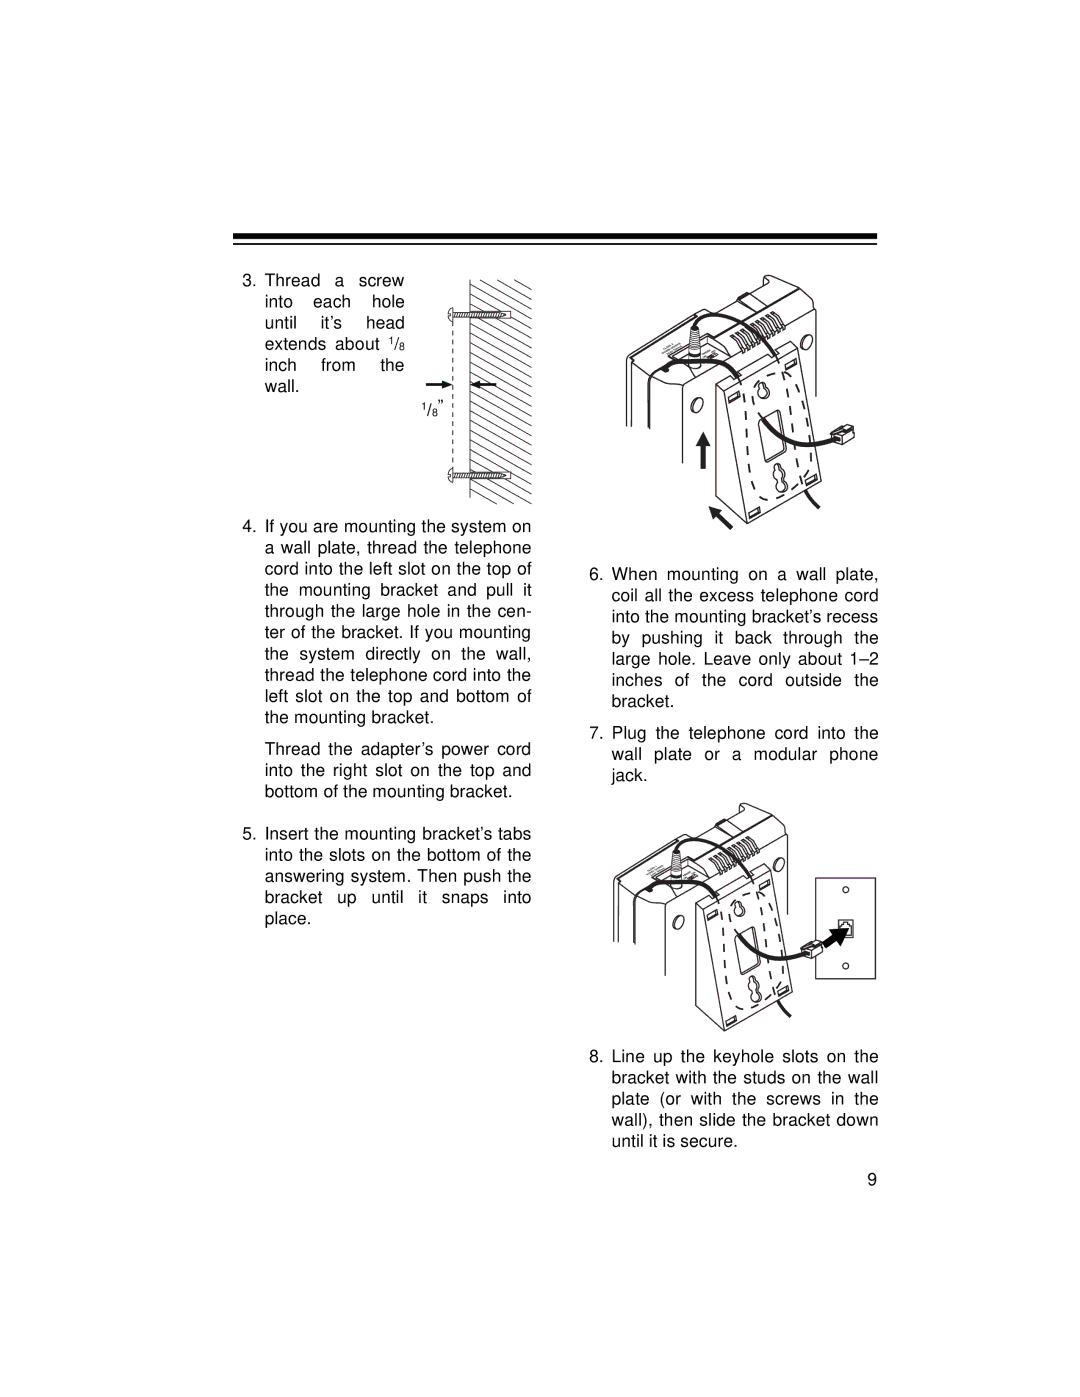
4.If you are mounting the system on a wall plate, thread the telephone cord into the left slot on the top of the mounting bracket and pull it through the large hole in the cen- ter of the bracket. If you mounting the system directly on the wall, thread the telephone cord into the left slot on the top and bottom of the mounting bracket.
Thread the adapter’s power cord into the right slot on the top and bottom of the mounting bracket.
5.Insert the mounting bracket’s tabs into the slots on the bottom of the answering system. Then push the bracket up until it snaps into place.
6.When mounting on a wall plate, coil all the excess telephone cord into the mounting bracket’s recess by pushing it back through the large hole. Leave only about
7.Plug the telephone cord into the wall plate or a modular phone jack.
8.Line up the keyhole slots on the bracket with the studs on the wall plate (or with the screws in the wall), then slide the bracket down until it is secure.
9