Notes:
•You can turn the tape over and record on the other side. This lets you save any messages recorded on the first side while using the tape to record more messages.
•Replace the tape at least once a year, or more often if it is used fre- quently.
CONNECTING POWER
Use the supplied AC adapter to power your answering system.
Cautions:
•Use only the supplied adapter.
•Always plug the adapter into the answering system before you plug it into an AC outlet. Always unplug the adapter from the AC outlet be- fore you unplug it from the an- swering system.
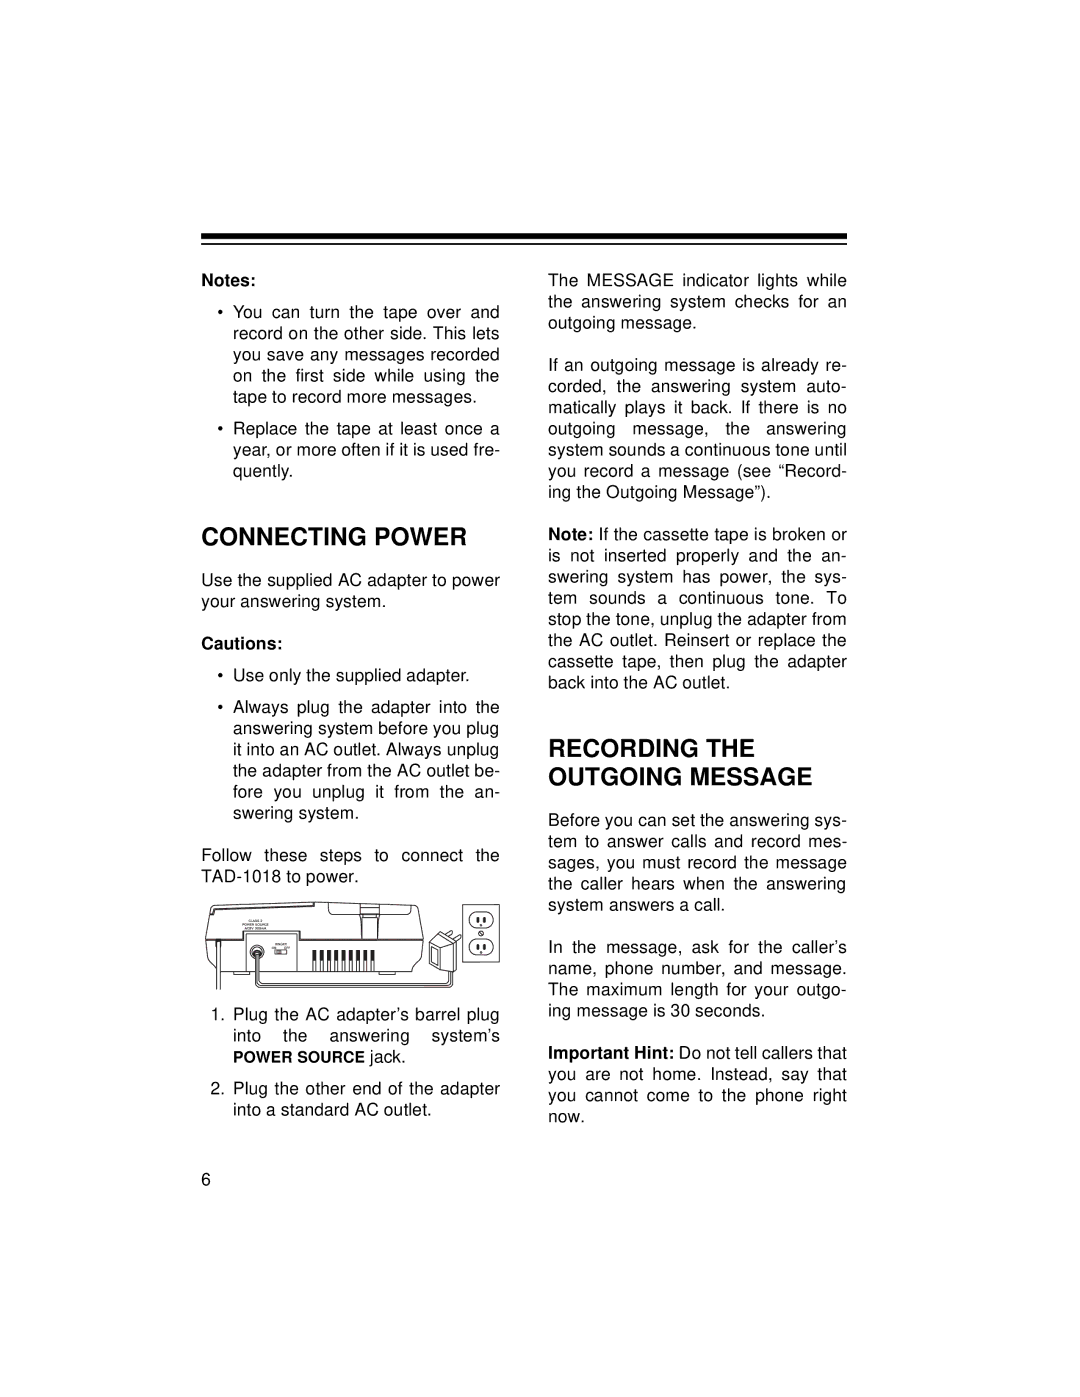
Follow these steps to connect the
1.Plug the AC adapter’s barrel plug into the answering system’s
POWER SOURCE jack.
2.Plug the other end of the adapter into a standard AC outlet.
The MESSAGE indicator lights while the answering system checks for an outgoing message.
If an outgoing message is already re- corded, the answering system auto- matically plays it back. If there is no outgoing message, the answering system sounds a continuous tone until you record a message (see “Record- ing the Outgoing Message”).
Note: If the cassette tape is broken or is not inserted properly and the an- swering system has power, the sys- tem sounds a continuous tone. To stop the tone, unplug the adapter from the AC outlet. Reinsert or replace the cassette tape, then plug the adapter back into the AC outlet.
RECORDING THE OUTGOING MESSAGE
Before you can set the answering sys- tem to answer calls and record mes- sages, you must record the message the caller hears when the answering system answers a call.
In the message, ask for the caller’s name, phone number, and message. The maximum length for your outgo- ing message is 30 seconds.
Important Hint: Do not tell callers that you are not home. Instead, say that you cannot come to the phone right now.
6
